Google Api Keys
Since version 2.0.0 maps2 will only work with assigned Google Api Keys. This documentation will show you step by step how to get the API Keys from Google Clout Platform.
Google Cloud Platform
If you don’t have a Google Account you have to register as a new User.
Click the button
Get startedwhich will open theEnable Google Maps PlatformGuide
Activate the Checkboxes for
MapsandPlaces. Actually we don’t have support forRoutes, so keep them deactivated.Click on
Continue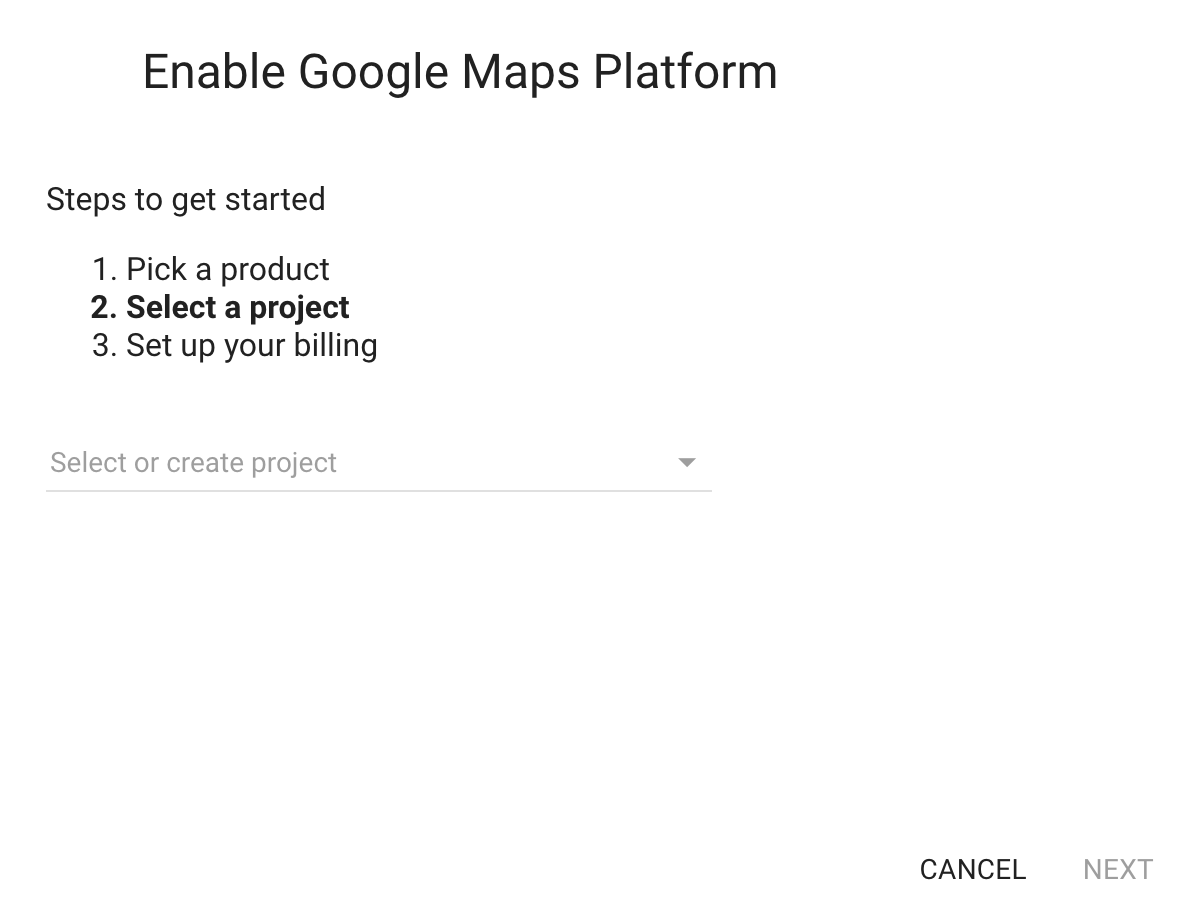
Open Selectbox
Select or create projectand choose+ Create a new project(give it a cool name) or choose one of your previously created projects.Click
NextIf you already have assigned your billing information to your Google Account, you now can assign them to your new project. Else you have to create new billing information first.
Important
Google needs these billing information to be sure, that you’re not a robot. That’s not a joke, that’s google.
After assigning your billing information to your project, you will get the information that some APIs have automatically activated for your project.
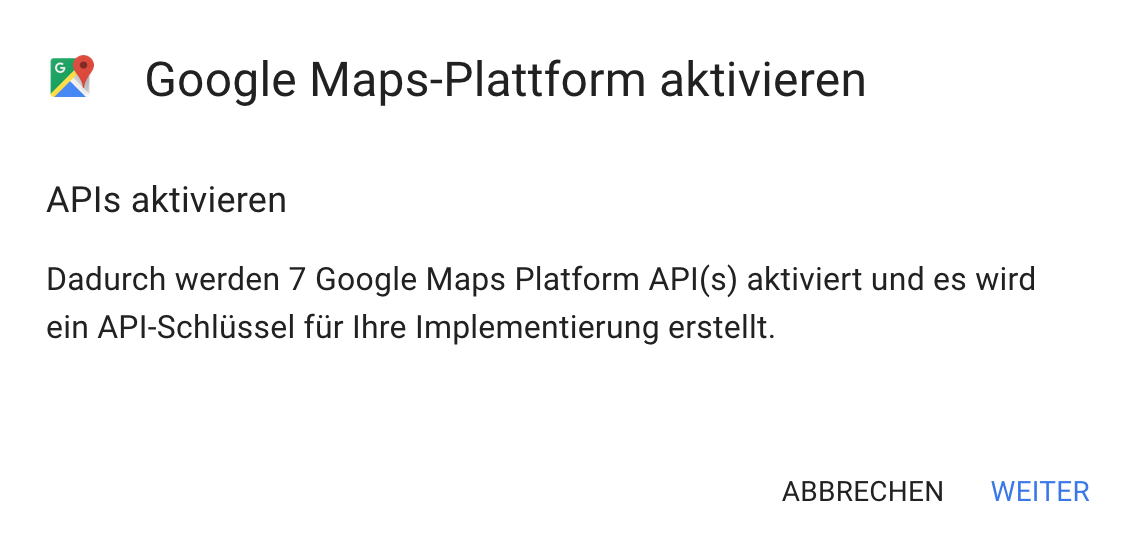
Click
Next. It will need some seconds until all needed APIs were activated.You will get a Done-Message from where you can copy your new API Key and yes: As mentioned in this dialog-box you should improve your app’s security and restrict the key’s usage. If you don’t do so, everyone else can use your API Key and may generate costs over your billing information. So please: follow the link to API Console to configure API security.
You will find a new entry from today with the glorious unique name
API key. Please edit this entry to assign it a better name and configure security settings.Give it a better Name like: Secure Map API for my project X
Set security settings to:
IP-Address (Webserver, Cronjobs etc.)and enter the IP-Address of your server. Do not activateHTTP linkas maps2 can retrieve GEO location which will never match any configured HTTP links.Copy your API Key and paste it into the both API fields in Extension Configuration of maps2.
Do you want it more safe?
In the section above we told you to assign your servers IP-Address to your new API Key, right?
Ok. What happens, if you’re on a shared hosting system? Every customer on the same server
can use your API Key for its own website. Hmm, bad.
Please visit the API Console again
and create a second API Key. Give it a cool name, but that time you set security settings
to HTTP-link and assign all of your domains to this security setting.
Copy API Key with HTTP-link to field JavaScript API Key in Extension Configuration of maps2.
Copy API Key with IP-Address security to field Geocoding API Key in Extension Configuration of maps2.
Do you want it super safe?
Visit API Console again and go to your billing information
Configure some Budgets to prevent unwanted credits at your credit card.