DEPRECATION WARNING
This documentation is not using the current rendering mechanism and is probably outdated. The extension maintainer should switch to the new system. Details on how to use the rendering mechanism can be found here.
Configure the Plugin
Once you have completed the installation process, the next step is to configure the Calendar Base’s plugin. The plugin controls what views are displayed in the Frontend as well as offering some additional options.
Refer to Illustration 8. If you haven’t done so already, give the plugin a Header title ( 1 ).
If you don’t want the Header to be displayed in the Frontend, select Hidden from the Type drop-down list ( 2 ).
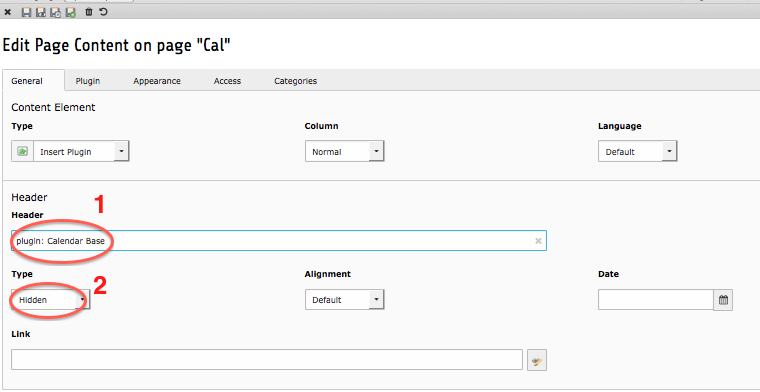
Illustration 8: The standard content options

In the Startingpoint field, select the Storage Folder where you will keep your Calendar Records ( 3 ). This is most likely either the Storage Folder you created in Step 2 of the Installation, or your site’s General Storage Page.
As shown in Illustration 9, there are nine tabs in the Calendar Base Plugin. Use the following illustrations and descriptions to configure the plugin as desired.
 Note: Each FlexForm value can also be set via TypoScript and FlexForm settings will override the Typoscript. The Advanced section of this document provides more details on the available fields.
Be sure to save the Flexform when you have finished configuring the plugin.