DEPRECATION WARNING
This documentation is not using the current rendering mechanism and is probably outdated. The extension maintainer should switch to the new system. Details on how to use the rendering mechanism can be found here.
User Guide
TS-Template
Create a new TS-Template for Commerce in your Template-SysFolder. Name it +commerce, assign the static template COMMERCE via Include static (from extension) and save the record. Include this template as usual in the TS-Template of your root page.
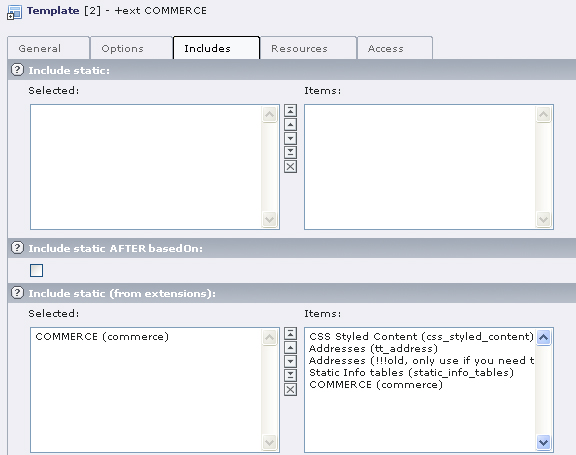
Illustration 2: Assign static template
Pages and Plugins
Now you have to create the pages required for your shop.
List view
„Shop“ will be the main page of your shop, where products and articles are listed. In contrary to other pages which will be added later, this page shall be visible in the menu. Assign the plugin to this page. Select „General plugin“ from the list and Commerce: Product List in the form. At the moment we will not consider the plugin-options of the flexforms. You can also ignore the starting point, as it does not need to be defined in the Commerce-shop. Then save the record.
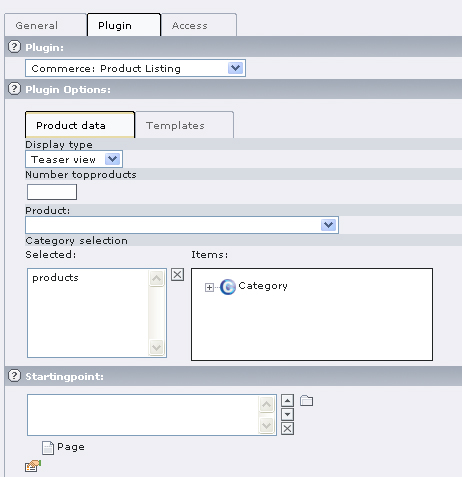
Illustration 3: Plugin list view
If you want to have a list view, which only displays a distinct product with its related articles (e.g. one type of trousers in different colors) you have to select the desired product in the field detail product (for single view) and save the record. This is, of course, not yet possible, as the products and articles do not exist. On this page, you will only see the selected product with the corresponding articles.
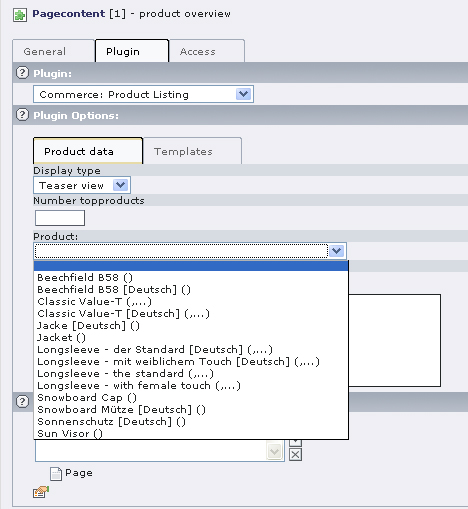
Illustration 4: Single product
Single view
You reach the single view of a product in the frontend by clicking on the product title. It is not necessary to create a separate page for the single view, because it will always be shown on the same page as the list view. A text which you assign to the parent element -instead of the single articles – will be displayed on click on the title of the parent element (which is the product). This corresponds to the single view of the product.
Shopping cart
Create a page for the shopping cart and assign the plugin (general plugin). In the form you have to select Commerce: shopping cart from the list of extensions and save the record.
Orders
For the final order you need another shopping cart page. Select the General Plugin and Commerce: Checkout from the extensions in the form. Then save the record.
Address management
Create a page for the management of addresses: General Plugin, in the form Commerce: Address management.
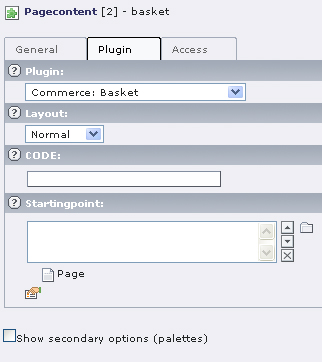
Illustration 5: Plugin shopping cart
Invoice
Create a page for the invoices. You already know how to do this: General Plugin and Commerce: Invoice.
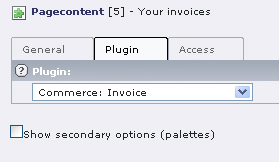
Illustration 6: Plugin Invoice
Page and Content „empty shopping cart“ and „empty order“
Create a text page which will be visible in the frontend if the shopping cart is empty or if an order does not yet exist. Create the text for these pages (e.g. „Your shopping cart is empty“ or „Please select an article“) and save the record.
SysFolder
Create two sysFolders, one for user addresses and one for customer addresses. The addresses will be managed by the extension tt_address in the folder addresses. You need two different folders, as the frontend user registration used by Commerce only knows one address per user, whereas Commerce has a separate address for invoice and delivery. Several adresses are thus possible for every user.
Management of users will be done in the sysFolder Users. The address has to be entered in the checkout at the latest. If the user cancels the order at a later stage their data will not be saved in the system. If the order is completed, user data and orders will be saved in this folder.
With the confirmation of the order the customer will receive their user name and a password they can use for future purchases in the shop.
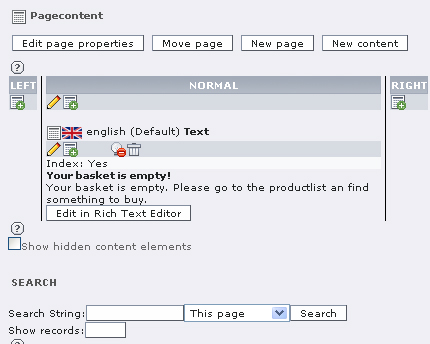
Illustration 7: Page content for an empty shopping cart
Assign PIDs
If all necessary pages for the shop are created, switch to the Extension Manager and assign the PID of the Invoice page (Page-ID for Invoice) and the list view Preview Page Type. Finally click Update and open the TS-Template +commerce.
Assign the other IDs via the Constant-Editor and make other settings, if required. In order to do so, select the category PLUGIN.COMMERCE: GENERAL.
Check the box for every entry in the area Links and Targets and click the Update-Button. Now enter the PIDs of the pages.
- Address PID: SysFolder of customer addresses
- USER PID: SysFolder of front end users
- Edit Address PID: address management page
- Basket PID: shopping cart page
- Override PID: list view
- Checkout PID: orders page
- Empty basket PID: text page for empty shopping cart
- Empty Checkout PID: text page for empty order
These settings should be enough for the start. We will use the default values for all other constants.