DEPRECATION WARNING
This documentation is not using the current rendering mechanism and is probably outdated. The extension maintainer should switch to the new system. Details on how to use the rendering mechanism can be found here.
Users manual
When your site administrator has set up the extension correctly you should be able to simply insert a new content element (see TYPO3 editors guide) of type "Nested content element container" into any column of your page. You can create a new nested content element by using the "New Content Element wizard" by just clicking on the "Add a new record" button in the Web>Page module.
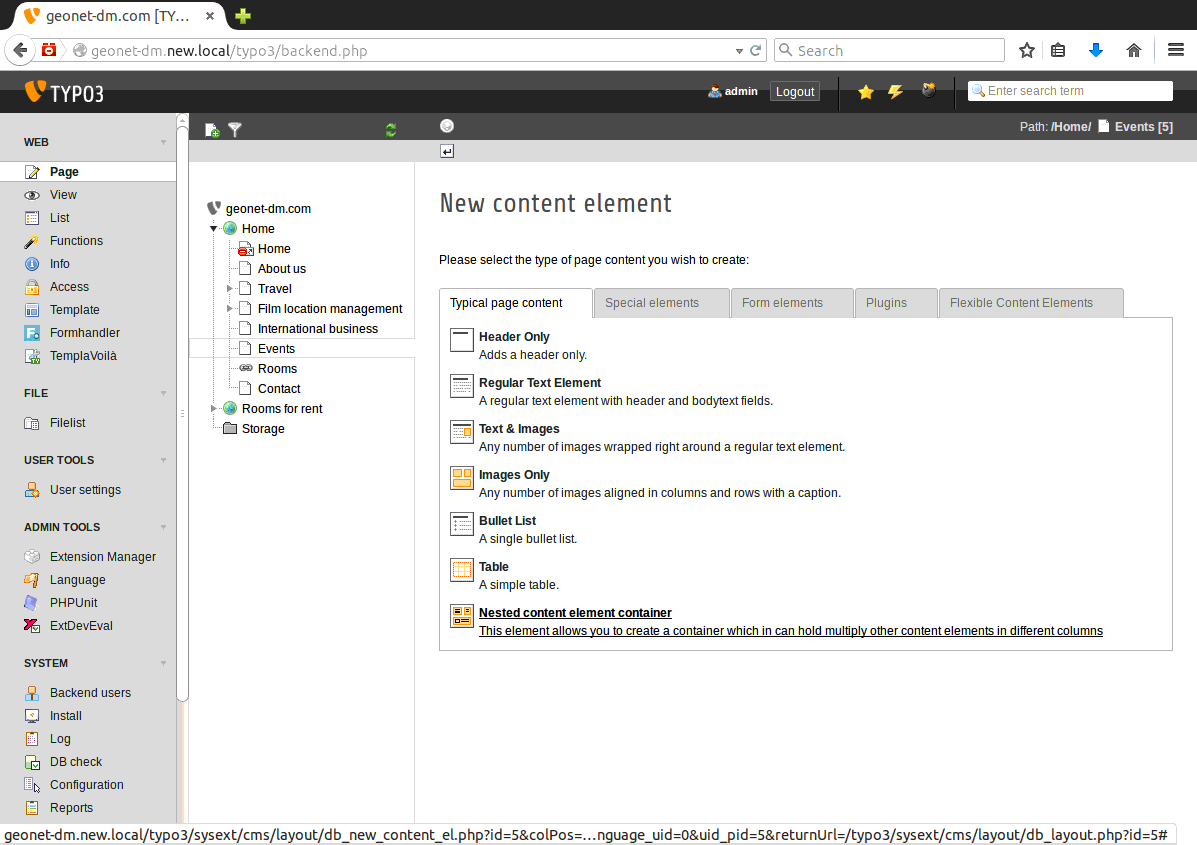
Of course advanced users can also change any existing content element to become a nested content element container by switching the type of the content element from "Text" or "Text with Image" to "Plugin" and then select "Nested content element container" as plugin type.
When you have created a new container element or changed an existing content element you will have to define which "Layout template" shall get used. This layout template has to get configured and integrated into your TYPO3 instance by your administrator before. If this task is also up to you continue to read the section Configuration of this manual.
If there are any layout templates available they will be shown in the field "Layout template" on the tab "Plugin" and you can select the desired one:
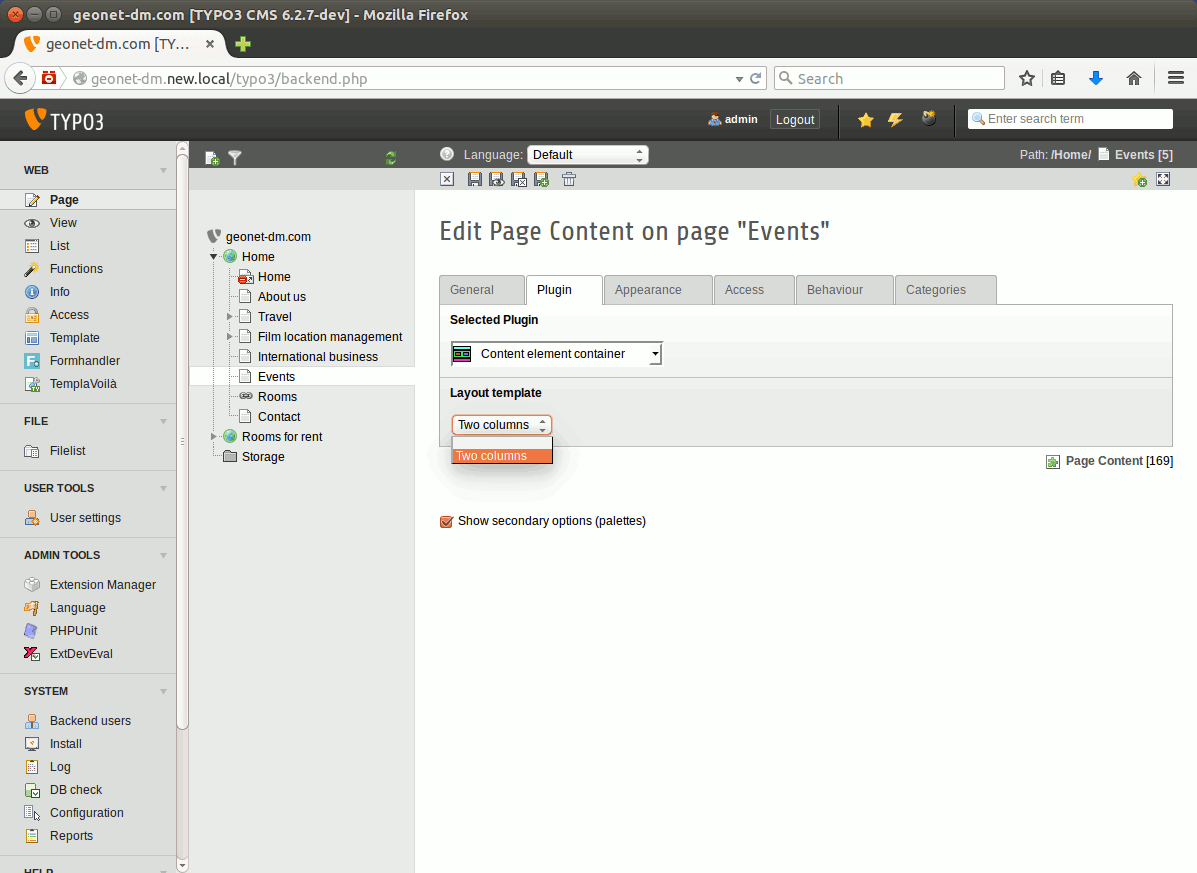
Now "Save & Exit" the content element container and return to the Web>Page module.
You should now see a content element which can act as a container for other content elements with areas that look like your TYPO3 adminstrator/integrator has intended it. Or at least it should be this way ;)
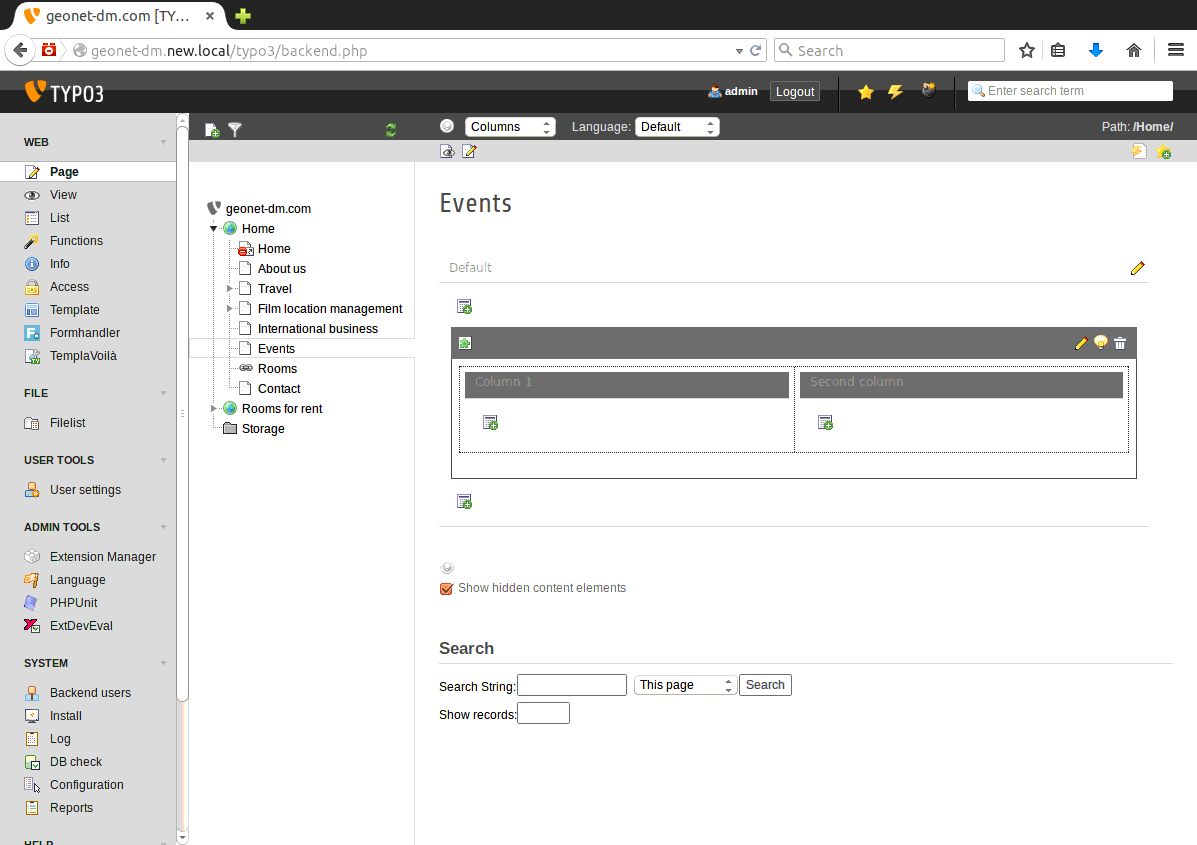
The columns inside the content element will present you a "New content element" button just like the one you know from the normal content columns Left, Normal, Right, Border a.s.o. You can use this button to create new content elements inside the container or can copy&paste already existing content elements into the container. For pasting elements into an empty column use the paste button in the column header. For pasting elements after another element use the Context menu (In the TYPO3 world also known as "Clickmenu").
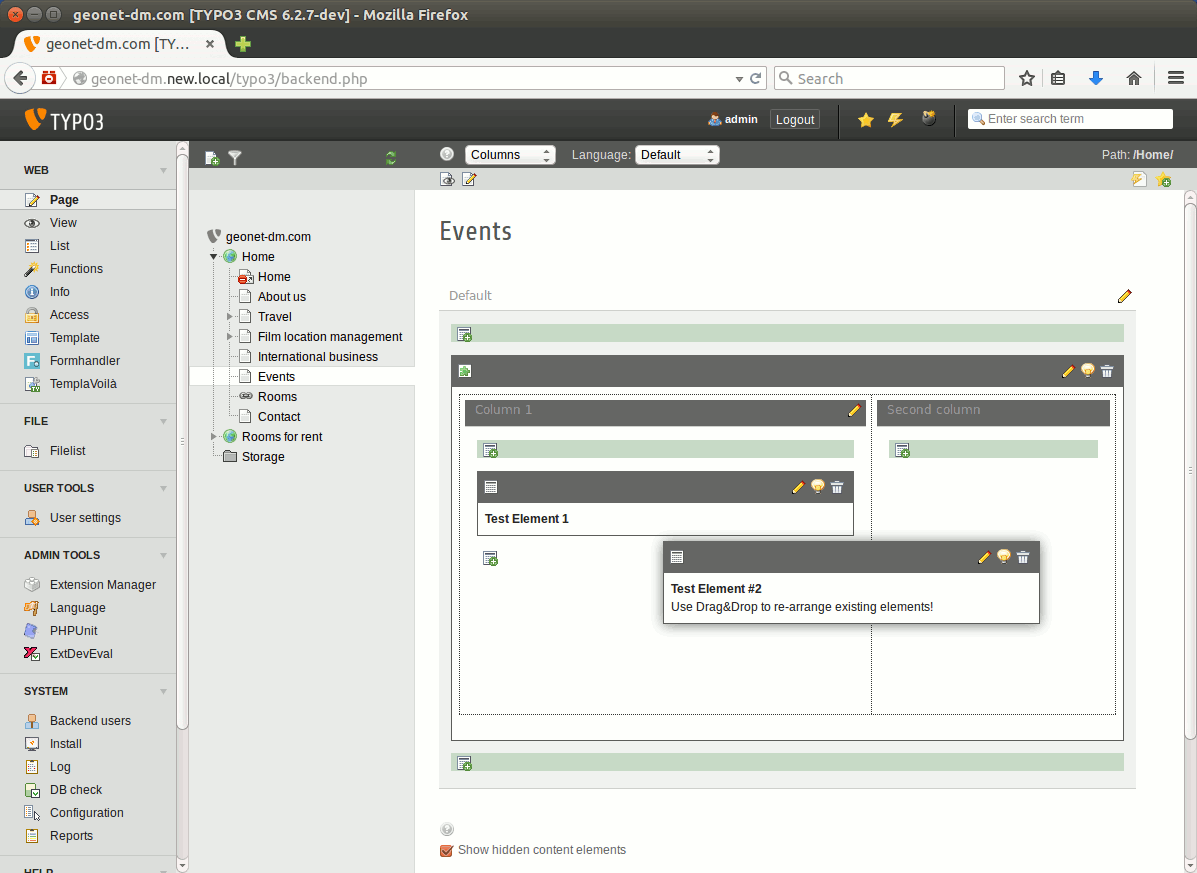
It goes without saying that also drag&drop works to move elements into the columns of the container or to rearrange elements inside a container column.
Hint
There is an "easter egg" joke hidden in kb_nescefe! If you want to find out, just try to create a new nested content element during the easter week! Have fun!
Variable column templates
Previous versions of kb_nescefe supported a feature called "Sections". These sections allowed to have a dynamic number of columns. For each container element you could simply add an additional column by the click of a button.
This feature is not supported by this new version of kb_nescefe as looks like it was rarely used. If you need that feature again feel free to contact the extension author and support the reimplementation.