DEPRECATION WARNING
This documentation is not using the current rendering mechanism and is probably outdated. The extension maintainer should switch to the new system. Details on how to use the rendering mechanism can be found here.
Using the extension
Create a page and insert a plugin content element and select “Contact list” in the plugin selector.
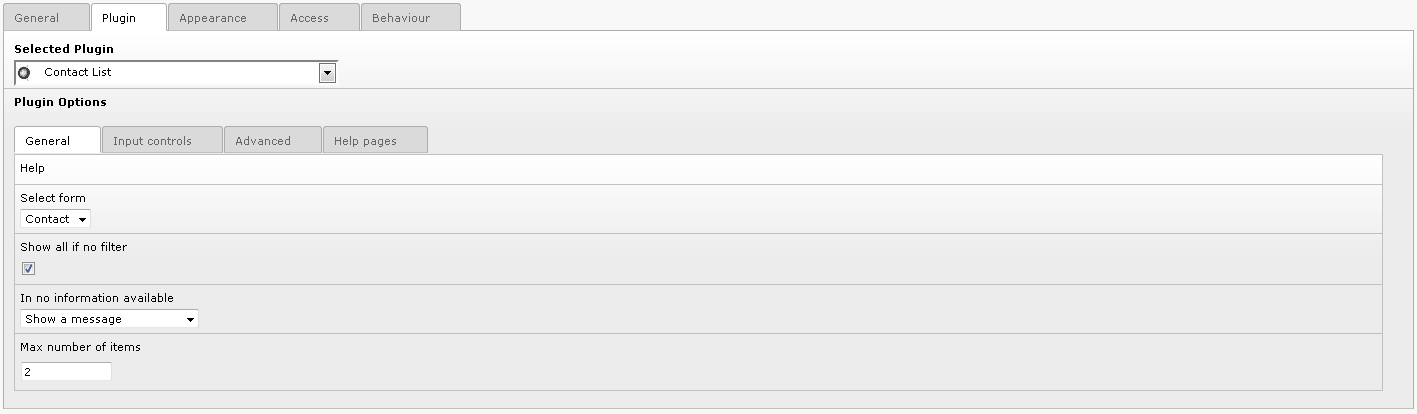
The configuration of the plugin is performed by means of a flexform which comes with default values. Just select your form name, that is “Contact” in the “Select form” selector, change the default values, save your content element and clear the cache .
Go to your page in the Front End and you should see the following caption.

Authenticate yourself to be allowed to input data in the Front End. Now, a new icon should be displayed.

Click on the right icon to enter in the edit mode. A new icon appears at the left hand side of the form. Click on it to input a new item.

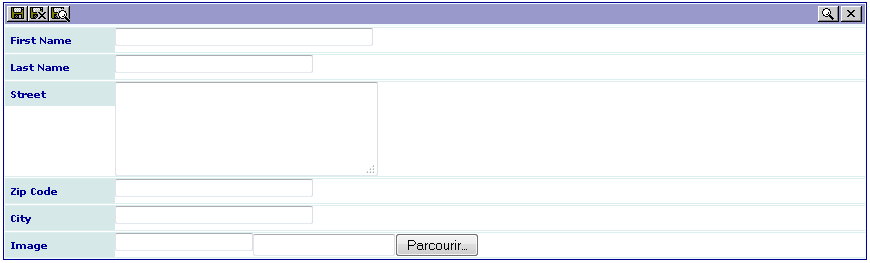
The generated edit view is shown. As it can be seen on the following caption, the size of the field firstname is longer than the other fields of the same type. This is due to the configuration parameter “size = 40;” added for this field. The other fields take the default configuration of the SAV Library Kickstarter, i.e. a default size of 30.
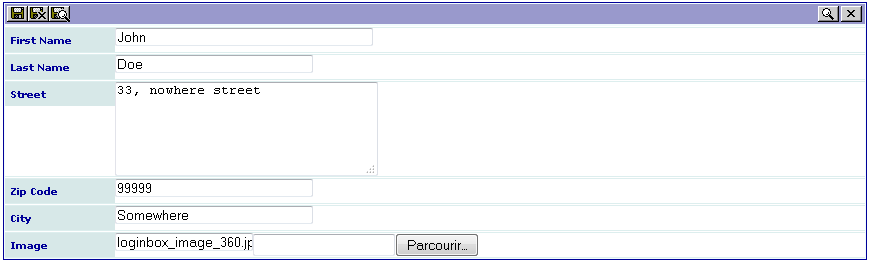
Fill the form with information. Use the browser to select the image and save.
When your have completed your input quit the input form. Note that you can also use the save and close icon. Now, your extension will display one item in your “List” view.

Click on the “Enter in edit mode” button to add another item, edit the previous one or suppress it.

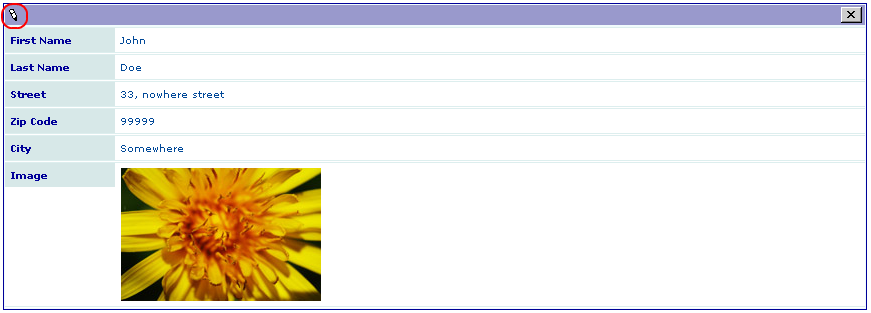
Thanks to the attribute “func = makeItemLink;” in the field image of the “List” view, clicking on the image will open the “Single” view.
Let us note that if you click on the icon on the pencil icon, you will access to the “Edit” view and be able to edit the content.