DEPRECATION WARNING
This documentation is not using the current rendering mechanism and is probably outdated. The extension maintainer should switch to the new system. Details on how to use the rendering mechanism can be found here.
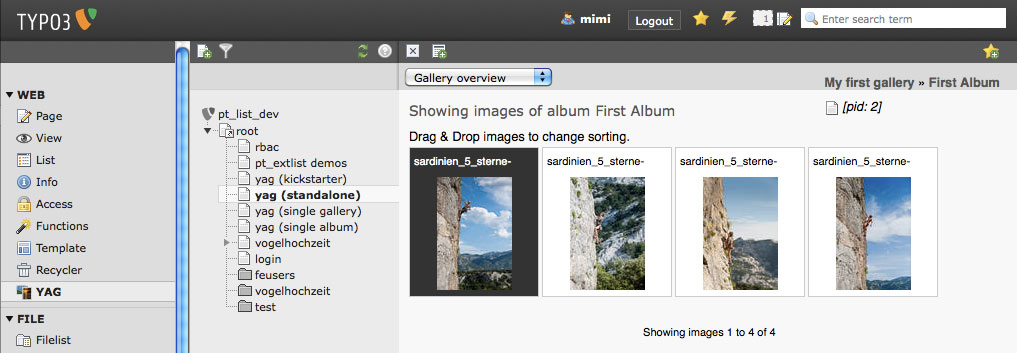
Uploading Images into Albums
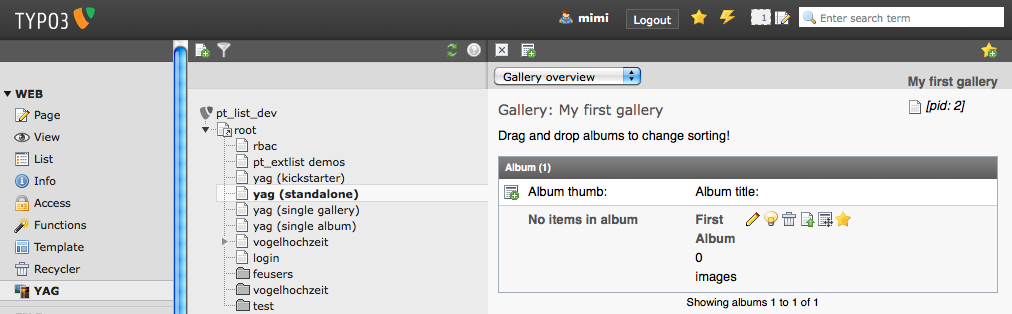
There are several ways for uploading images. We show you uploading from album list. So make sure, you have selected a gallery and get a list of albums inside this gallery. Now click on the green arrow-up symbol next to the garbage-bin symbol:
Drag & Drop Upload
Using a HTML5 capable browser, you can use the Drag & Drop upload tab to upload you images by just dragging them from your filesystem into your browser.
Multifile Upload
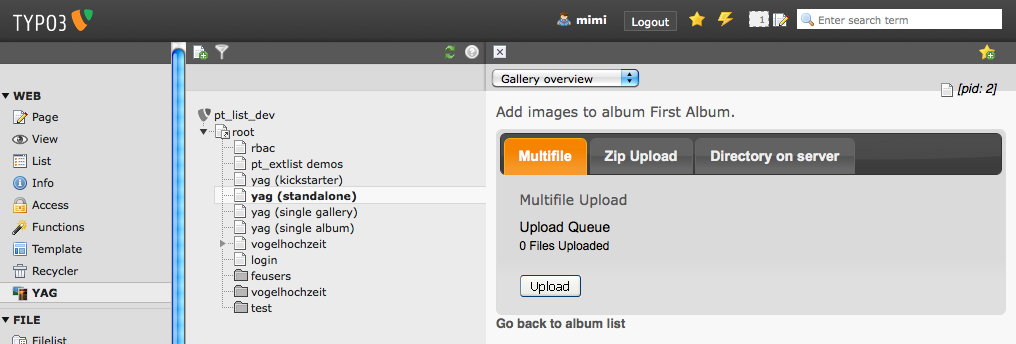
This will show up a form containing different possibilities for uploading images into your album. First of all we use the Multifile- Uploader:
Click on the ‘Upload-Button’ and you will get a file dialog opened in which you can select multiple files that should be uploaded to your gallery:
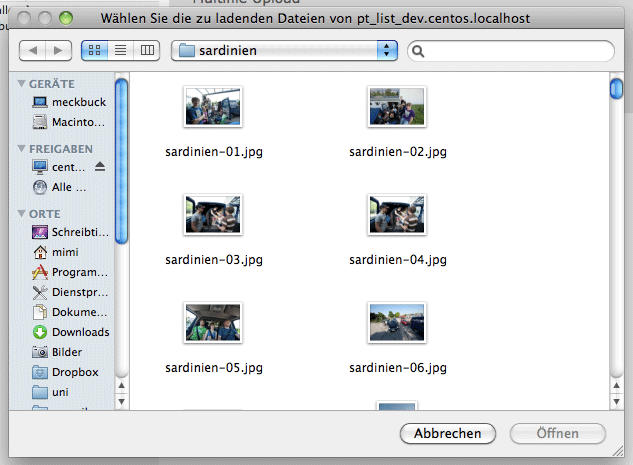
Select as many images as you like an click ‘Open’. The uploading will start immediately. After you have finished uploading, click on ‘Go back to album list’:

ZIP-File uploading
You can also upload images by putting them into a zip file and uploading this file. ZIP files may also contain folders. Any images in any folder of the ZIP file will be imported:

Importing images from directory on server
If you want to import images from a directory on your server, you can use the third import method:
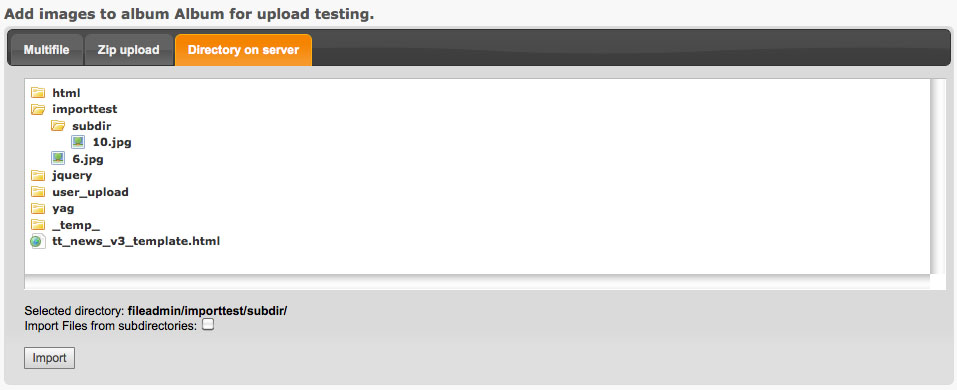
The checkbox at the bottom let’s you import files from subdirectories of the folder you chose.
Overview of imported images
After importing items with any of the options a list will show up showing all the images just being uploaded to your album:
Congratulations – you just created your first album!