The camino theme was added with TYPO3 14.1 and is not available in older
TYPO3 versions. Download and install a default site package from
the official Site Package Builder for
older TYPO3 versions.
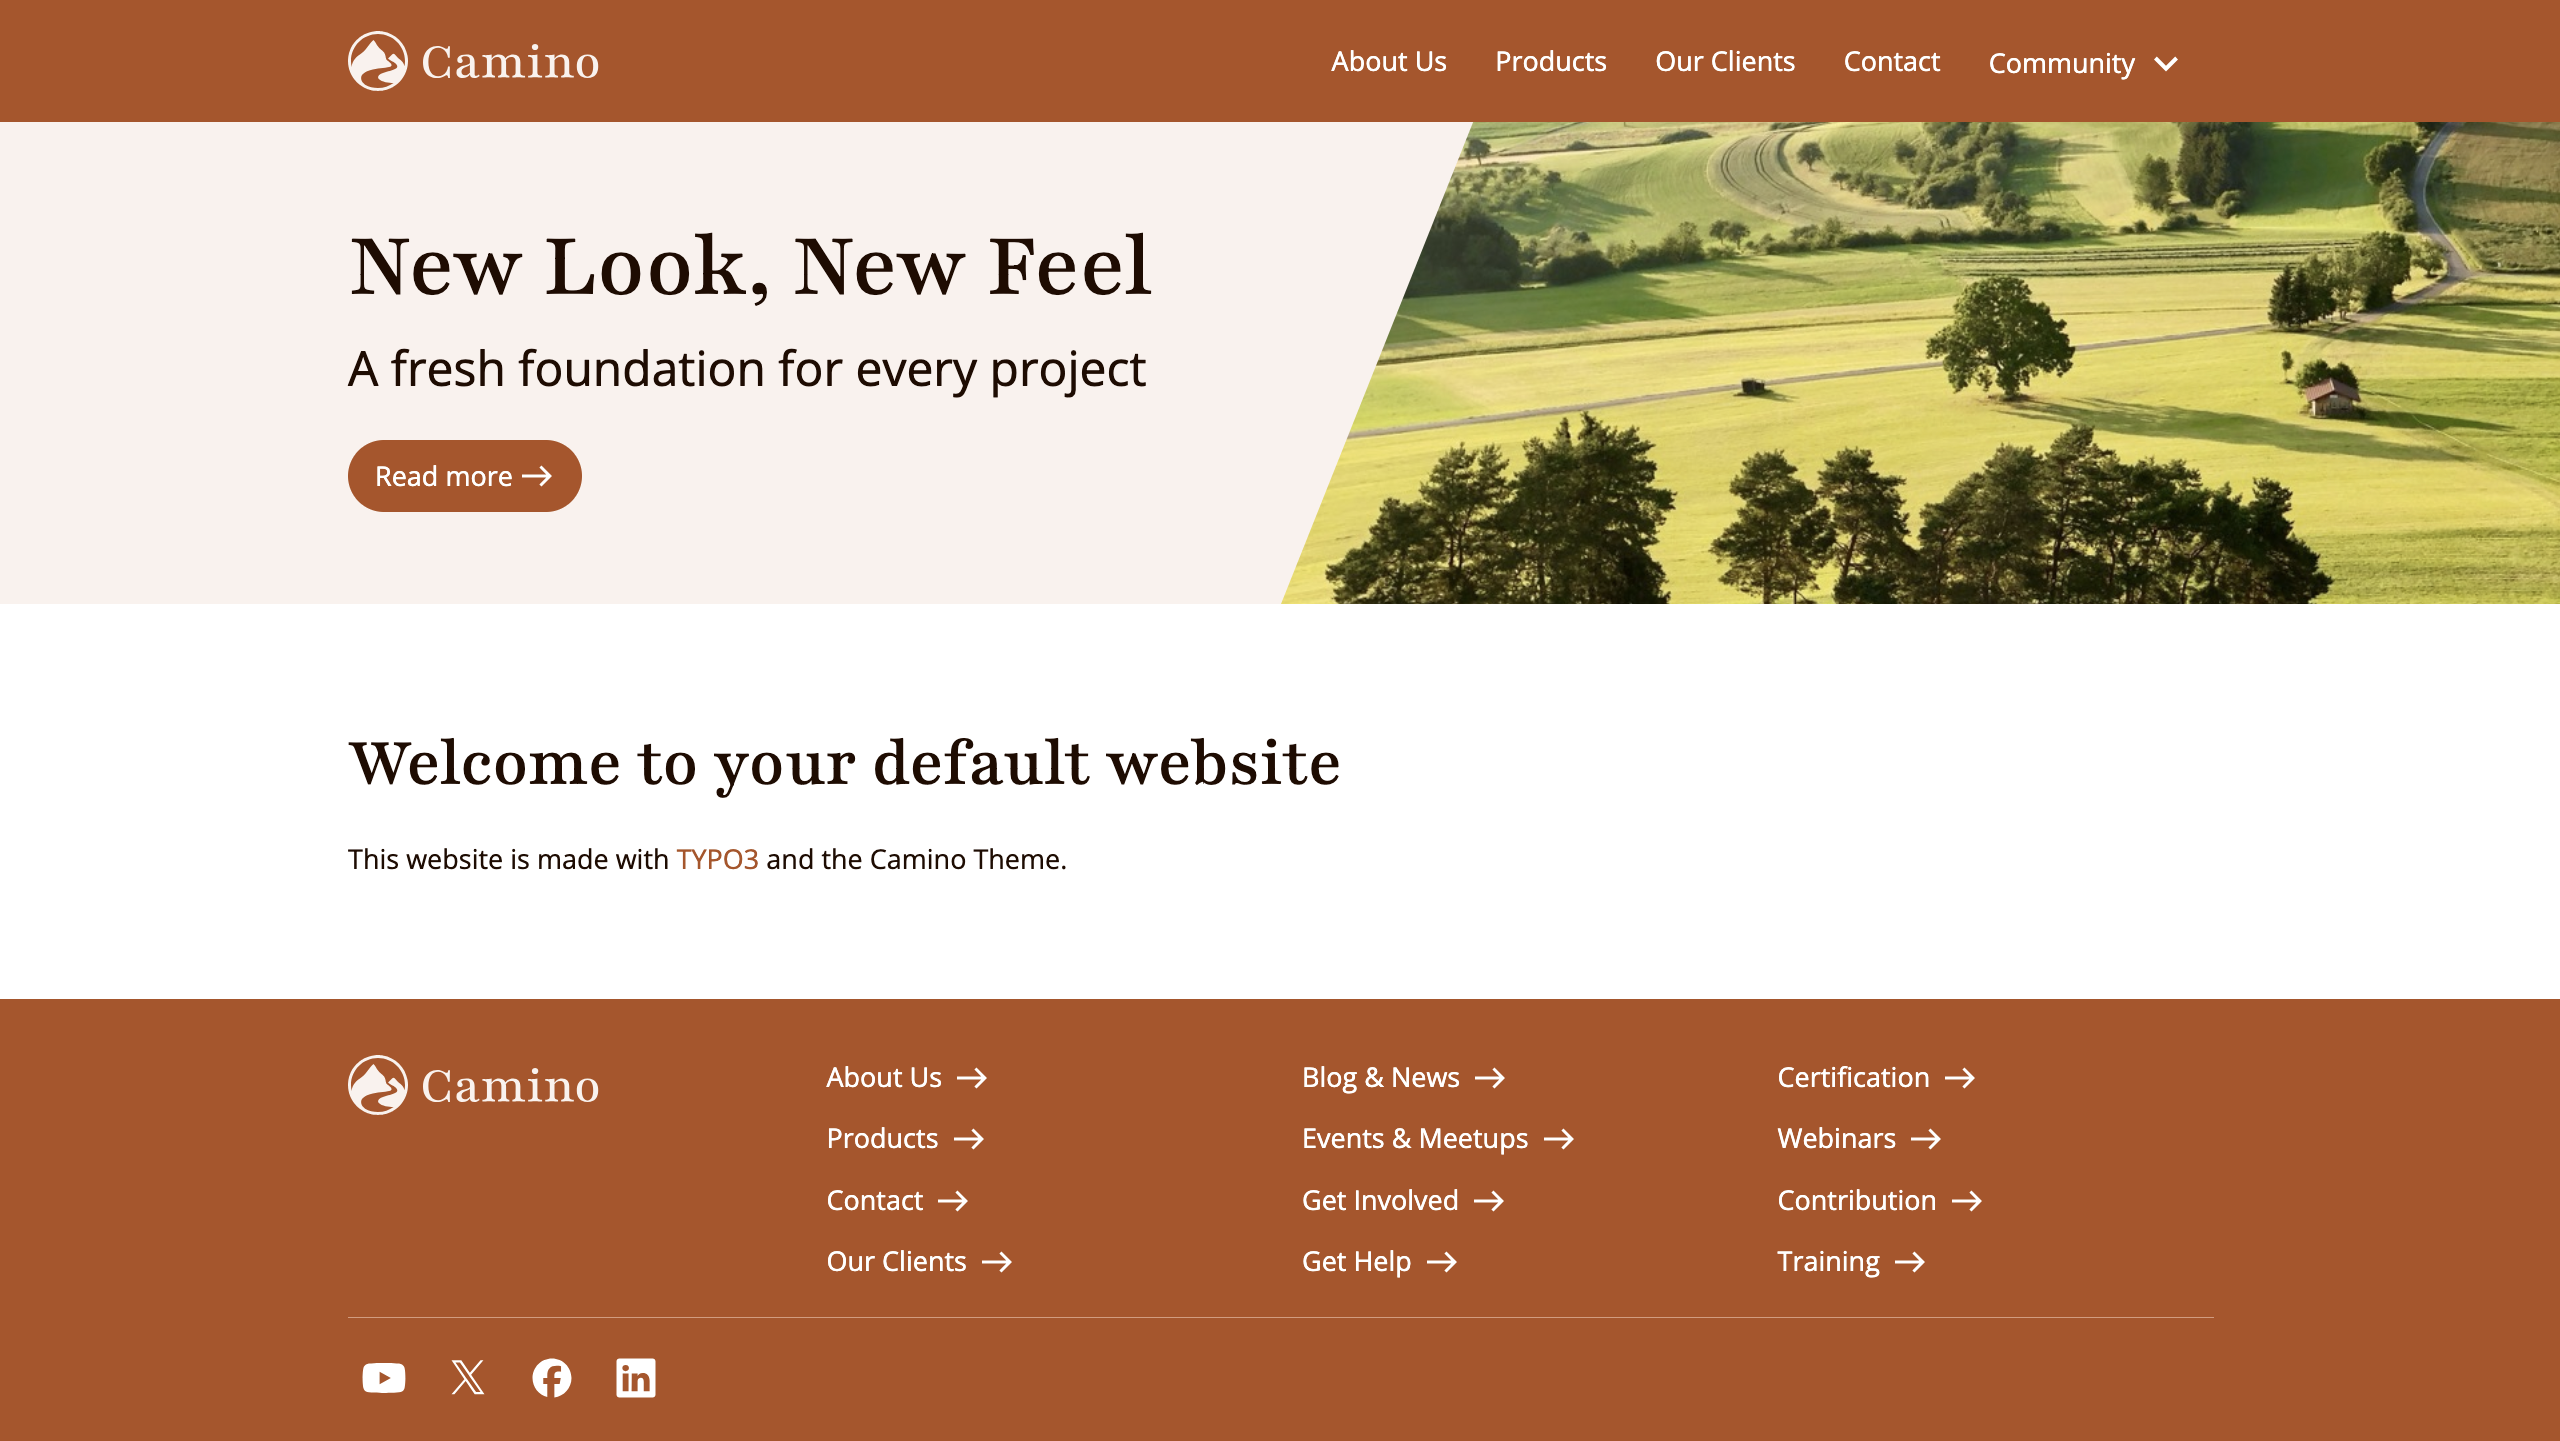
Camino is the new responsive default theme that comes bundled with TYPO3 version
14.1 and higher.
The primary goal behind the Camino theme is to allow users to create a basic
website with a working frontend theme with zero setup.
Camino be customized - users can choose between three different backend layouts.
The colour scheme in the frontend can be changed and users can add their own logo.
The theme also comes with a range of content elements, including standard TYPO3
content elements and bespoke content elements created specifically for the
Camino theme.
Language navigation
Camino provides a language navigation in the page header.
The navigation uses the configured site languages and renders the active language
as plain text. Available alternative languages are rendered as links.
This makes the language switch available in the main navigation area of the
frontend without additional setup.
Ongoing changes
Camino is currently a system extension. However, this will change in the near
future for TYPO3 version 15 where it will instead reside in the TYPO3 Extension
Repository(TER), Packagist and GitHub.
The theme will continue to receive updates and improvements up to TYPO3 14 LTS.
This guide will be updated as future releases of the Camino theme are made.
TYPO3 v15 will ship with a completely new theme under a different name.
Installing the Camino theme manually
New in version 14.1
The camino theme was added with TYPO3 14.1 and is not available in older
TYPO3 versions. Download and install a default site package from
the official Site Package Builder for
older TYPO3 versions.
When newly installing TYPO3 14.1 in either in Composer or Classic (non-Composer)
mode, the administrator will have the option to install and activate Camino
during the installation process.
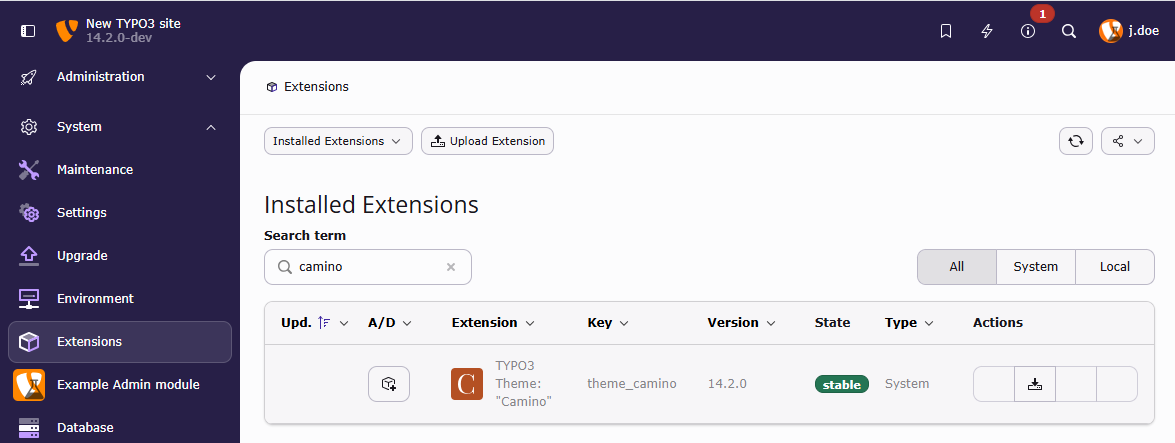
For existing installations, the theme will need to be installed. This is done
either via Composer or the System > Extensions` module for Classic mode
installations.
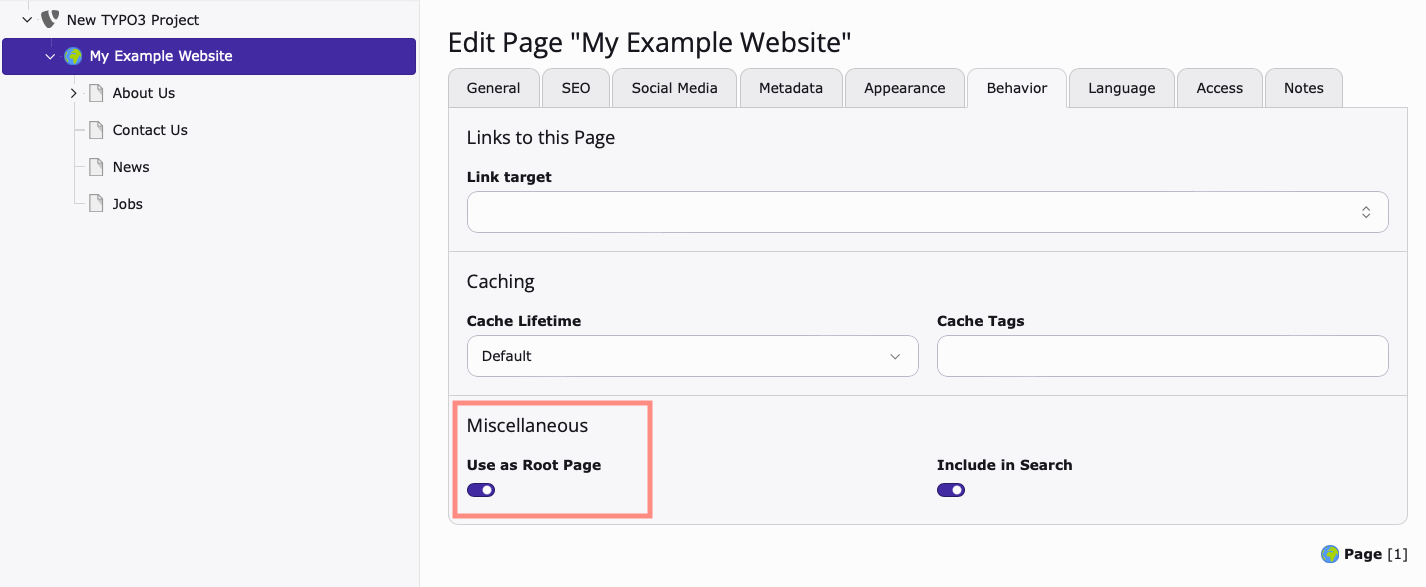
Ensure that at least one page exists in the Page Tree and the root / parent page
is configured correctly: Root Page > Page Properties > Behaviour > Use as Root Page
When a Root Page is created, a new Site record is automatically available.
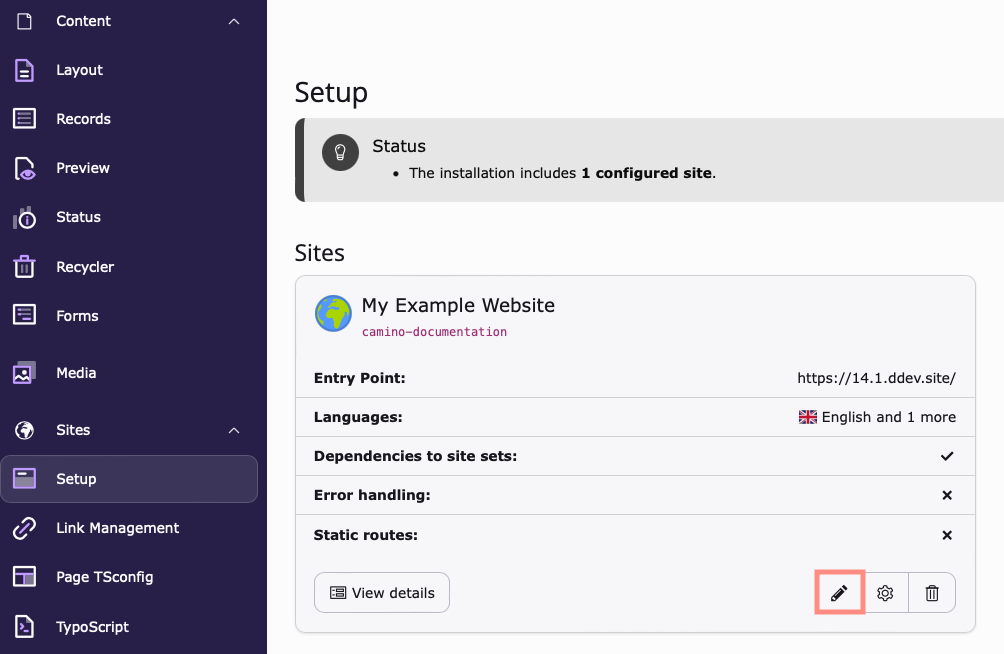
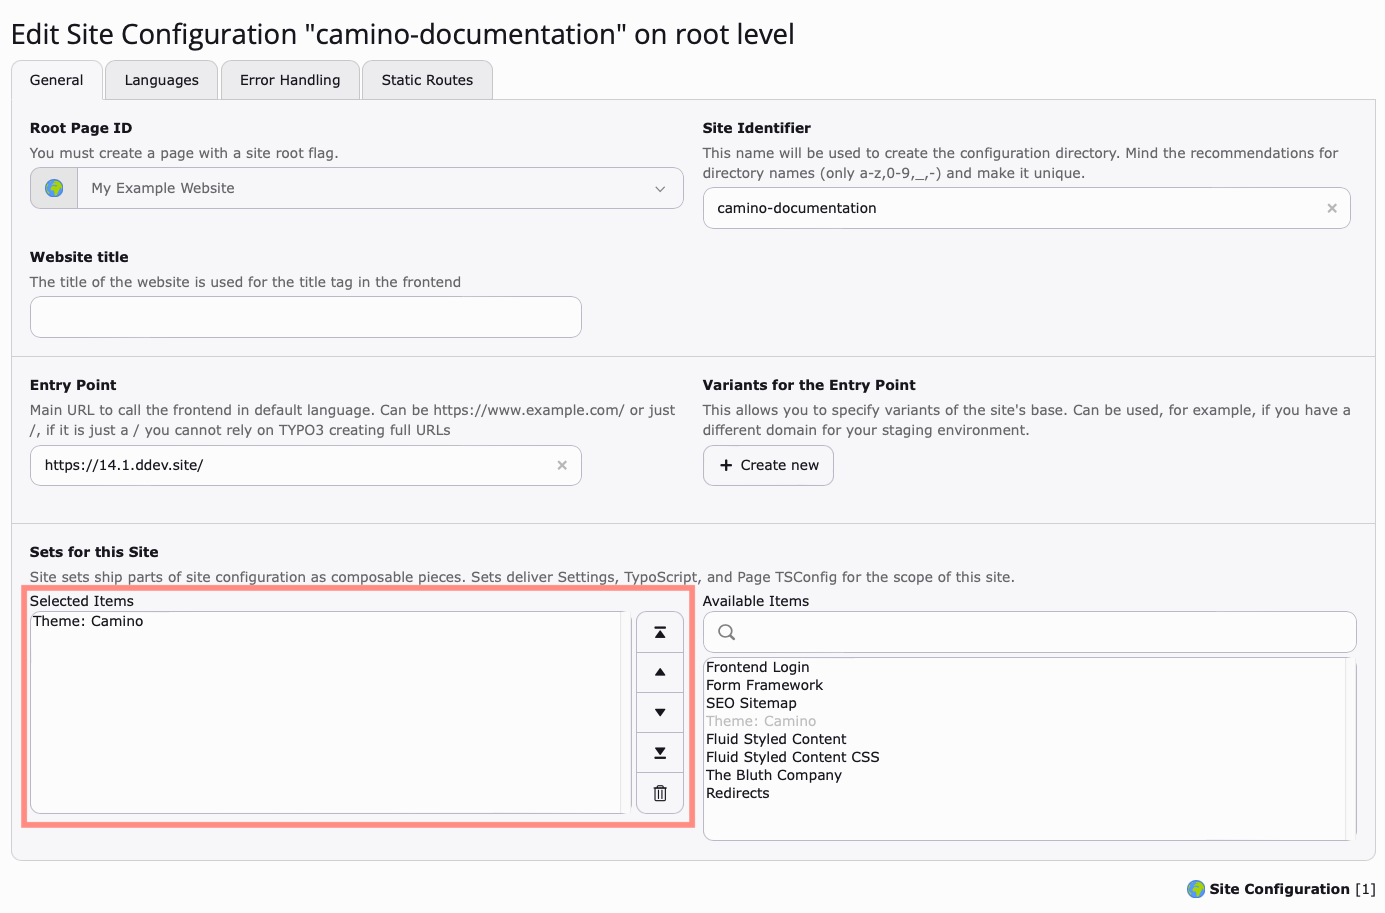
Edit Site Configuration
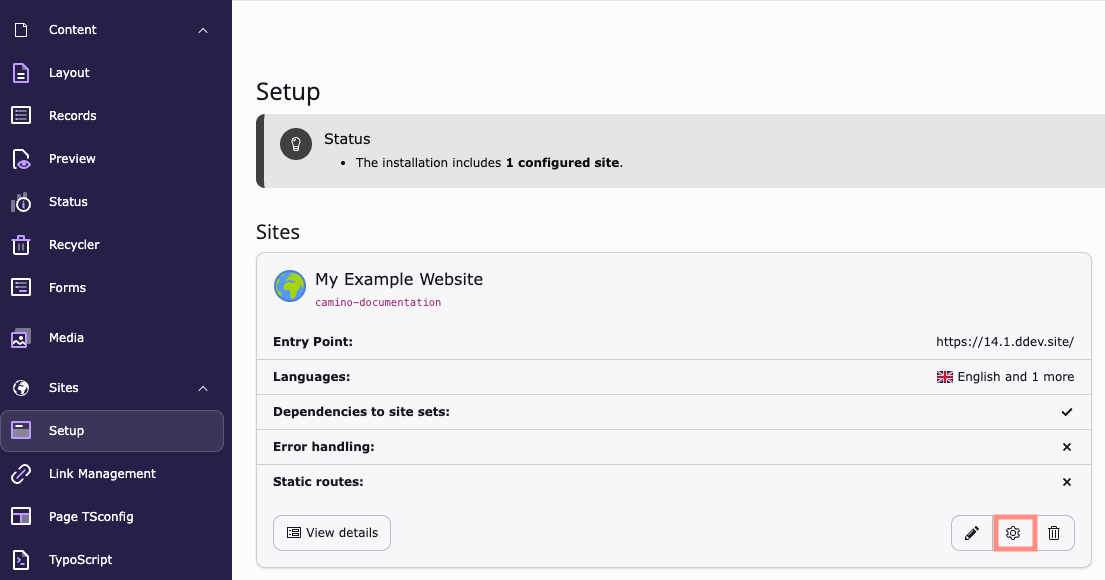
Access the Setup module: Sites > Setup > Edit Site Configuration (pencil icon) > General
Load Camino
Select the Camino theme and add it to the Selected Items column.
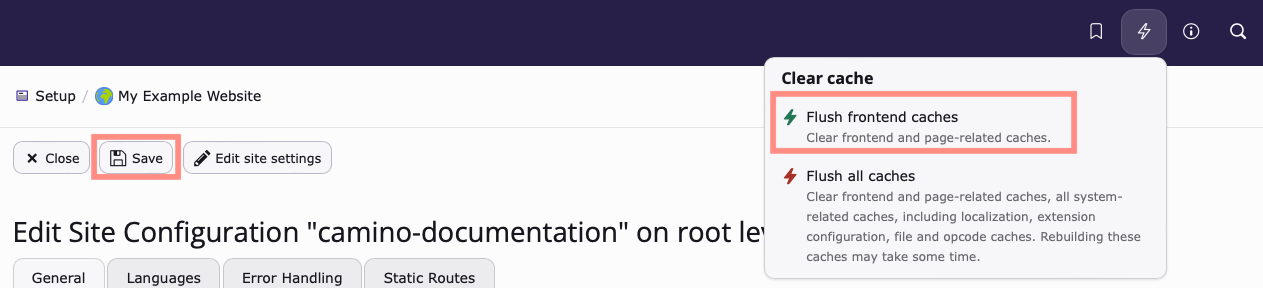
Save your changes and clear the cache
Save your changes. Then clear the cache
Adjust page tree and backend layouts
Now that the theme is activated, revisit your page tree
to apply the backend layouts, so that you can place
Camino-specific content elements and adapt the frontend
output.
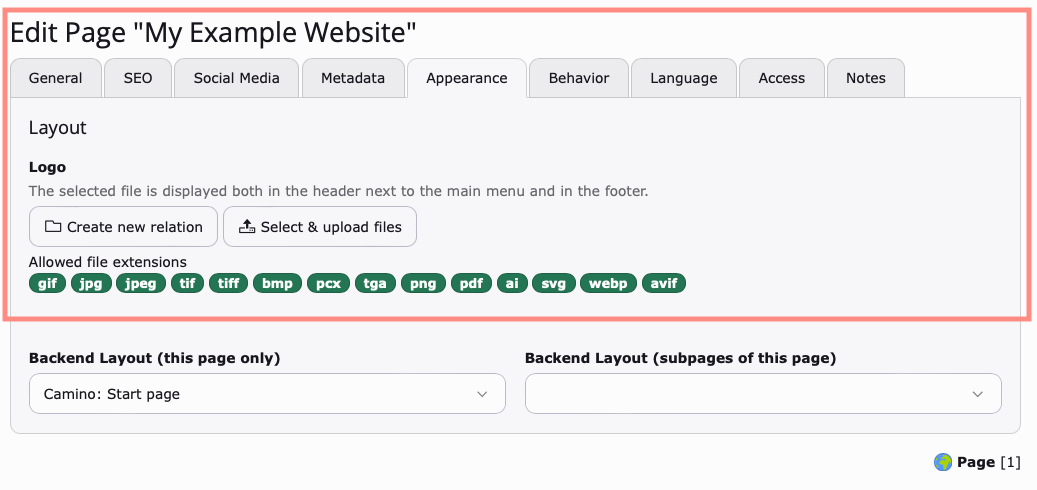
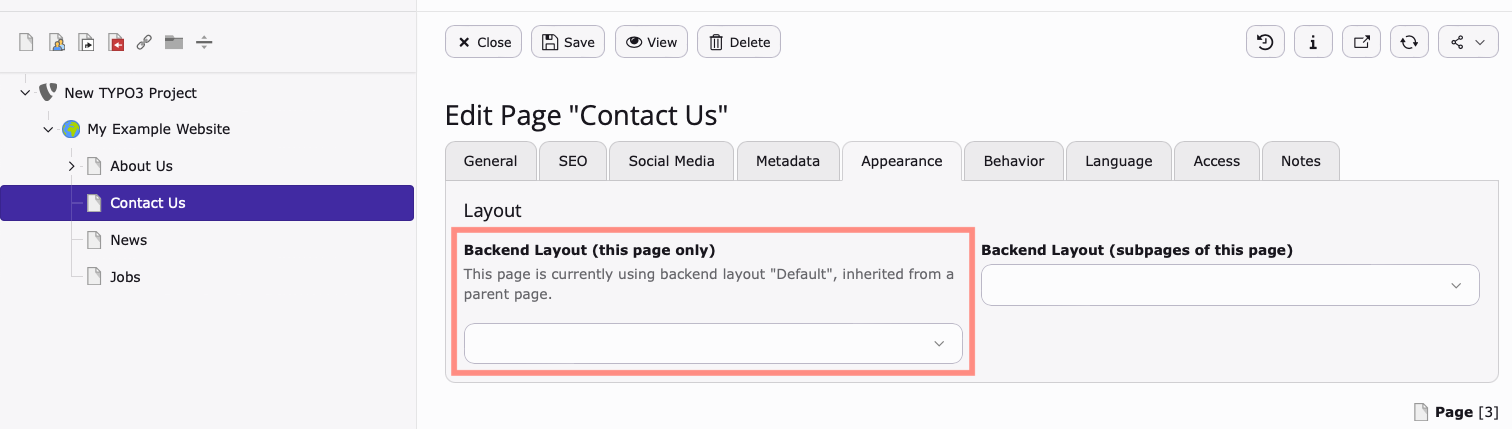
Select the page you wish to change: Content > Layout > My Page
Then select the Page Properties > Appearance > Backend Layout (this page only)
You can also specify the default backend layout used on newly created child pages
by using Backend Layout (subpages of this page)
Hint
Take care that every sub-page of your page tree needs to have a backend layout
assigned, either via the (this page only) or (subpages of this page)
directive. Otherwise, opening a page in the frontend without an assigned
layout will show an error page.
"Camino: Start page"
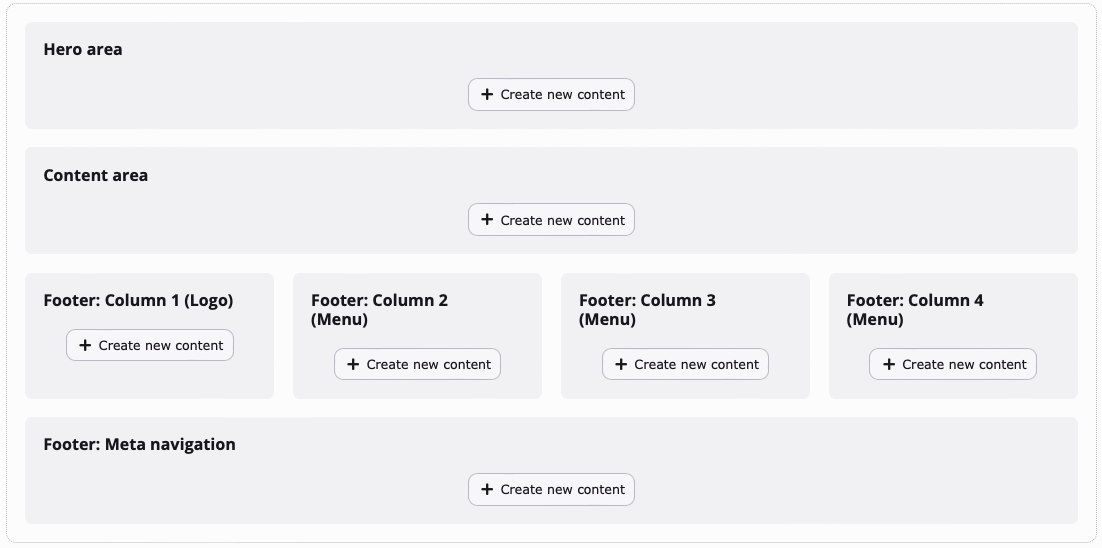
The start page backend layout is ideal for a homepage. It contains sections to add
a banner/ header, regular content and content for the footer.
"Camino: Start page" backend layout: The start pages main content can be added in the "Content area".
Global footer
Any content that is added to the footer of the root page will persist and be
visible on every other page when viewed in the frontend.
For example, if a "Social Media" content element is added to the footer section,
it will be visible in the footer of every page in the frontend.
To add content to the footer, use the Start Page backend layout on the root
page of your site.
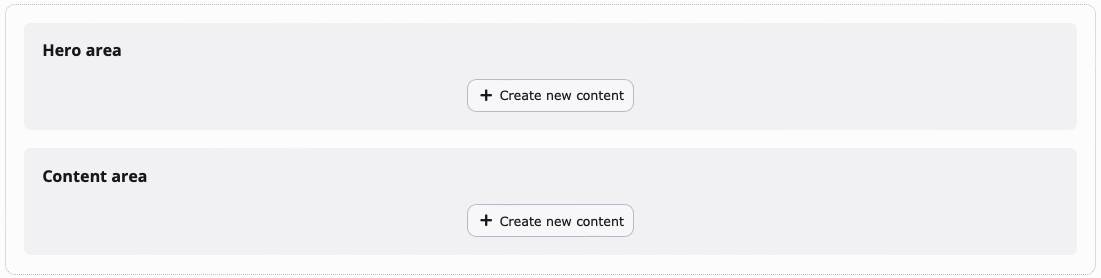
"Camino: Content page (full-width)"
The backend layout Camino: Content page (full-width) contains a
single content area where typical page elements such as text and images can be
added.
"Camino: Content page (full-width)" backend layout: Contains a single content area
"Camino: Content page (with sidebar)"
Content Page - With Sidebar contains two columns, with the sidebar section being
used to add meta information such as the page author and text teasers.
"Camino: Content page (with sidebar)" backend layout: The sidebar section can be used for meta information such as page author or text teasers.
Content elements provided by the Camino theme
Camino includes standard content elements and custom content elements.
Camino uses only a small number of standard TYPO3 content elements, these include:
Text
Text & Images
Form (used to embed forms created in the Forms module).
Login Form (used to access restricted areas in the frontend).
Custom content elements
Camino comes with new custom content elements that make it easy to add banners
and share links to third party platforms such as Mastodon, Facebook, YouTube and Instagram.
As discussed in the Backend layouts
section, custom content elements can only be used in specific places. This also
applies to standard content elements.
For example, the Page Header content element can only be used in the
Hero Section of the Start Page backend layout and cannot be inserted into
the footer or any other section on the page.
Below is a list of all the custom content elements that ship with Camino.
Hero page header, small & text only
These content elements create banners at the top of the page. Banners can include
a title, subheader, an image and a CTA (Call To Action) that links to another
page or an external source.
These three content elements can only be used in the Hero Section of the
Start Page backend layout.
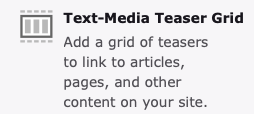
Text media teaser grid
Use Text-Media Teaser Grid to add a collection of "cards" that contain a title,
subtext and an image that links either to an internal page or an external source.
You can add a title, text and a button that will b placed above the collection of
cards.
This content element can only be used in the main Content Area which is found
in all three backend layouts.
Text teaser
Use a Text Teaser to add a title and text with a button that links to an internal
page or an external source.
The button can customized with an icon and can have its appearance modified
using the Link configuration drop-down.
This content element can only be used in the main Content Area found in all
three backend layouts.
Author card
Use an Author Card to add information about the author to a page. Information
such as the author's name, title and description can be added along with an
image and contact details.
Social media icons
Use these to add links to various platforms such as Mastodon, Linkedin, Instagram, Facebook,
Twitter and YouTube.
This content element can only be added to the Footer: Column 1 section of the
Start Page Backend Layout.
Link list
Use the Link List content element to add links to internal pages and external
sources.
This content element can only be added to the Footer: Column and
Footer: Meta Navigation sections of the Start Page Backend Layout.
Sitemap
Reference to the headline
Copy and freely share the link
This link target has no permanent anchor assigned.The link below can be used, but is prone to change if the page gets moved.


Social media icons
Use these to add links to various platforms such as Mastodon, Linkedin, Instagram, Facebook, Twitter and YouTube.
This content element can only be added to the
Footer: Column 1section of theStart PageBackend Layout.