For Editors
Target group: Editors
Using the content element
The extension is shipped with a content element Code Snippet. You'll find it in the content element wizard under the Special elements tab:
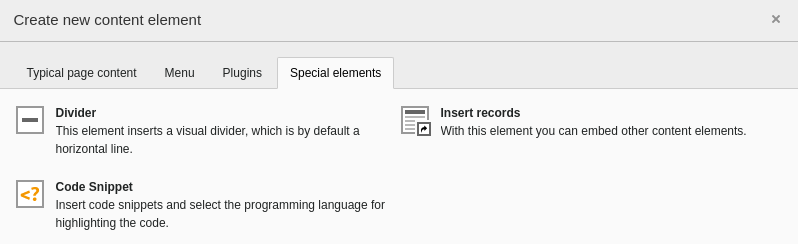
"Code Snippet" content element in the content element wizard
Selecting it creates a new content element.
General
In the General tab insert the code snippet into the according field:
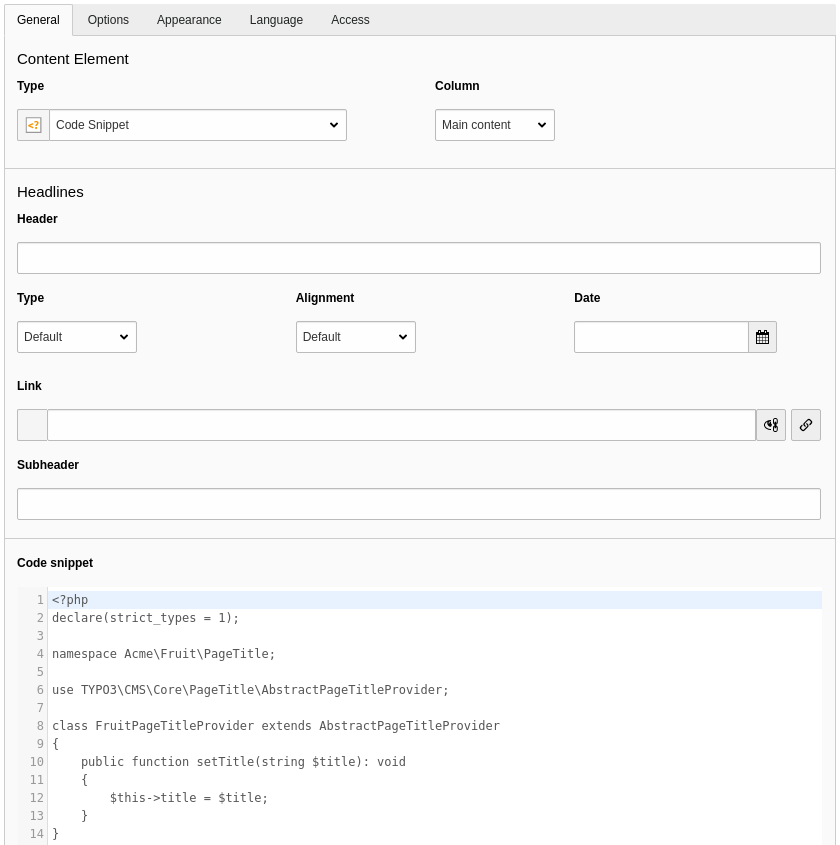
The "General" tab of the content element
Options
Here you'll find some settings to tune the visual representation of the code snippet. First of all you can select the programming language - dependent on the language the snippet is formatted:
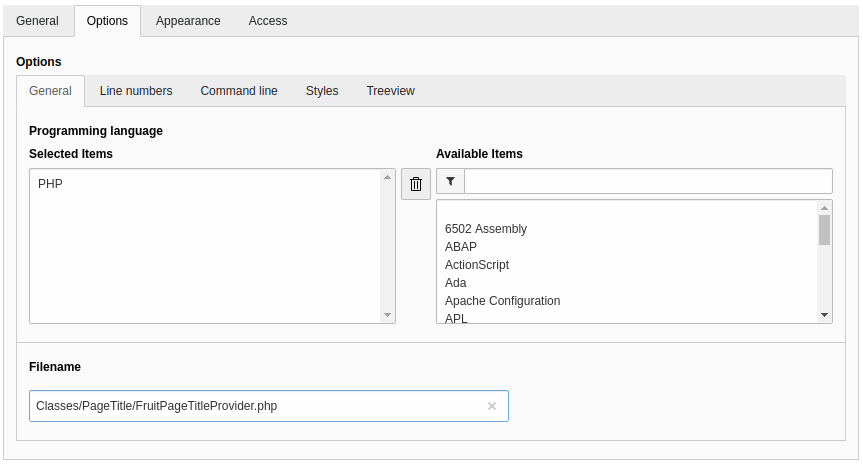
General options
- Programming language
Make use of the filter on the right side of the select box to find the needed programming language. You can only select one language at a time. Leave it empty if the language you want is not available or you don't want syntax highlighting.
- Filename
Give a filename if it makes sense for the code snippet. It will be shown near the snippet.
Line numbers
Sometimes it is desirable to add line numbers, start them at a different number than 1 or highlight one or more lines to point out something important. You can adjust these settings under the Line numbers tab of the options:
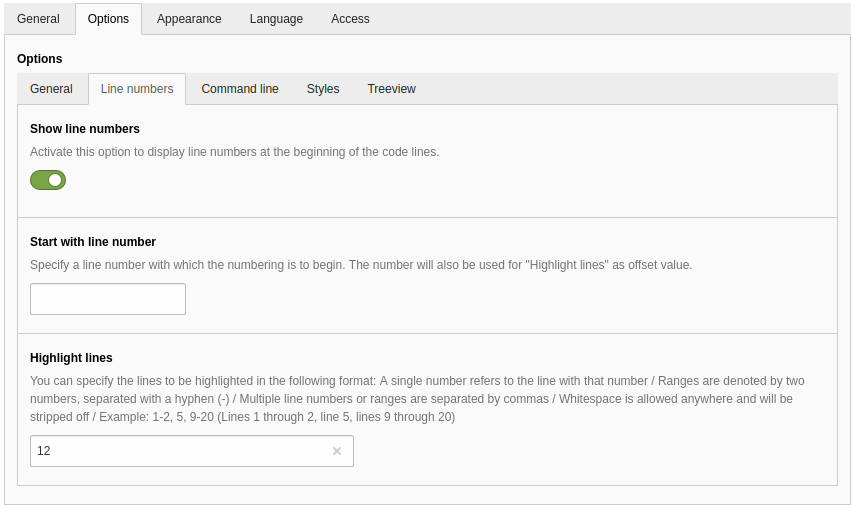
Options for showing and adjusting line numbers
- Show line numbers
Activate this option to display line numbers at the beginning of the each code line.
- Start with line number
Specify a line number with which the numbering is to begin. The entered number will also be used for "Highlight lines" as offset value.
- Highlight lines
You can specify the lines to be highlighted in the following format:
A single number refers to the line with that number
Ranges are denoted by two numbers, separated with a hyphen (-)
Multiple line numbers or ranges are separated by commas
Whitespace is allowed anywhere and will be stripped off
Example:
1-2, 5, 9-20(Lines 1 through 2, line 5, lines 9 through 20)When using an offset in the field Start with line number the lines must be adjusted accordingly.
Tip
When using the Highlight lines feature or the configuration option Usage of a URL hash is activated you can link to a specific line number by using the following as a URL hash:
#codesnippet{uid}.{lines}.{uid}is the id of the content element and{lines}is one or more lines or line ranges that follow the format outlined above.Examples:
#codesnippet14.3for highlighting line 3 of content element with id 14#codesnippet8.5-6for highlighting lines 5-6 of content element with id 8#codesnippet23.5-6,12-14for highlighting lines 5-6 and 12-14 of content element with id 23
Command line

To visualise the commands on a console you can activate the Display command line switch. A prompt will be shown before a code line.
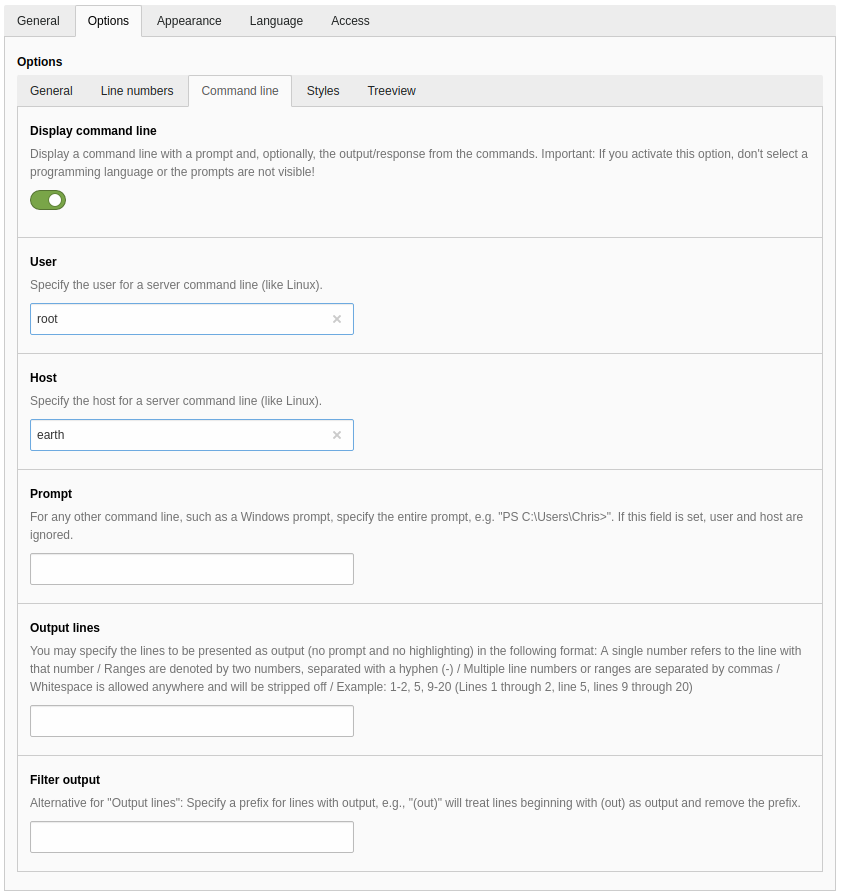
Options for a command line snippet
- Display command line
Display a command line with a prompt and, optionally, the output/response from the commands.
Please note: If you activate this option, don't select a programming language or the prompts are not visible!
- User
Specify the user for a server command line (like Linux). The resulting prompt displays a
#for the root user and$for all other users.Default value: Site configuration setting Command Line Default User or
user- Host
Specify the host for a server command line (like Linux).
Default value: Site configuration setting Command Line Default Host or
localhost- Prompt
For any other command line, such as a Windows prompt, specify the entire prompt, e.g.
PS C:\Users\Chris>. If this field is set, the values in the fields User and Host are ignored.- Output lines
You can specify the lines to be presented as output (no prompt and no highlighting) in the following format:
A single number refers to the line with that number
Ranges are denoted by two numbers, separated with a hyphen (-)
Multiple line numbers or ranges are separated by commas
Whitespace is allowed anywhere and will be stripped off
Example:
1-2, 5, 9-20(Lines 1 through 2, line 5, lines 9 through 20)- Filter output
Alternative for "Output lines": Specify a prefix for lines with output, e.g.,
(out)will treat lines beginning with (out) as output and remove the prefix.You can see some examples for the rendering of the command line on the plugin page of the Prism library.
Styles
To show a preview of a colour in CSS styles you can activate the Inline colour switch.
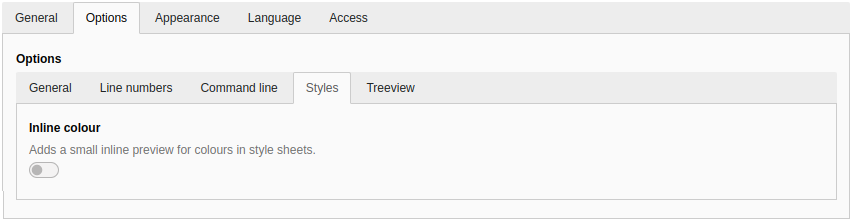
Options for a colour preview
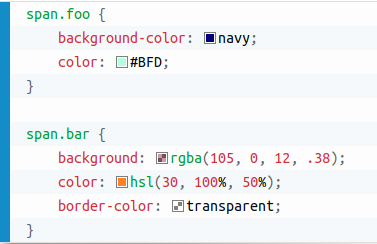
This adds a small square before the colour definitions:
Treeview
To highlight file system tree structures the Treeview switch can be activated.
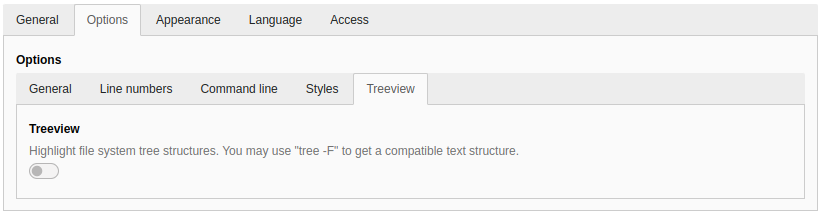
Options for a treeview
This adds icons for folders and files:
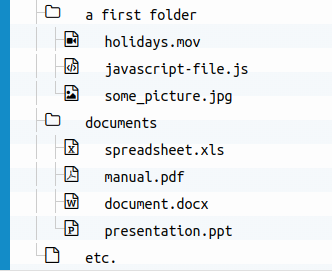
The treeview may be generated on Unix systems with tree -F.
Examples for a tree structure in the Code snippet field:
root_folder/
|-- a first folder/
|   |-- holidays.mov
|   |-- javascript-file.js
|   `-- some_picture.jpg
|-- documents/
|   |-- spreadsheet.xls
|   |-- manual.pdf
|   |-- document.docx
|   `-- presentation.ppt
|       `-- test
|-- empty_folder/
`-- README.md
or:
├── a first folder/
|   ├── holidays.mov
|   ├── javascript-file.js
|   └── some_picture.jpg
├── documents/
|   ├── spreadsheet.xls
|   ├── manual.pdf
|   ├── document.docx
|   └── presentation.ppt
└── etc.
Appearance
The Appearance tab gives the possibility to select a layout or show the content element in section menus, like in other content elements.
Access
On the Access tab you'll find the default fields, like Visibility of content element or the publish dates.