Installation
Target group: Administrators
Installation process - step by step
In this installation guide, we will override some values and make our blog more individual. Some steps are already described in the Quick Installation.
- Import and install the extension
- via the extension manager
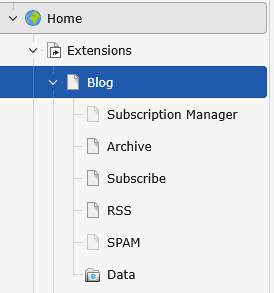
- Create the following pages
- - See Quick Installation
-
- Optional: add an RSS page (standard page) which will contain the RSS plugin
- Optional: add a page (standard page) for subscribing to new blog posts
- #. Include static template
- #. Add plugins to the pages
-
- See Quick Installation
- Optional: add the RSS plugin to your RSS page
- Optional: add the Blog Subscription Form plugin to the previously created page
- Start to configure your Blog. This is an TypoScript example:
plugin.tx_t3extblog {
	settings {
		blogsystem {
			posts {
				paginate {
					itemsPerPage = 99
					insertAbove = 1
					insertBelow = 1
					maximumNumberOfLinks = 50
				}
				metadata {
					enable = 1

					twitterCards {
						enable = 0
					}
				}
			}
			comments {
				allowed = 1
				allowedUntil = +6 months
				approvedByDefault = 0

				subscribeForComments = 0
			}
		}
	}
}
module.tx_t3extblog < plugin.tx_t3extblogSee Configuration for all possible settings.
Important
Assigning the TypoScript settings to backend context by using module. is essential
when overriding values. Don't forget it!
Important
Make sure to configure all mandatory settings, see the minimal configuration!
Tip
It is recommended to use the constants in conjunction with custom TypoScript. Copy both configuration files
(constants. and setup. located in EXT:) and include
(using <INCLUDE_ them in your root template.
Next Steps
- Setup the RSS page TypoScript: RSS setup
- Configure speaking URLs (optional): Speaking URL configuration
- Copy all templates, configure the paths in TS and start adjusting the HTML markup to your needs
- Start blogging: Users manual.