Administrator Manual
Target group: Administrators
Describes how to manage the extension from an administrator point of view.
General
Configuration
Storage Page
- Create a storage page
- Refer to it in the scheduler task
- Also refer to it in the plugin
Multi plugin use
You can configure your scheduler task to save data to a specific storage page that you can later use in the plugin to access data. There is also an option to display only specific rows. Please use the field “name” to do this. In the plugin you can configure which “name” to use. To select the latest entry use the empty field.
Change timezone
Go into your TYPO3-Install tool and change the timezone under All configuration -> System -> phpTimeZone. This will change the timezone
Current Weather (Weather Report)
Installation
How do I get set up?
- Create a new http://openweathermap.org account and copy your api key
- Download the extension from the TYPO3 extension repository
- Enable the scheduler extension in your TYPO3 installation if not already done
- Create a new scheduler with the Call openweathermap.org api selected with the scheduler module
- Configure the scheduler by filling out the required fields. Please Note that the field “name” is later used to only display specific records
- Create a new content element with the weather extension plugin selected
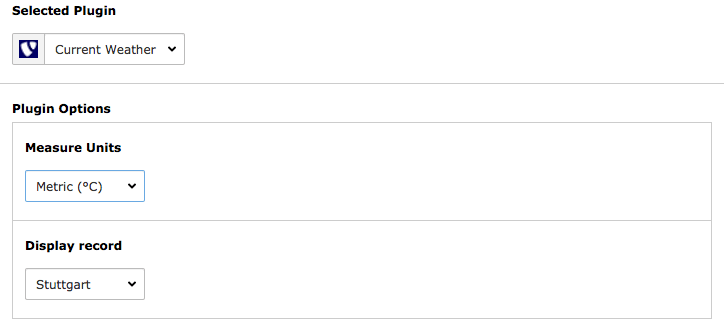
- Select the desired measure units to display
- If you want to select a display record to display only records with the same name that you specified earlier
- Add extension template file to your template
- Enjoy! ;)
This is how the content element plugin looks like
Weather Alerts
Installation
Get regions from Deutscher Wetterdienst
- Go to the scheduler module.
- Add a new task and select ‘Get regions from Deutscher Wetterdienst’.
- Set this task as single because you have to execute this only once.
- Save and exit
- Execute the task
- If the execution was successful you will see all the region records in your root page.
- Done
Take a look into Get Weather Alerts from Deutscher Wetterdienst
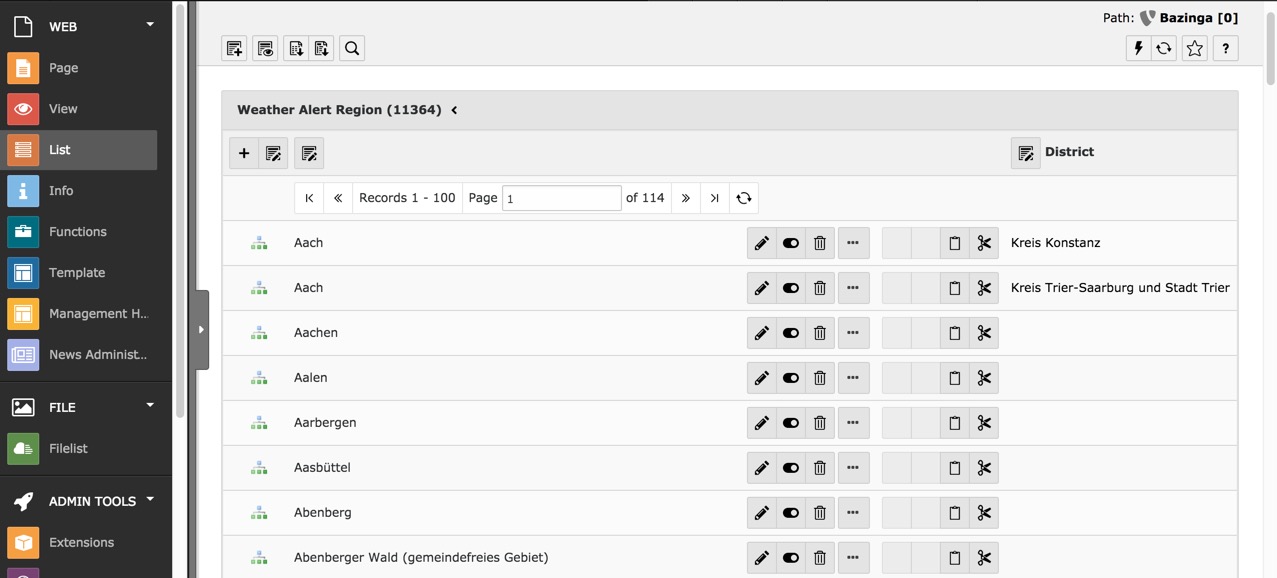
Create regions manually
- Go into the page or list module.
- Select your root page (or a page/folder you want) on the page tree.
- Click on ‘Create new record’ and select ‘Weather Alert Region’.
- Now you can enter the City name and additionally the district of your city.
- Done
Take a look into Get Weather Alerts from Deutscher Wetterdienst
Get Weather Alerts from Deutscher Wetterdienst
- Go to the scheduler module.
- Add a new task and select ‘Get weather alerts from Deutscher Wetterdienst’.
- You should set recurring as type and e.g. 3600 as frequency to get each hour the latest alerts.
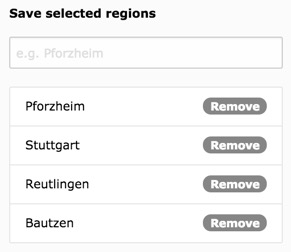
- Now you can search for your regions. Please make sure you added the regions or got them from Deutscher Wetterdienst. Don´t know? Take a look into Get regions from Deutscher Wetterdienst and/or Create regions manually.
- You can add multiple cities to your selection.
- If you have a record stroage page you can select it additionally. This can be useful for Multi plugin use. Otherwise the records will be saved on root page.

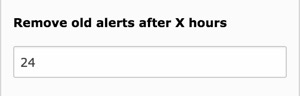
- Typically we don´t need to keep old Alerts. Old alerts can be removed from the scheduler automatically after checking ‘Remove old alerts’ and setting a time e.g. 24 (hours).
- Now you´re done and ready to execute the scheduler.
Read the user manual to get an output on your website.