Create some initial content
Recommended page structure
Create at least the following pages:
- "Home": Root page of the site, containing the root TypoScript template record and the start page content: Normal page.
- "Article Storage": A folder to store the articles in: Folder
Usually you will also need
- "Products": A page to display all articles on: Normal page
- "Checkout": A single page to display the checkout process on: Normal page
Your page tree could, for example look like that:
Home
├── Some page
├── ...
├── Products
│   └── Checkout
├── ...
└── Storage
    ├── Other storage
    ├── ...
└── Article StorageCreate articles
Before any articles can be shown in the frontend those need to be created.
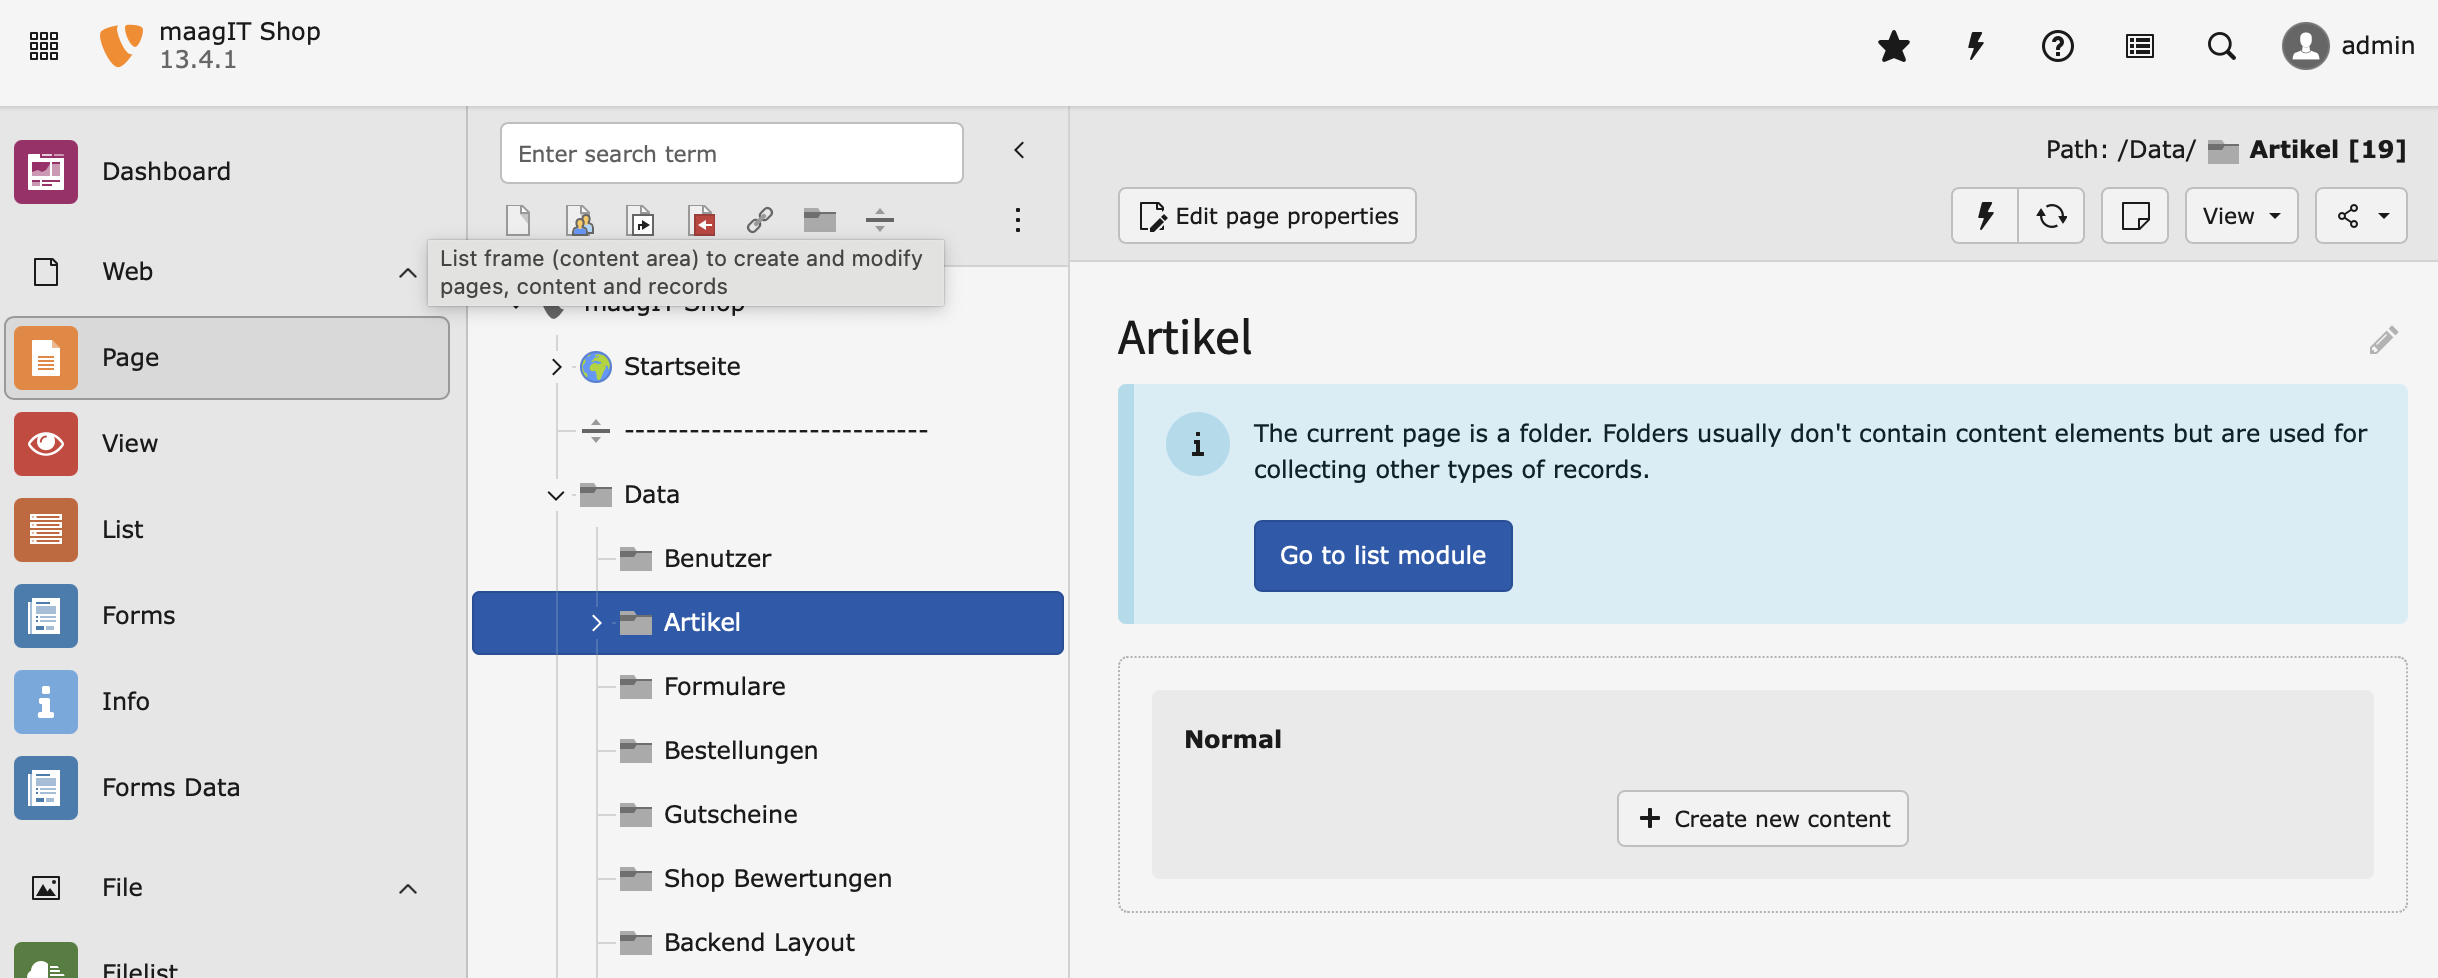
- Go to the module Web > Page
- Go to the "Article Storage" Folder that you created in the first step.
- Use the button Create new record and select the entry Product.
-
Fill out all desired fields on all desired tabs (e.g. see Product and click Save.
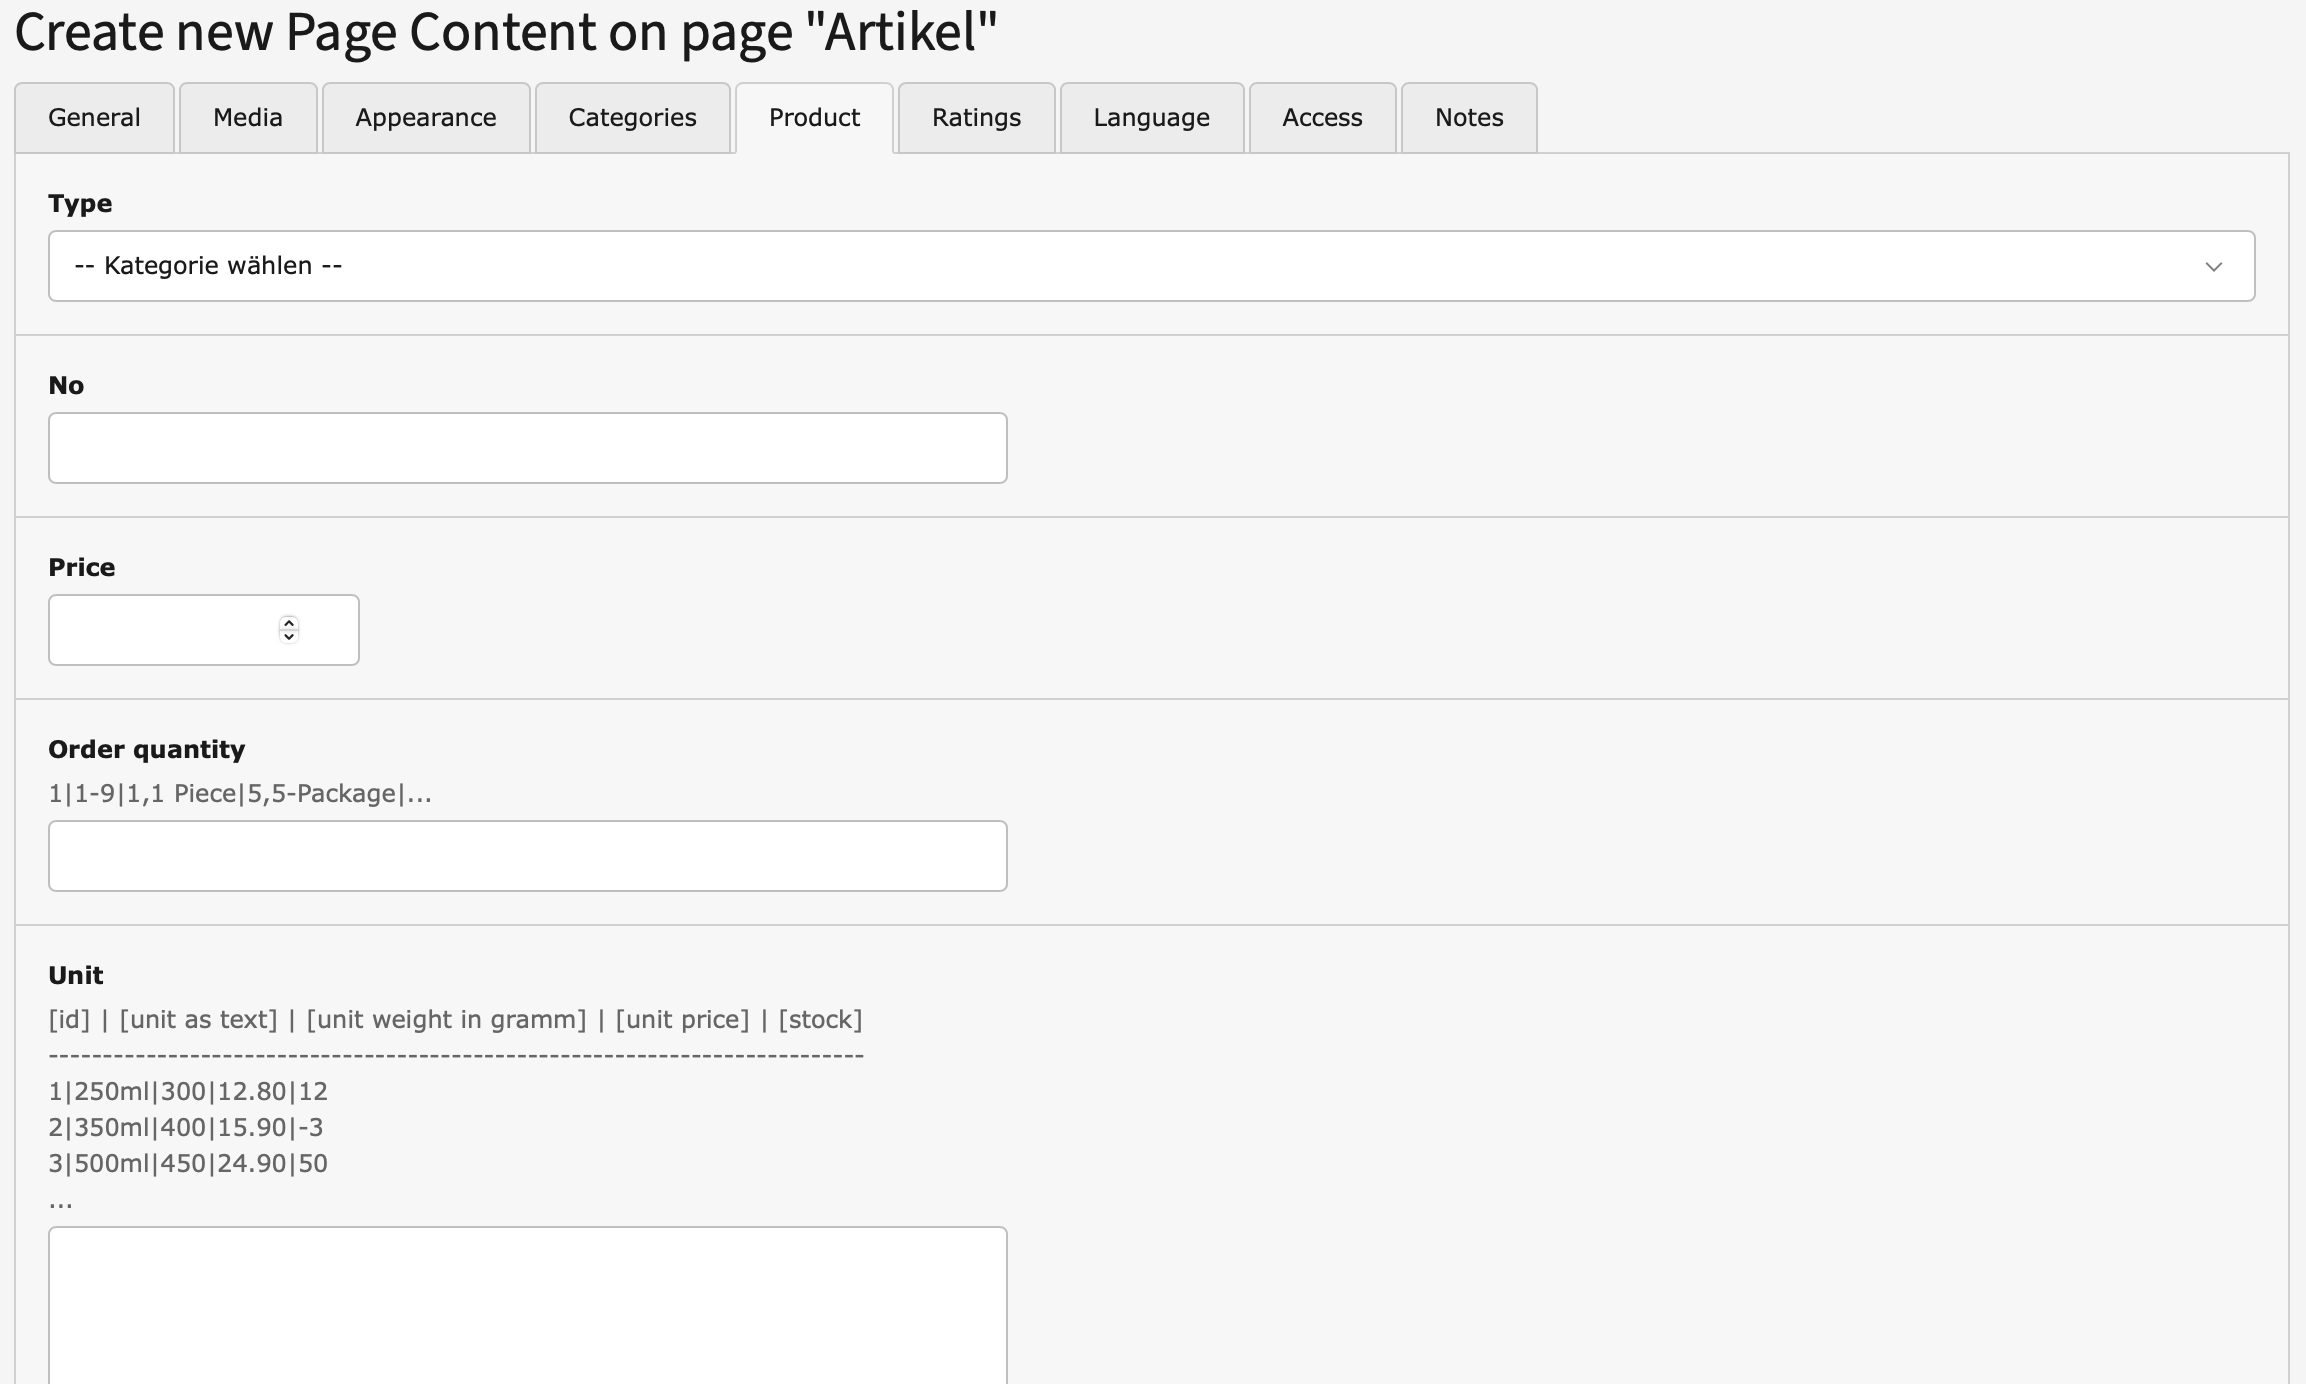
More information about the records can be found here: recordproduct, recordcategory.
Tip
Articles are normal content objects and uses it's fields Title, Description, Media, and so on.
Add plugins: display the articles in the frontend
A plugin is used to render a defined selection of records in the frontend. Follow these steps to add a plugin respectively for product list and view to the basket:
Product page
- Go to module Web > Page and to the previously created page "Products".
- Add a new content element and select the entry MaagIT Product > Maagit Product List.
- Switch to the tab Configuration where you can define the plugins settings. The most important settings are Storage Pid and Recursive.
- Fill the field Storage Pid by selecting the sysfolder you created in the beginning of the tutorial.
- Save the plugin.
Basket
- Go to module Web > Page and to the previously created page "Products".
- Add a new content element and select the entry MaagIT Product > Maagit Product Basket.
- Switch to the tab Configuration where you can define the plugins settings. The most important settings are Checkout page.
- Fill the field Checkout page by selecting the Checkout page you created in the beginning of the tutorial.
- Save the plugin.
Read more about the plugin configuration in chapter plugin.
Have a look at the frontend
Load the "Products" page in the frontend and you should now see the article records as output. A click on the "add to basket" link should add the article to the basket. You want to change the way the articles are displayed? Have a look at the chapter Templating