Configurations
- Once the extension is installed successfully, navigate to the OpenID Connect Client tab of the plugin and fill in all the required fields as below:
OAuth/ OpenID Provider Name: {Name of your provider (e.g., Keycloak)}
Application type: OAuth/OpenID Connect
Frontend Redirect/Callback Url : {Response Plugin Page URL which you created in step 4} (You will need to provide this URL to your OAuth/OIDC provider i.e., Keycloak)
feoidc page URL: {feoidc Plugin Page URL which you created in step 4}
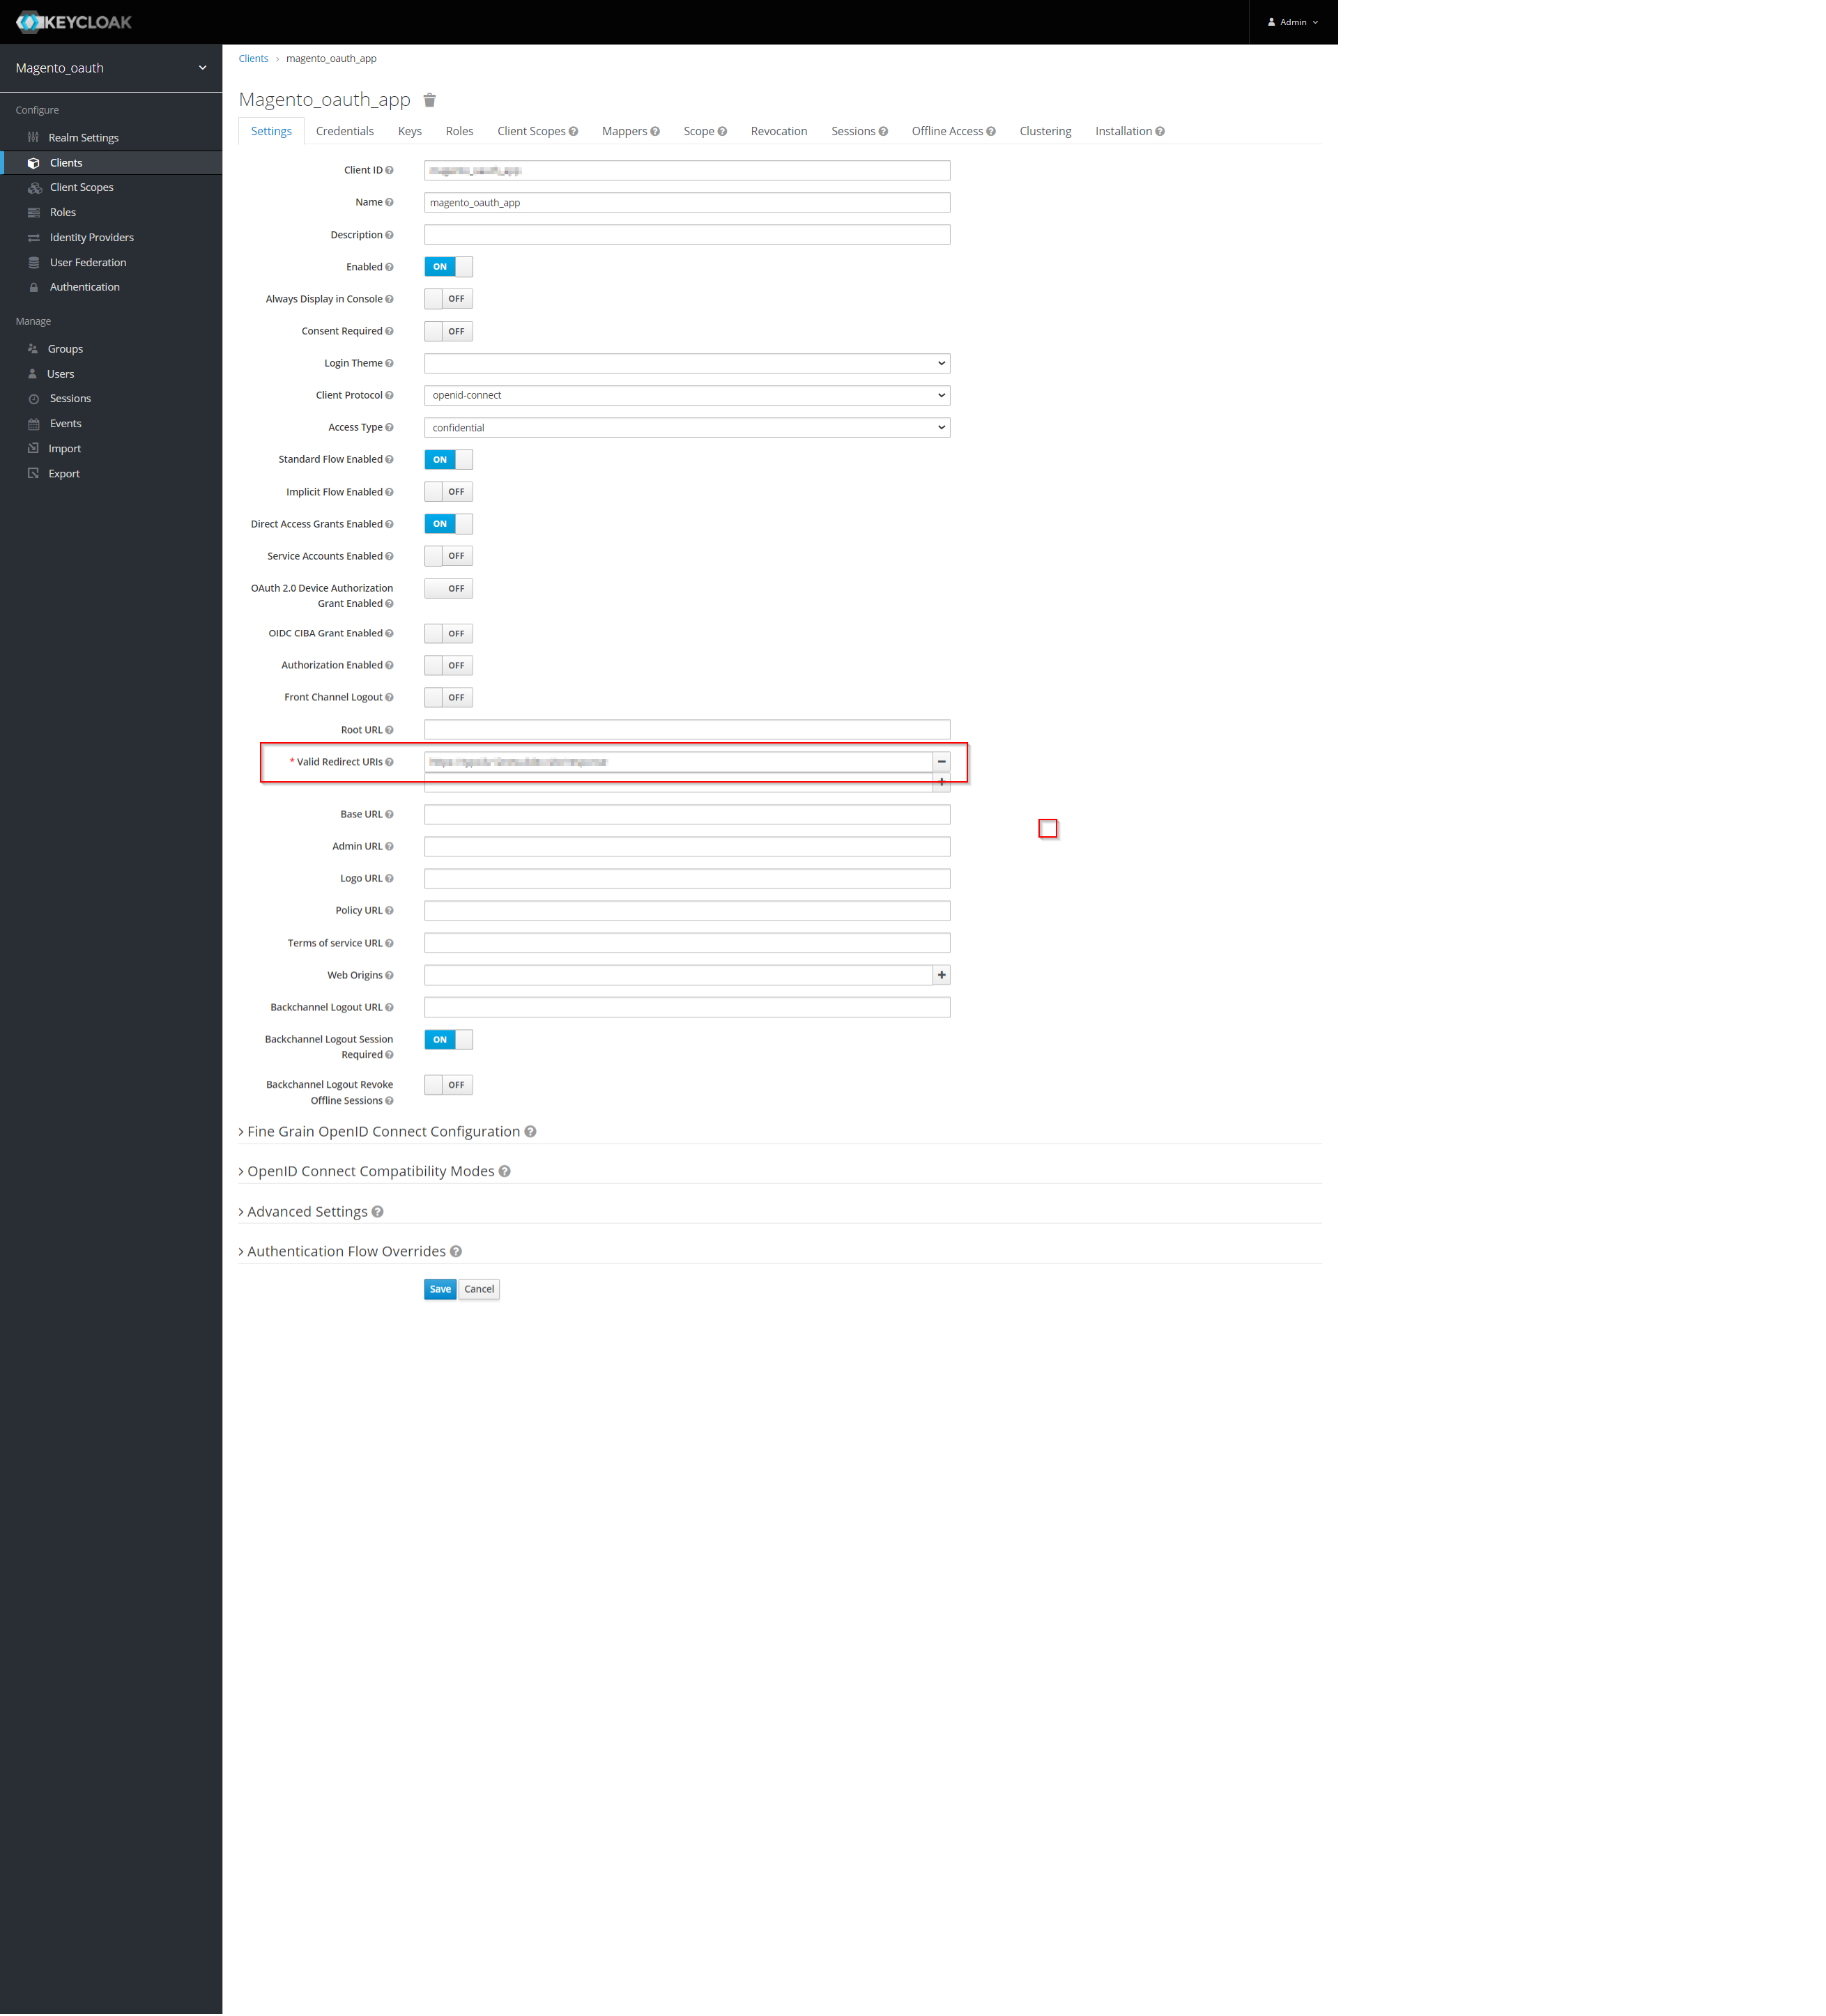
Client ID : {You will get it from your provider, i.e., keycloak}
Client Secret : {You will get it from your provider, i.e., keycloak}
Scope : openid profile email
Authorization Endpoint : <Keycloak base URL>/realms/{realm-name}/protocol/openid-connect/auth
Token Endpoint : <Keycloak base URL>/realms/{realm-name}/protocol/openid-connect/token
User Info Endpoint : <Keycloak base URL>/realms/{realm-name}/protocol/openid-connect
Set client credentials in : Header/Body

Provide the redirect/callback URL in your Keyclaok application by copying it from Frontend Redirect/Callback Url field in OpenID Connect Client tab.
Once you are done with the configurations on both ends (i.e., Typo3 and Keycloak), click on the Test Configuration button in the OpenID Connect Client tab of the plugin and check if you are able to test it successfully.

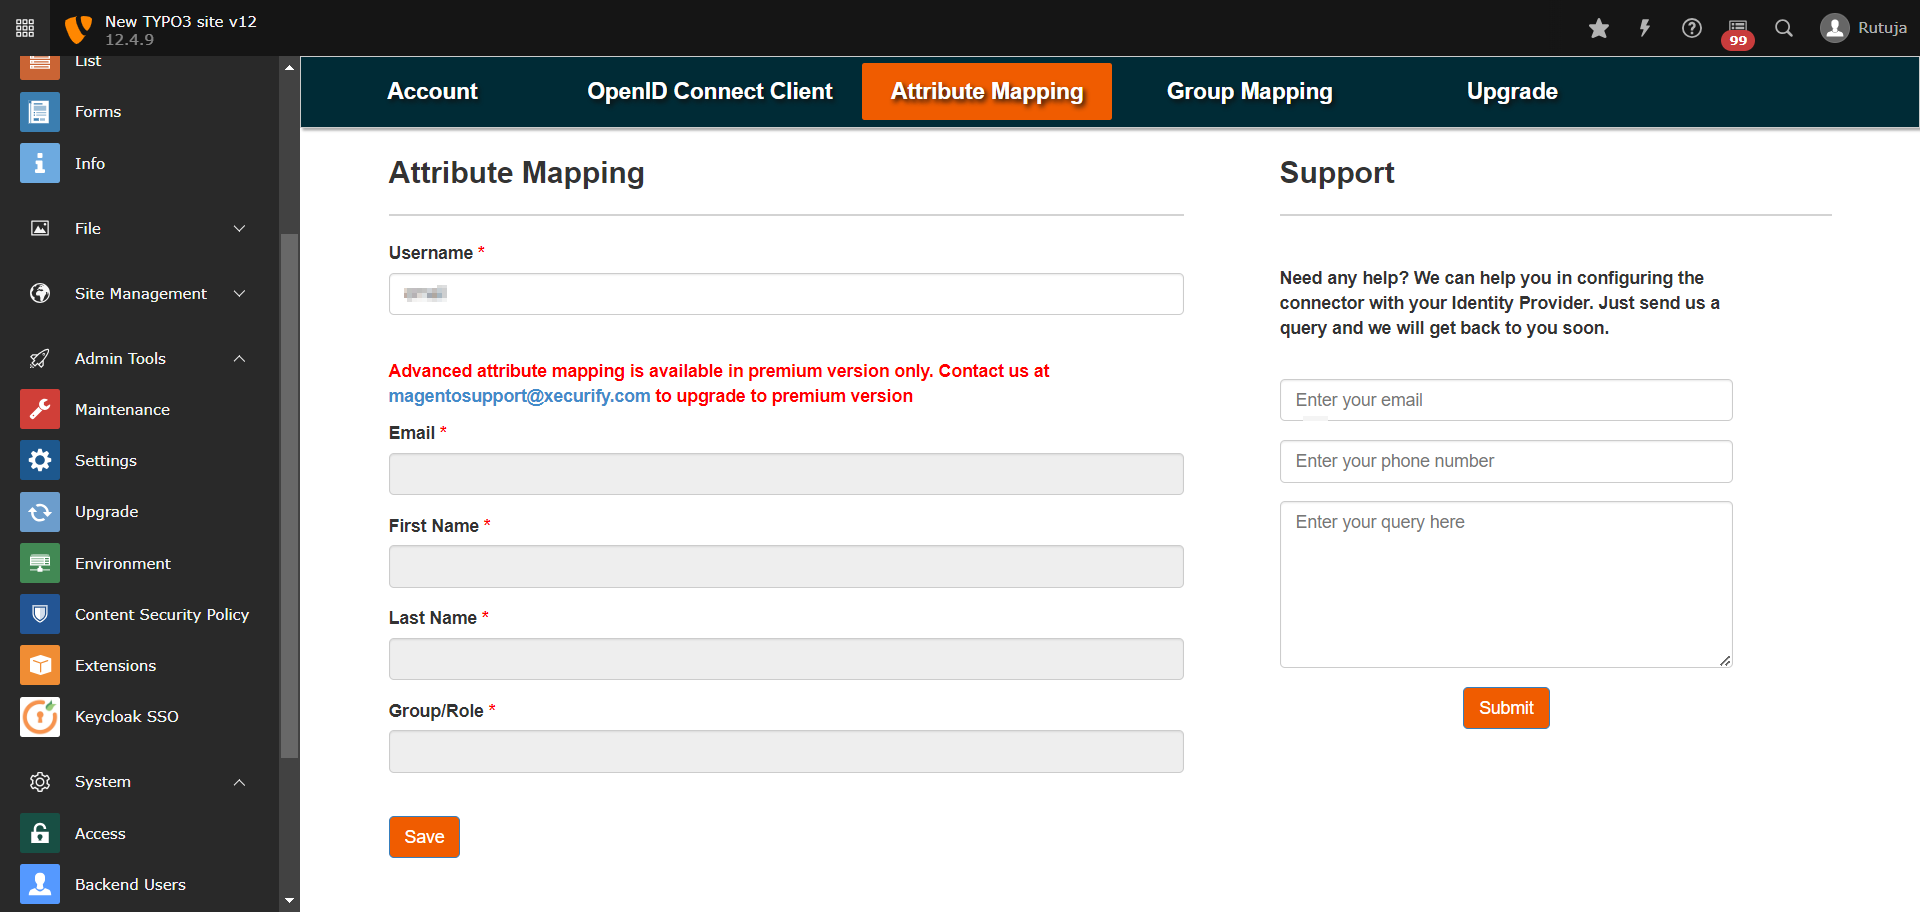
Navigate to the Attribute Mapping tab and map the Username attribute to the keycloak attribute using which you want to identify the users in Typo3 (you can find all the attributes received from keycloak in the test configuration).
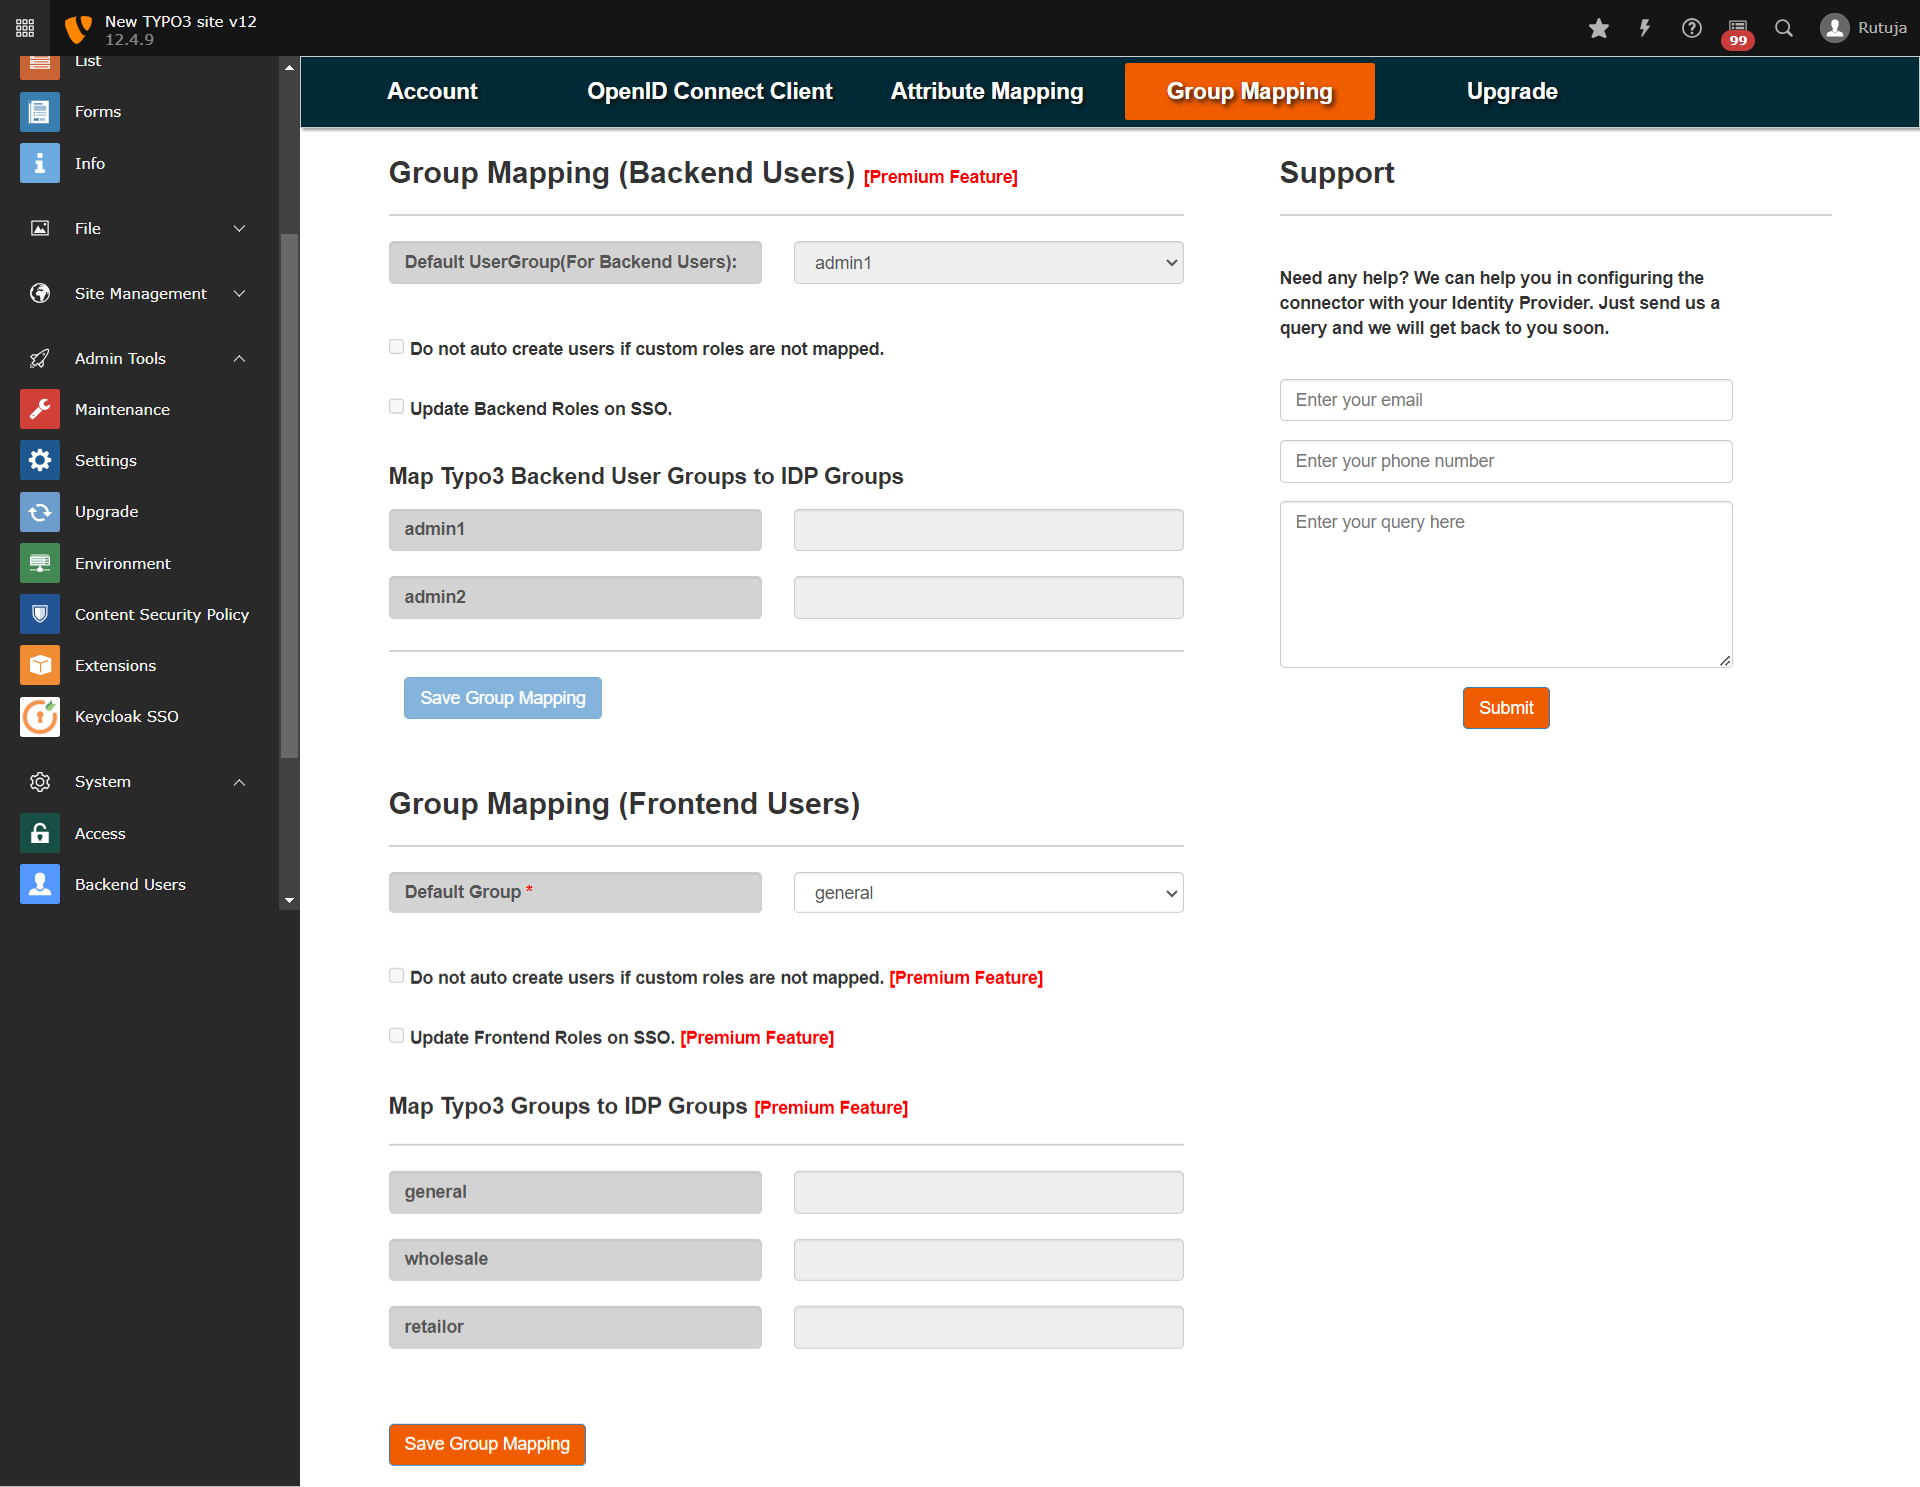
Navigate to the Group Mapping tab of the plugin and save the Group Mapping for Frontend Users by selecting the Default Usergroup.
Once you have done all the above steps, you are ready to test the SSO. You can use your Feoidc Page URL in order to initiate the SSO.
You can refer to the below guide link for more information: https://plugins.miniorange.com/keycloak-single-sign-on-typo3-sso-oauth-openid-connect