Configuration of Microsoft Entra ID (formerly Azure AD)
Attention
The Client ID can be found on the overview page in Azure and should not be confused with the Client Secret ID. For the secret configuration, only the Secret value itself is required, not the Secret ID.
Please follow the steps below to configure Microsoft Entra ID (formerly Azure AD) for the TYPO3 extension ok_exchange365_mailer. This configuration is necessary to enable secure email sending through Microsoft Exchange 365 using the Graph API. .. note:: This guide assumes you have administrative access to Microsoft Entra ID and the necessary permissions to register applications.
-
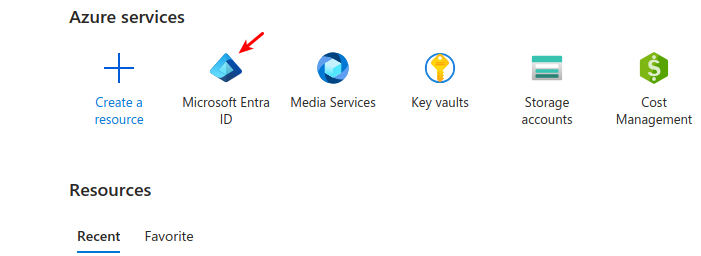
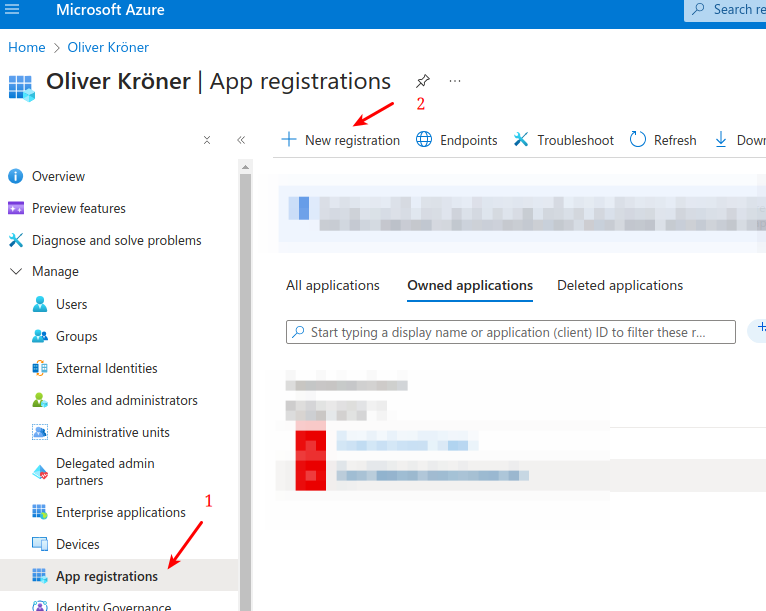
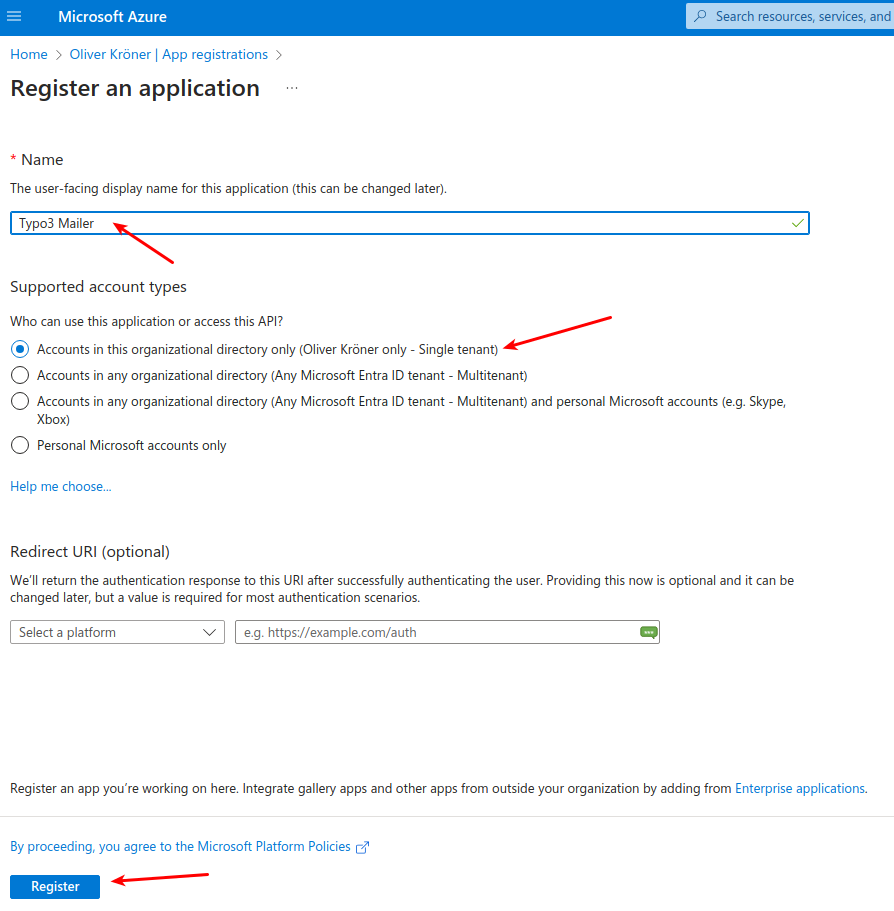
Register an application in Microsoft Entra ID (formerly Azure AD).
Please go to https://portal.azure.com
-
Register the application in Microsoft Entra ID.
Note
- Name: Choose a descriptive name for your application.
- Supported account types: Select "Accounts in this organizational directory only (Single tenant)".
-
Register an application.
Attention
Redirect URI: No redirect URI is required since this application uses client credentials flow for server-to-server authentication without user delegation.
-
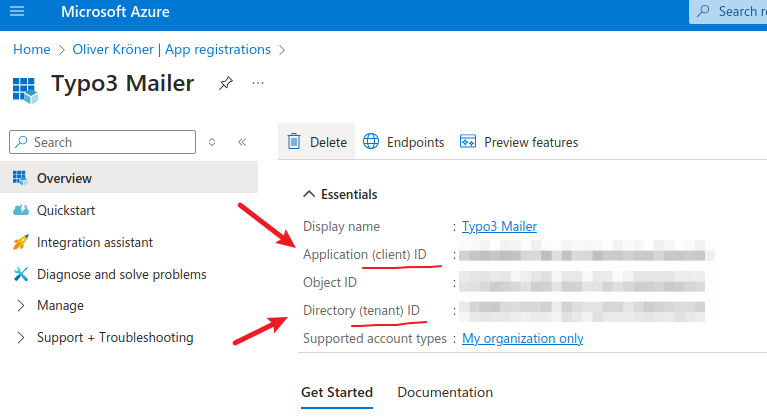
Collect tenant ID and client ID.
- Tenant ID: This is the unique identifier for your Microsoft Entra ID tenant.
- Client ID: This is the unique identifier for your registered application.
Attention
The Client ID can be found on the overview page in Azure and should not be confused with the Secret ID. For the secret configuration, only the Secret value itself is required, not the Secret ID.
-
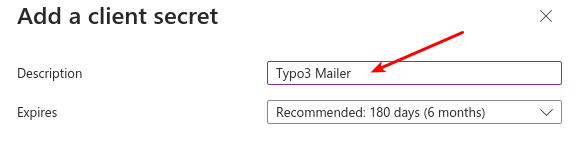
Create a client secret. - Navigate to the "Certificates & secrets" section of your application. - Click on "New client secret".

-
Add client secret.
Attention
- Secret Value: Copy the secret value immediately after creation. You won't be able to see it again.
- Expiry: Ensure you manage the expiration of the secret and renew it before it expires to maintain uninterrupted service.

-
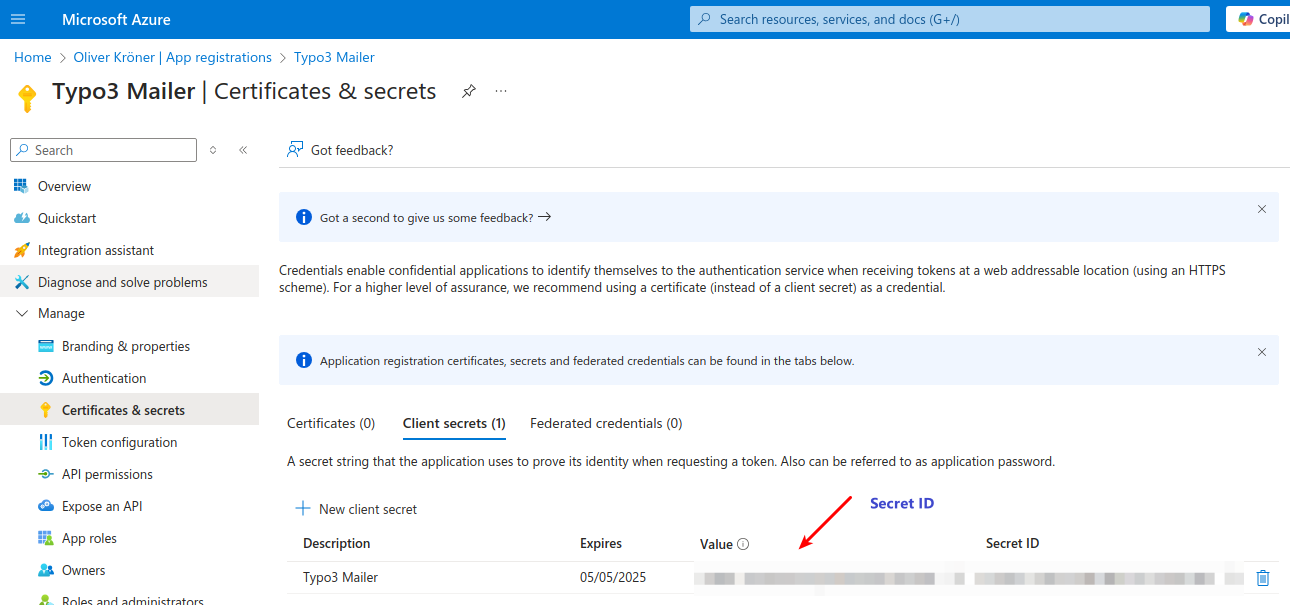
Copy secret value.
- Secret Value: This is the value you will use in your TYPO3 configuration to authenticate with Microsoft Entra ID.
- Secret ID: This is not required for the configuration, only the Secret Value is needed. This will be later on the clientSecret in the TYPO3 configuration.
Attention
The Secret Value is sensitive information. Store it securely and do not expose it in public repositories or logs.
-
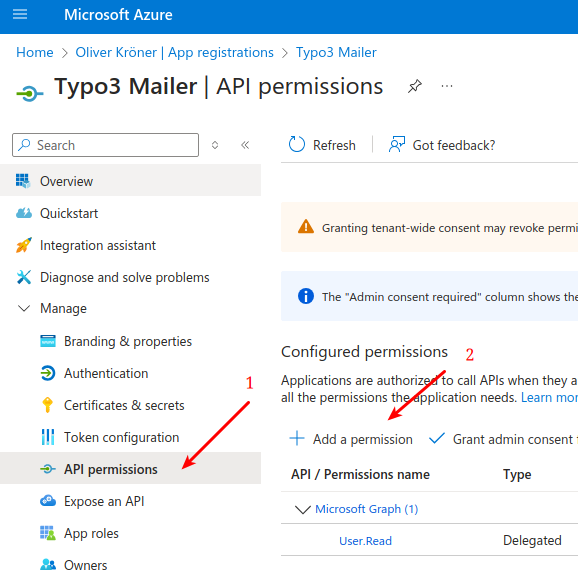
Assign API permissions.
- Navigate to the "API permissions" section of your application.
- Click on "Add a permission".
-
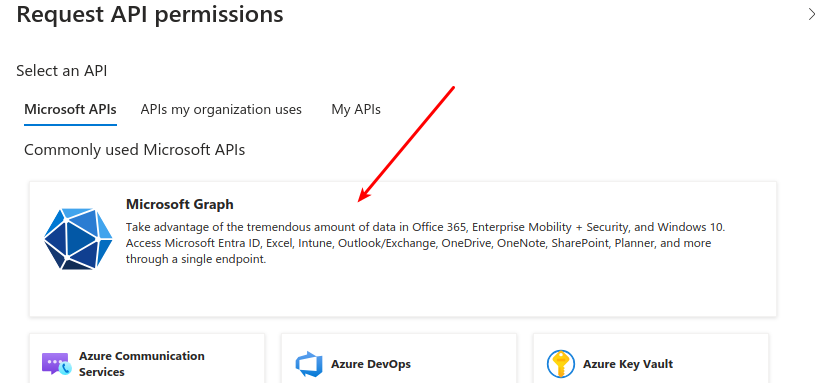
Select Microsoft Graph.
Choose "Microsoft Graph" as the API you want to access.
-
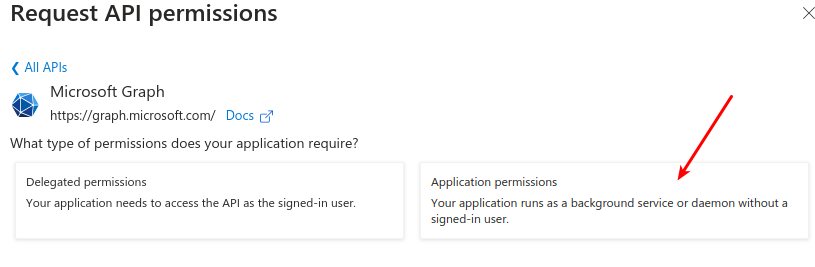
Select application permissions.
Choose Application permissions since this application will run without user interaction.
-
Add Mail.Send permission.
- This permission allows the application to send emails on behalf of users in your organization.
- Choose Mail.Send (Send mail as any user) and "Add permissions".

-
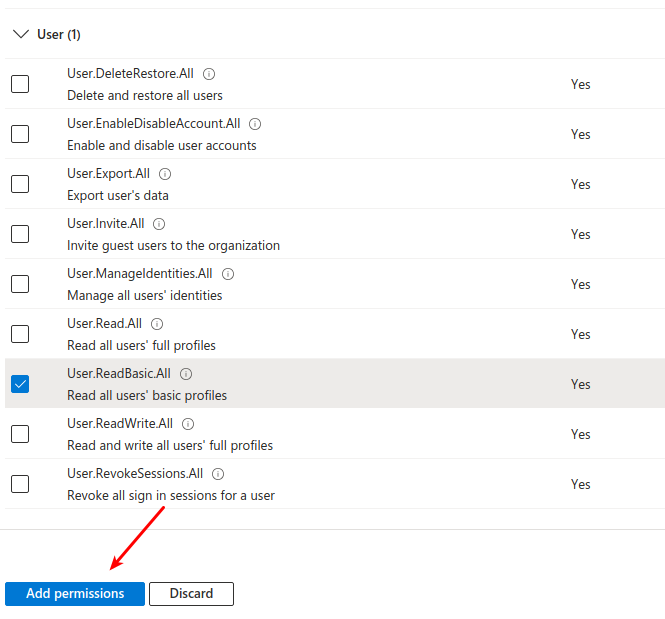
Add User.ReadBasic.All permission.
- This permission allows the application to read basic user information, which is often necessary for sending emails on behalf of users.
- Click on "Add permissions" after selecting the permission.
-
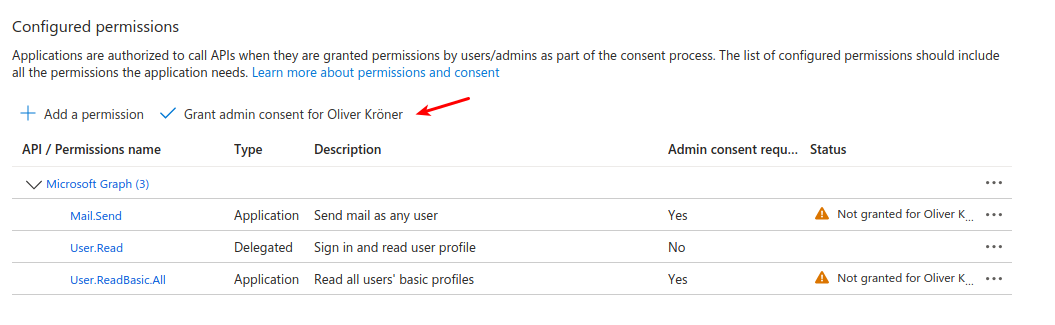
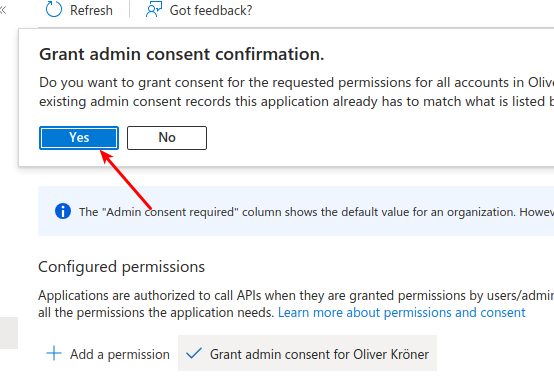
Grant admin consent.
- After adding the permissions, you need to grant admin consent for the permissions to take effect.
- Click on "Grant admin consent for [Your Organization Name]".
Attention
This step is crucial as it allows the application to use the permissions granted without requiring individual user consent.