First steps
In this tutorial, we will create a simple content element with a title, a description and some images. Later we also enable the DCE Container feature.
:local:
Overview
First, you need to login to TYPO3 backend with administrator privileges. Those are required to create or edit DCEs. Content elements made by DCE, can be also used with regular editor privileges.
You'll find DCE under "Admin Tools" in the main menu. It shows you a list of all DCEs existing in the database:
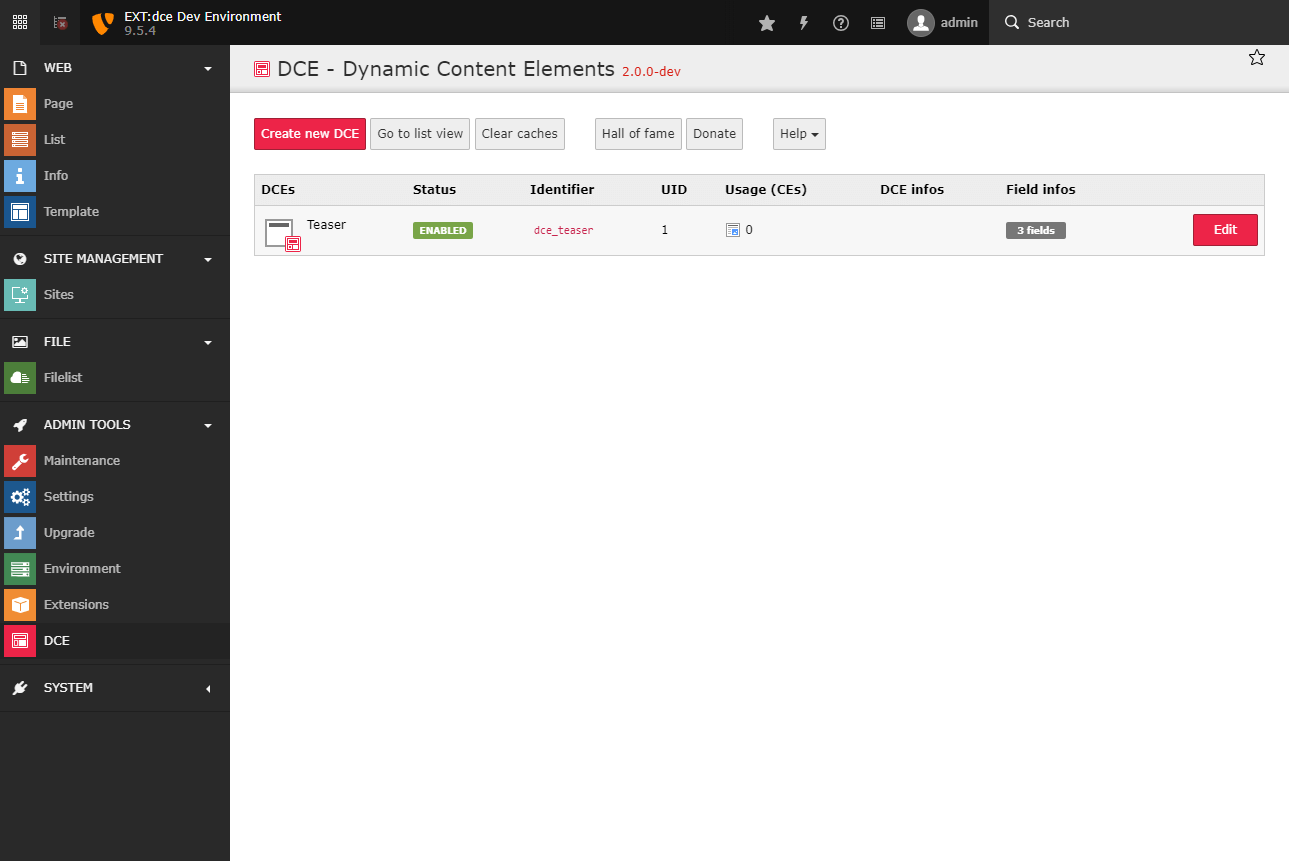
Note
DCEs are stored on root level (pid=0). You can also access DCEs in list view. DCE fields are not displayed directly.
Create your first DCE
Click the button "Create new DCE" and enter the title of your new dynamic content element. For example: "Teaser".
Also, we set the identifier to "teaser". Later this will be prefixed with "dce_" and used as CType of this new content element.
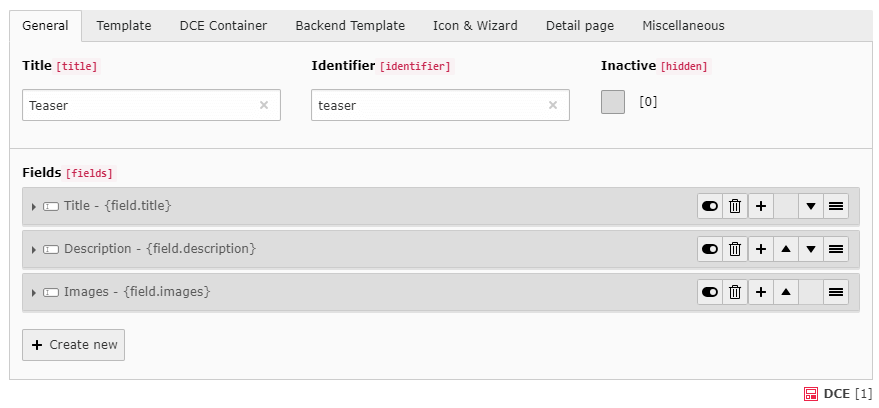
Now, create a new field, keep the default type "Element" and enter "Title" as field title. Set variable to "title".
Attention
Variable names for DCE fields have to be written in lowerCamelCase!
As configuration we choose the option "Simple input field" from the dropdown above the code editor. It pastes a sample configuration with commonly used settings. You should get this output:

Now, add another new field with the title "Description" and "description" as the variable name. As configuration we use "RTE" from the dropdown box.
Next, create the last field with the title "Images" and the variable name "images". As configuration we use "File Abstraction Layer (recommended)" of the type "Inline". The configuration of a FAL media field is pretty complex, but you also find options like minimum and maximum of images, or which file types should be allowed.
Save the changes. You should see the structure of your first DCE:
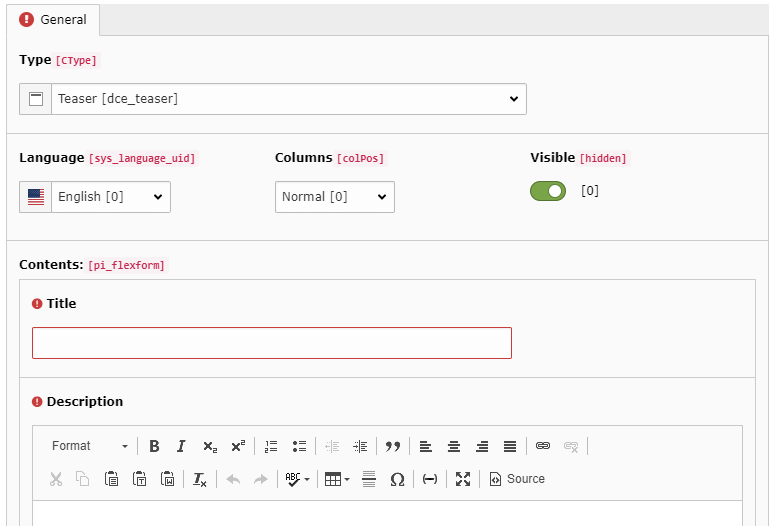
Now, when you clear the system caches, you can already use the content element on your pages:
Frontend Templating
Let's return to your Teaser DCE and switch to tab "Template". You see a default template, which will be output in frontend for each instance (content element) of this DCE.
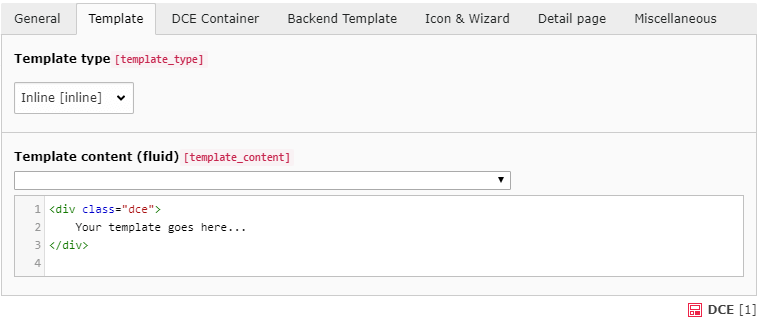
In this editor, you can define what TYPO3 should display, right in place. You can also load template files if you want.
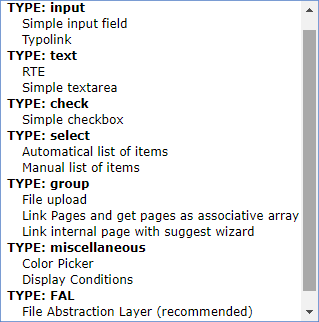
The dropdown above the template field shows different items you can choose from. It displays the fields you have defined and some other very helpful stuff:
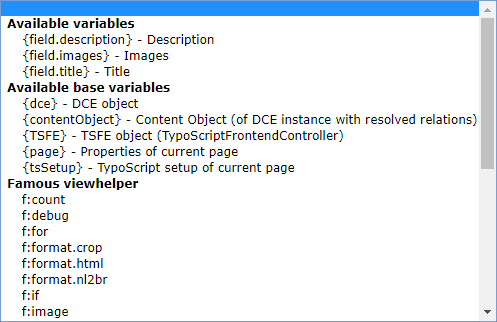
Now, we build the frontend output that we want, for each content element based on this DCE. The template engine here is Fluid:
<div class="dce">
    <h2>{field.title}</h2>
    <div><f:format.html>{field.description}</f:format.html></div>
    <f:for each="{field.images}" as="image" iteration="iterator">
        <f:image image="{image}" alt="{field.title}" width="100" />
    </f:for>
</div>We use variables pointing to the fields we've defined before, e.g. {field.title}.
When you want to output HTML, you need to use format.html view helper of Fluid. You can use it like
in the example above, or inline: {field.description -> f:format.html()}. Also, we use the for view helper in
Fluid to iterate over {field.images}. It's an array of FileReferences, which can get directly passed to the
image view helper.
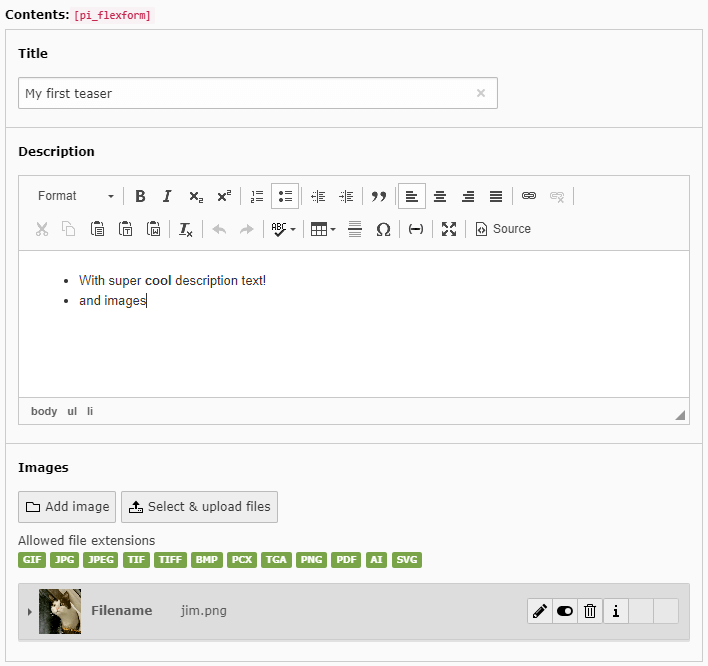
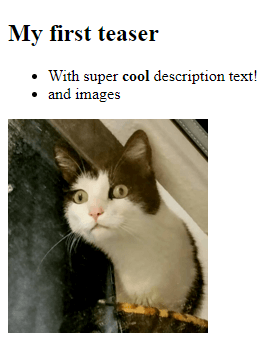
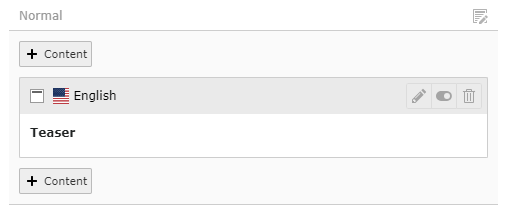
When we save the DCE, clear the system caches (!) and create a new content element based on this DCE, we see this output (in backend and frontend):
The Backend View
So far we have defined the fields of our content element and the frontend output. But how is the content element displayed in the backend?
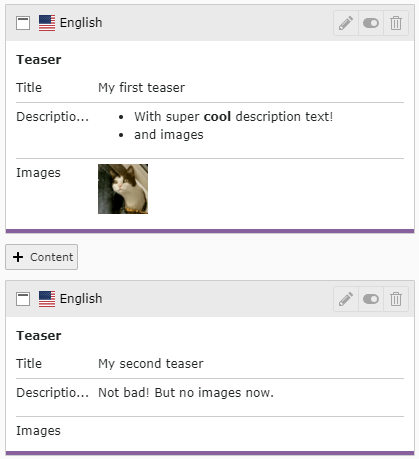
Well okay, it displays the title of the DCE we have defined. But we do not see any differences when we have two of these content elements on the same page. Let's change this, by configuring the Simple backend view in Backend Template tab.
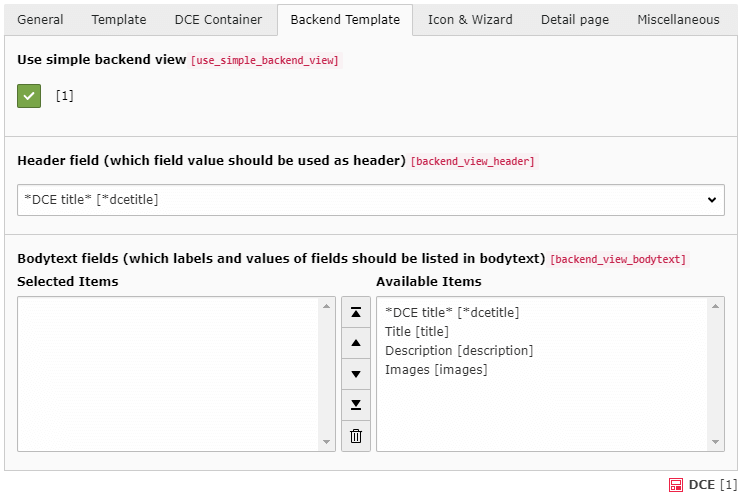
Here you can define which (single) field should be displayed as header (and label in list view). And which fields should also get displayed in bodytext. When we choose all options from bodytext field (but DCE title), we get more info about our content element instances:
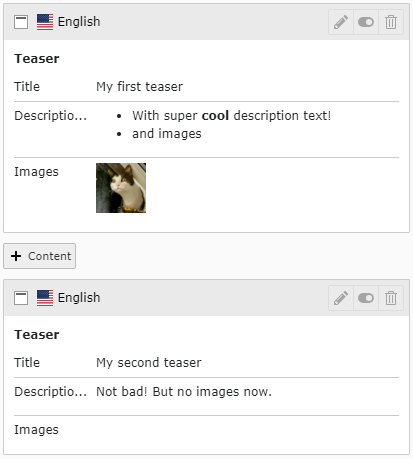
This saves much time and helps you to build fast new content elements.
Hint
The size of the images displayed in Simple Backend View and the crop limit of long text is configurable via PageTS.
DCE Container
Until now, you know the very basics of how DCE works. Let's use a more intermediate feature as of the last step in this tutorial, which is potentially helpful for you: DCE Container
First, let's see the output of our content elements in the HTML source code of frontend output. We have placed two content elements on a page:

When we compare this HTML source with the Fluid template from above, we will see our code, with filled placeholders.
Each content element is wrapped with <div class="dce"></div>, because we have defined it in our template.
DCE Containers help you to wrap all those standalone elements with a custom container template. First, you need to enable the feature:
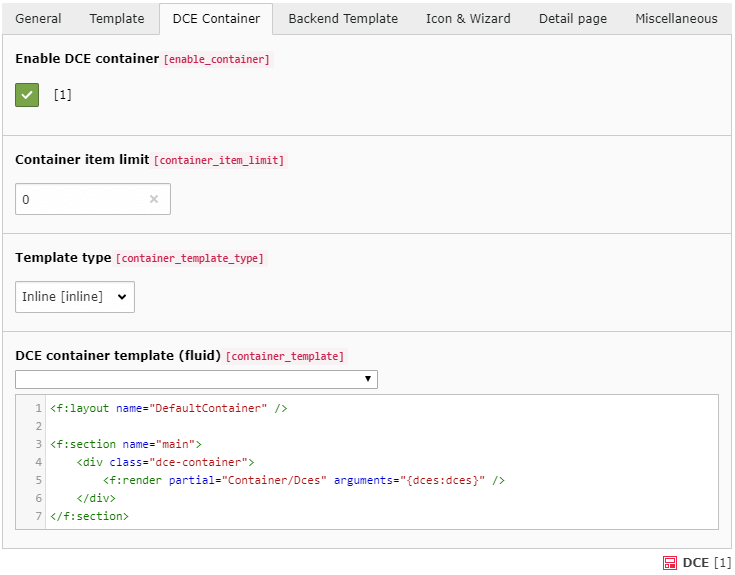
Just by enabling the feature (and clearing the caches) we see an instant effect in HTML output:

We see two wraps:
dce-containerThis comes from the container template itselftx-dce-containerThis is because we use the DefaultContainer Fluid layout (which is optional)
Also, the backend view has been upgraded, it displays a color (calculated based on uid of the first element in the
container):
Note
DCE container is no replacement for EXT:container or EXT:gridelements! Because the container is just generated by convention and logic, it has no physical instance which can have its own properties.
What's next?
Congratulations! You know how to create a first content element in DCE.
Check out the next section in the documentation Users manual to get an overview of the options and possibilities DCE gives you.
Have fun! And when you have questions, check out the Support section :)