Posts
Create a new post
-
Create blog post
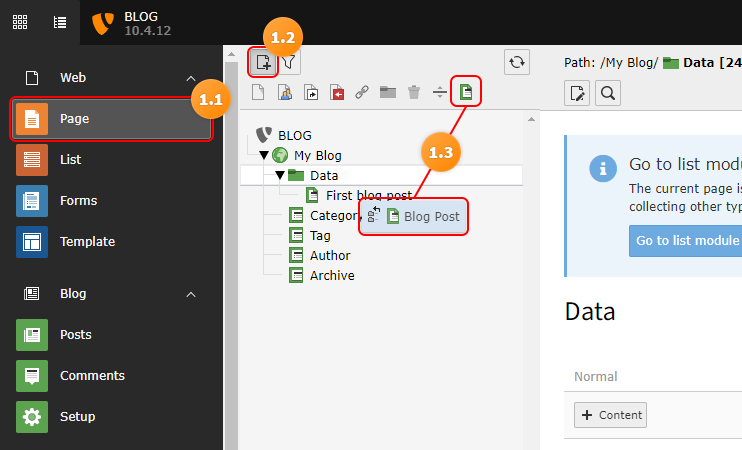
Create a new blog post page
- Click on the page module
- Click on the plus icon on top of the page tree
- Drag the blog post into your data folder
-
Edit your blog post
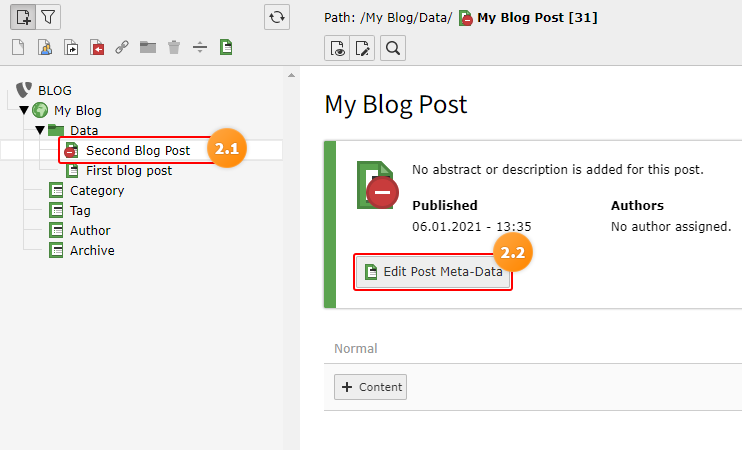
- Select the blog post you created
- Click "Edit Post Meta-Data" or the edit button in the page header
-
Check the title of your blog post
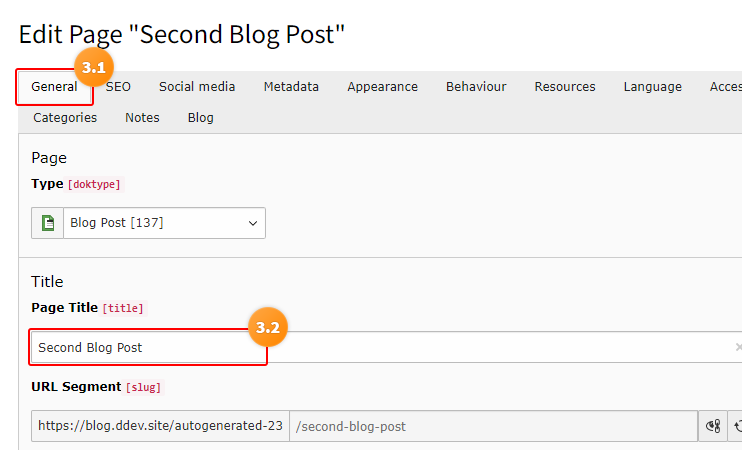
- Select the "General" tab
- Edit the title of your blog post
-
Adjust publish date and feature image
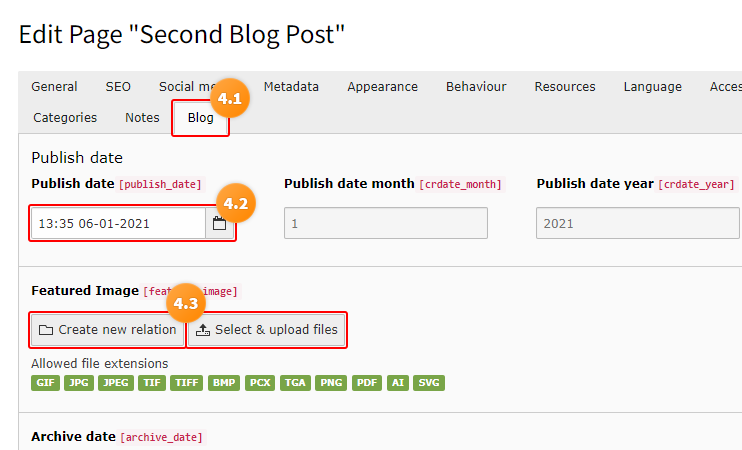
- Click the "Blog" tab
- Adjust the publish date if nessesary
- Upload a new image for your blog post or select an existing one
Note
The featured image will be displayed in all blog lists and in the RSS feed. The "Blog: Header" plugin is available to display it in the blog post.
-
Save your changes and close the post meta data interface
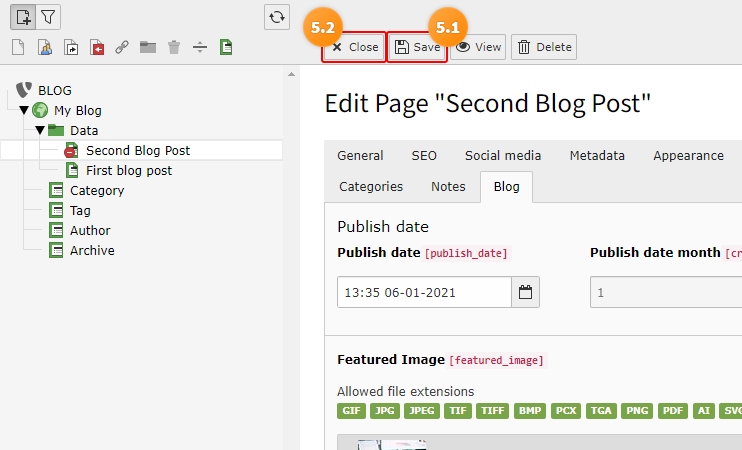
- Save your changes
- Close the post meta data interface
-
Add content blocks to your post
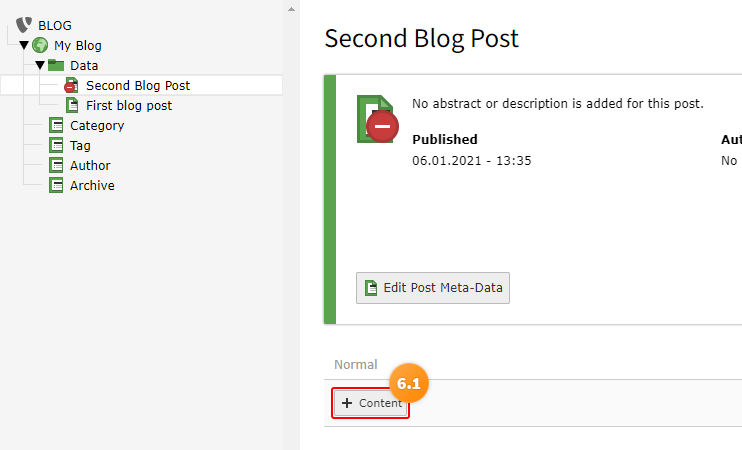
- Click the "Add content" Button
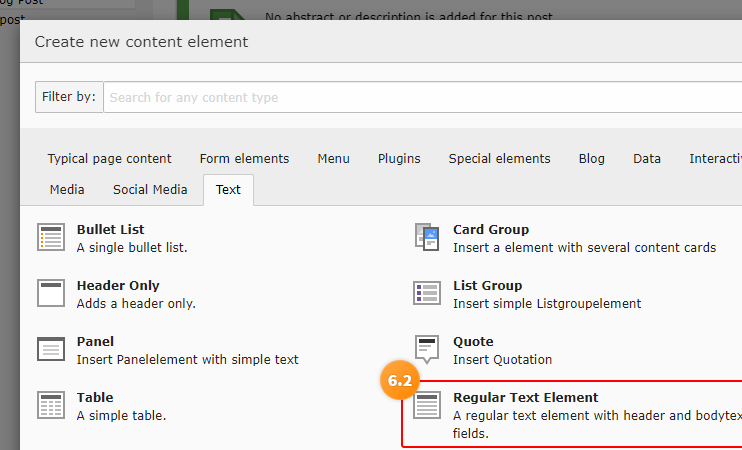
- Select any content block you want to insert, for example "Regular Text Element"
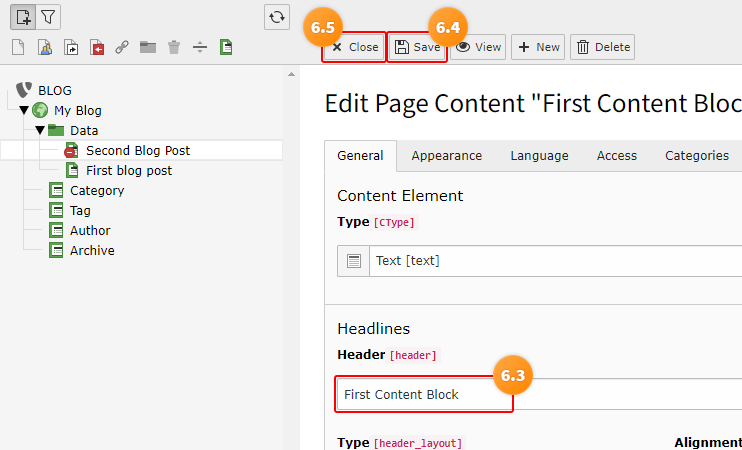
- Insert content for your block
- Save the content
- Close the content block
Tip
You can add all kinds of content elements that you are using on the rest of your web site, too. The blog itself doesn't provide any special elements for the content of your blog entry as sticking close to the rest of your website ensures a consistent look and feel for your visitors.
-
Enable your blog post
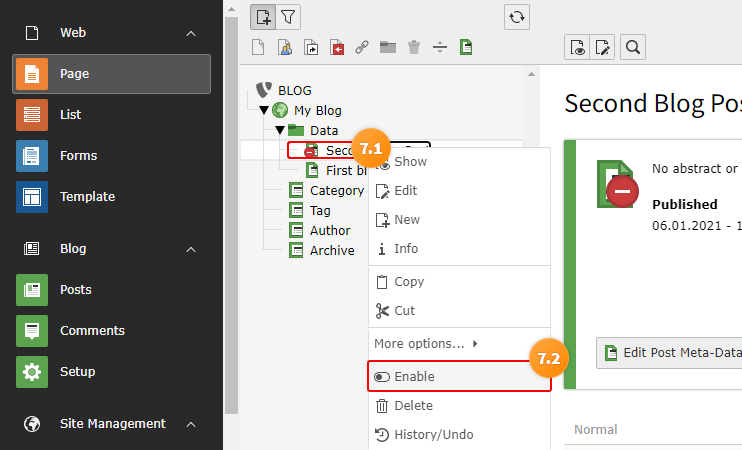
- Right click on the post you want to enable
- Click on "Enable"
-
View your Blog Post
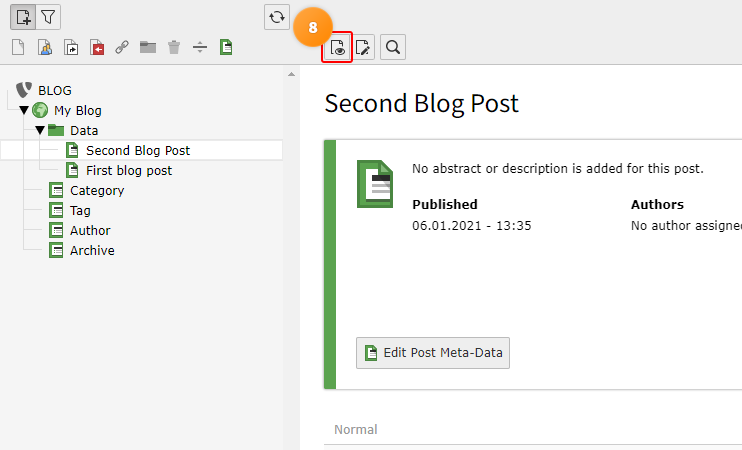
Click on the "View" Button in the document header
Congratulations you published your blog post