DEPRECATION WARNING
This documentation is not using the current rendering mechanism and is probably outdated. The extension maintainer should switch to the new system. Details on how to use the rendering mechanism can be found here.
Installing the extension
There are a few steps necessary to install the Central Account Management extension. If you have installed other extensions in the past, you will run into little new here.
Install the extension from Extension Manager
The Central Account Management extension can ben installed through the typical TYPO3 installation process using the Extension Manager.
During the installation process, you may be invited to install the system extension "openid" if you did not load it already. If so, just proceed as usual (the openid system extension basically just needs a few additional fields to be present for frontend and backend user tables).
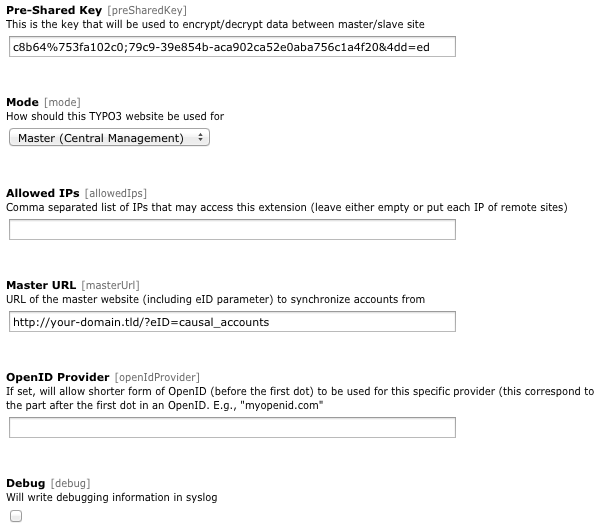
The various configuration options in Extension Manager.
Configure the extension for the master website
- Choose a pre-shared key from any length
- Make sure the mode is set to Master (Central Management)
- (optional) Specify the list of IPs (remote servers) allowed to connect to this master server. They should be separated by commas
- (optional) Activate the debugging information. This will allow you to get the list of remote site trying to connect to the master, along with their IP. The information will be sent to the TYPO3 system log.
Configure the extension for a remote website
Enter the pre-shared key you chose for the master website
Make sure the mode is set to Slave (Remote site)
Specify the master website URL. If your master website is http://www.mycompany.org, then the master website URL is http://www.mycompany.org/?eID=causal_accounts
(optional) Configure short OpenID authentication. This allows users to authenticate with a shorter form of their OpenID. For example if most of your users own an OpenID on myopenid.com, you may allow them to authenticate with
<username>solely instead of<username>.myopenid.com. For this, just specify "myopenid.com" as OpenID provider. If some of your users do not use the specified OpenID provider, they will still be able to authenticate using the full form of their OpenID, namely<username>.some-other-provider.tld.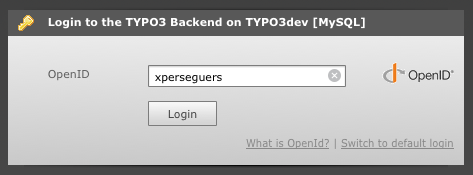
Backend authentication login form using OpenID.
Open the scheduler module and create a new task “Account synchronization” and configure it to be run regularly
(optional) Manually run it once to perform the initial synchronization. You may of course wait until it run itself as configured
Possible synchronization errors will be sent to the TYPO3 system log regardless of the debugging flag set in the configuration options.