For Editors
Target group: Editors
As an editor you want create a specific registration form using fields from frontend users. Then you’d like to apply some validation rules to some fields and to specify some custom error warning labels.
T3registration has embedded a very powerful backend module to create a registration form very easily as you can see in the screenshots. If you want different registration form for different private area you should create one form for each area (if they are different each other).
With an intuitive interface you can add the specific fields into the form and you can add the validation rules to each field you desire.
Clicking on the main form you can enable or disable the features for the specific form.
When you have finished the configuration process, save it and all is done.
The other part is the common TYPO3 process to add a content to a page:
- Click on the page, add the plugin content: t3registration
- Select from the specific combo box the registration process you have just created
- Go to the webpage where you created the content and the form will be visible with all the fields you chose in the backend module.
- Try to fill the form and the user is registered!
Tip
Rememeber to enable the feature useful for your application, for example “preview” if you want to show to the user the filled information before submitted or the “double opt-in” if user have to identify himself with the submitted e-mail.
Tutorial
Create a new registration form.
Go to the
Registrationmodule and create a new form by clicking on “Create new form”.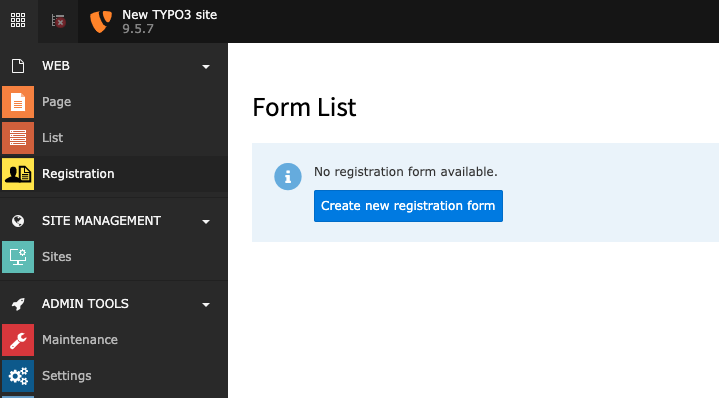
The form module without any forms - click the button to create one.
Define the form.
Choose a name for your form - select the settings to customize your form
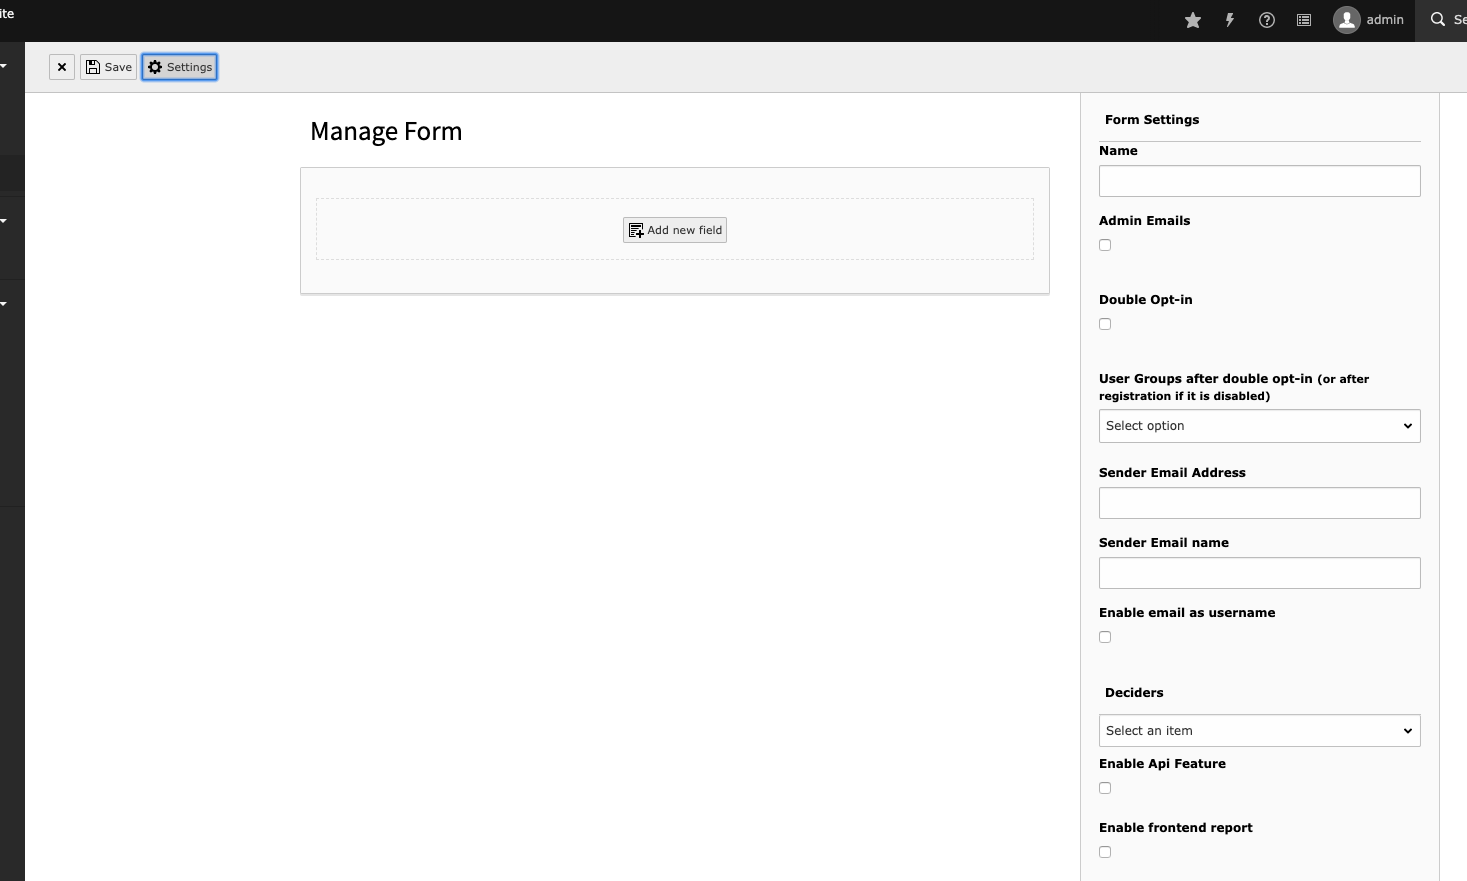
Clicking on Settings you can customize your form
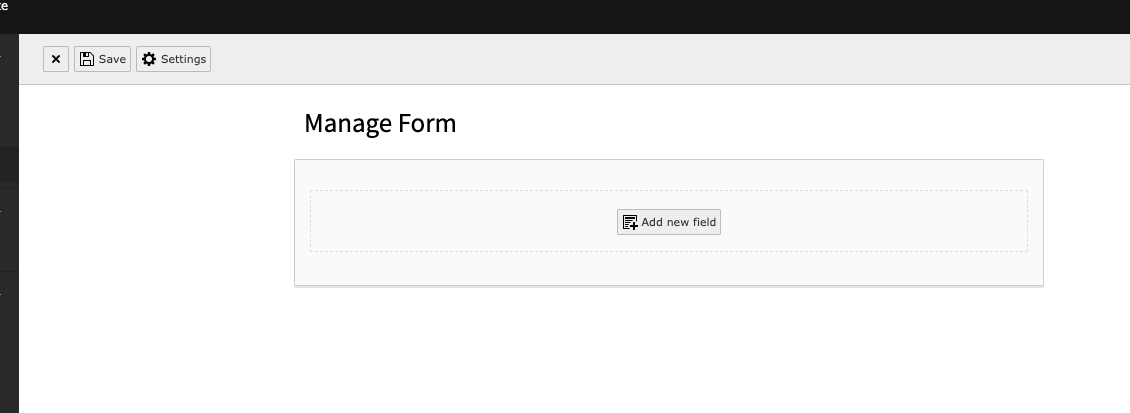
Add fields to form.
Choose the fields from the frontend user fields list and add to form
Clicking on Settings you can customize your form
Customize field validators.
Click on the gear inside the title bar of the field, in the right upper corner a new area is shown. Here you can add the validators.
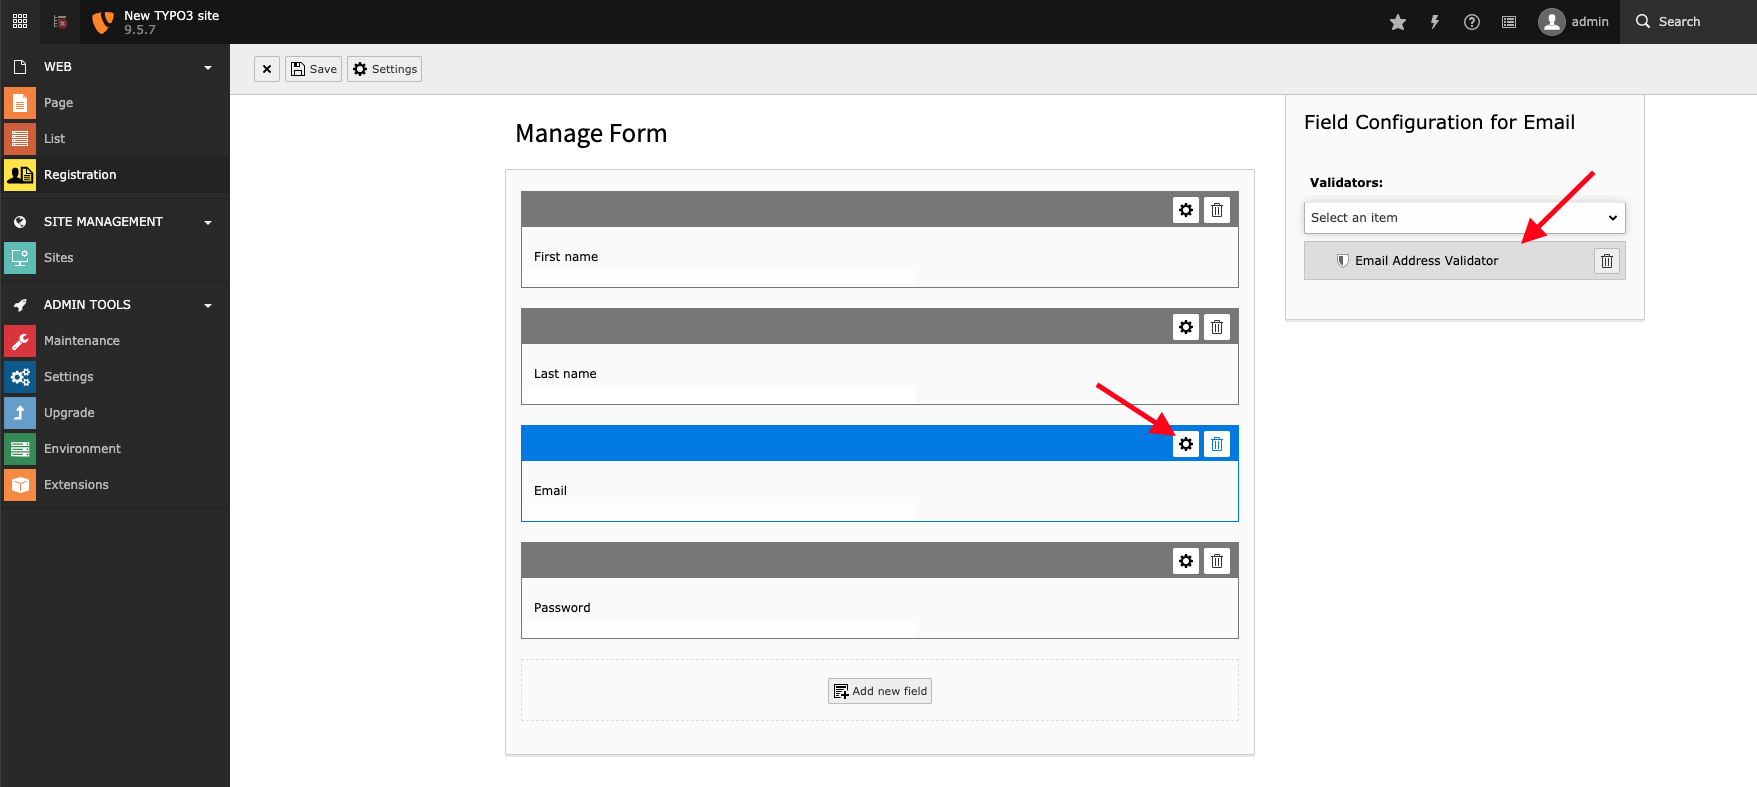
Add email validator
Save the form
Click on the save button to save your form.
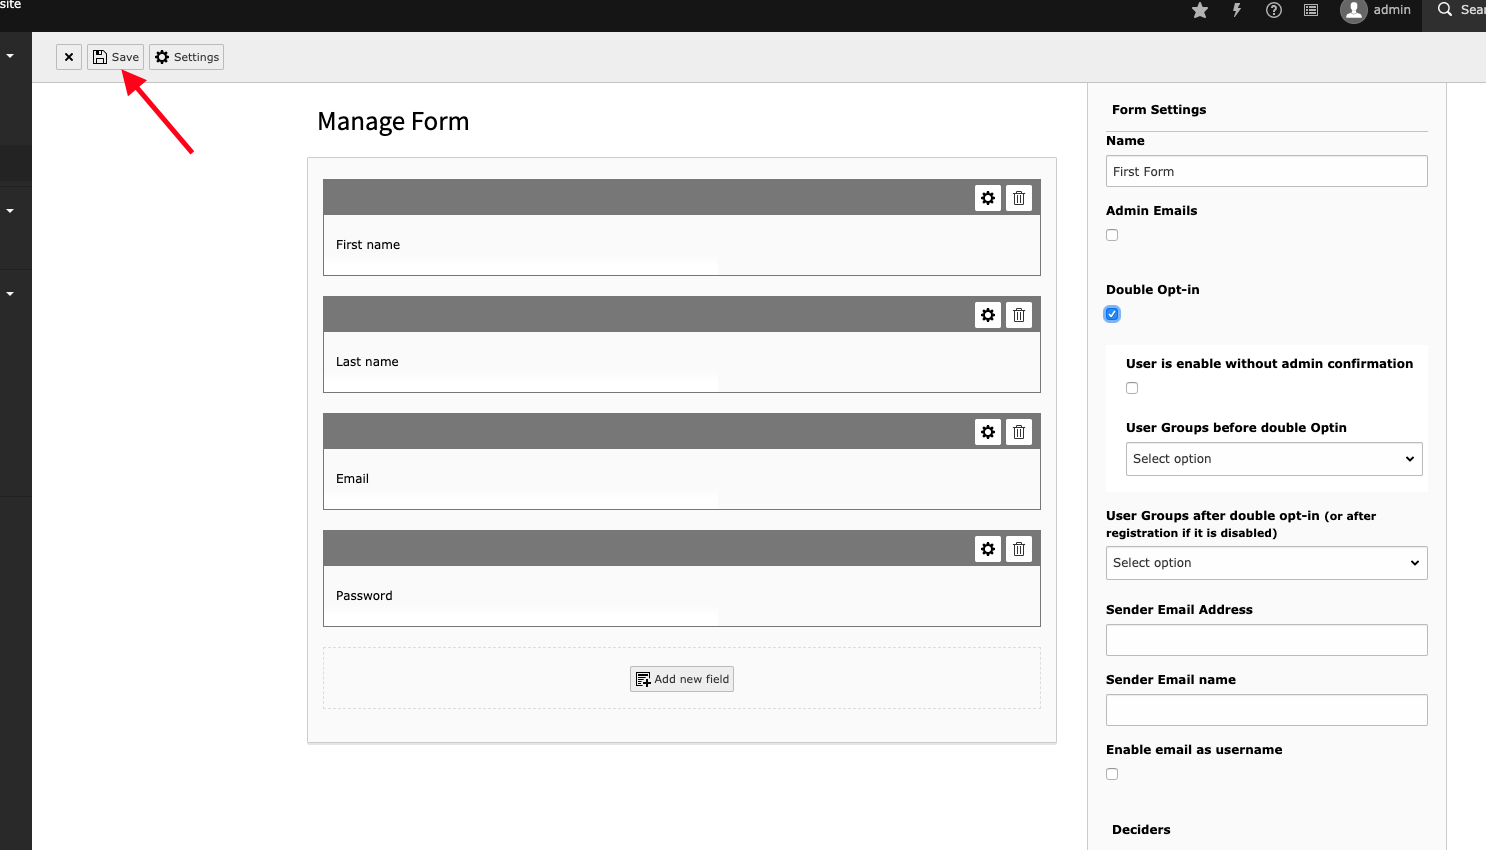
Save the form
Add Registration plugin to page
Create a new content element as plugin and choose “Registration Plugin”.
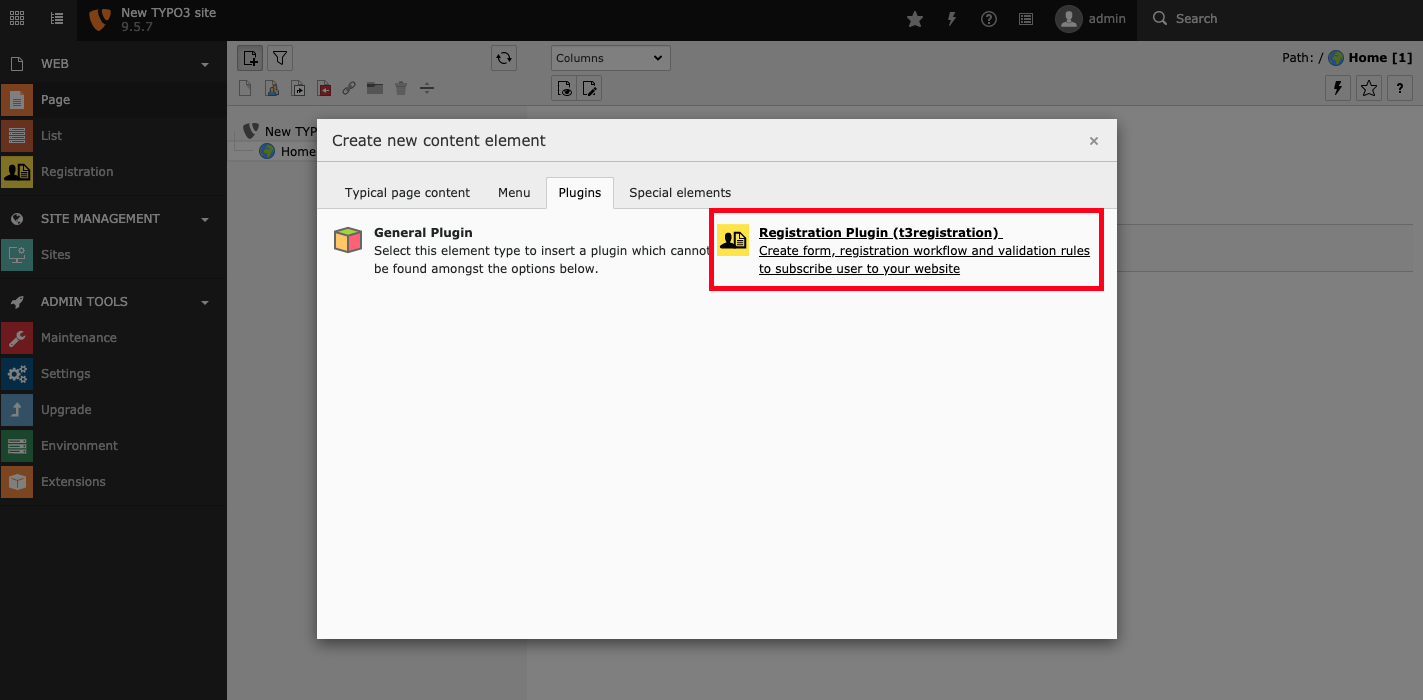
Add Registration plugin to page
Configure settings for the plugin.
Once you have chosen the plugin, select the correct form (you have just created) and the folder where you want save your users.
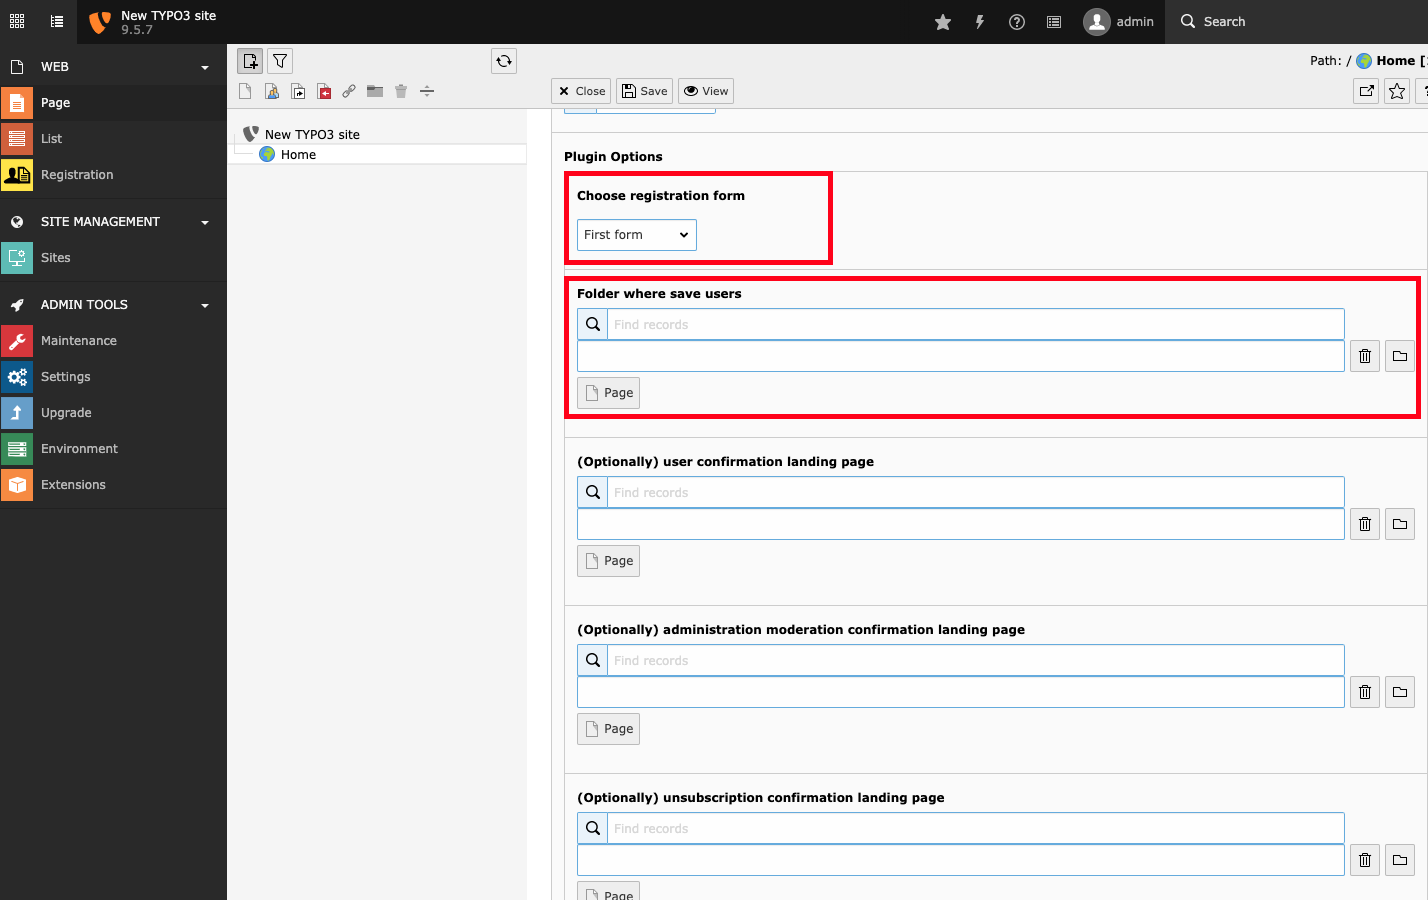
Configure settings for the plugin.
FAQ
Possible subsection: FAQ