DEPRECATION WARNING
This documentation is not using the current rendering mechanism and is probably outdated. The extension maintainer should switch to the new system. Details on how to use the rendering mechanism can be found here.
EXT:webanalytics
| Author: | Kasper Skårhøj |
|---|---|
| Created: | 2002-11-01T00:32:00 |
| Changed by: | Gabi Loch |
| Changed: | 2008-05-28T12:51:17 |
| Author: | Gabi Loch |
| Email: | ht@hottracker.de |
| Info 3: | |
| Info 4: |
EXT:webanalytics
Extension Key: webanalytics
Copyright 2008, Gabi Loch, <ht@hottracker.de>
This document is published under the Open Content License
available from http://www.opencontent.org/opl.shtml
The content of this document is related to TYPO3
- a GNU/GPL CMS/Framework available from www.typo3.com
Table of Contents
EXT:webanalytics 1
Introduction 1
What does it do? 1
Screenshots 1
Users manual 1
Adminstration 2
Configuration 2
Registration process 2
Installation 2
Known problems 2
To-Do list 2
Changelog 2
Introduction
What does it do?
The extension automatically adds a XHTML Strict compatible HotTracker countingcode in front of the </body> tag to each site. You don't have to touch your HTML templates at all.After installation you are able to view your stats and analytics on http://www.hottracker.de (german interface) or http://www.hottracker.eu (english interface)
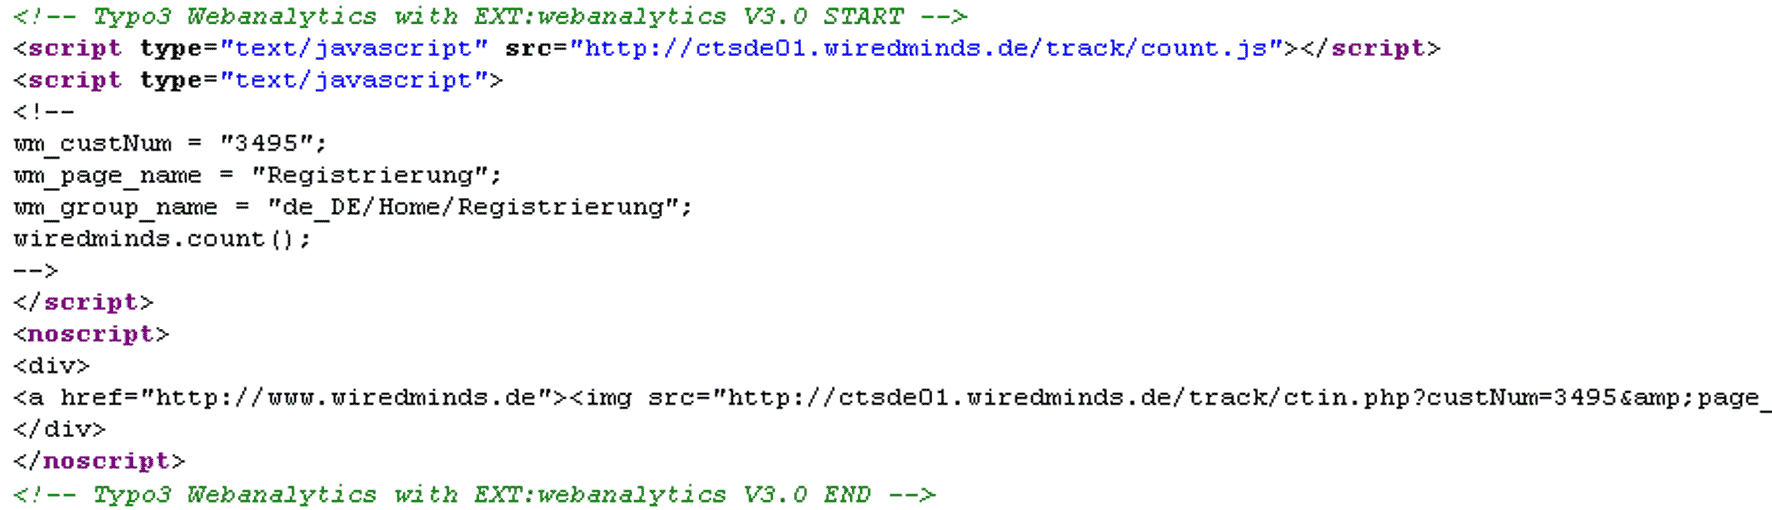
Screenshots
This is a cropped screenshot on how the added code looks like.
Users manual
Nothing. Please see “Configuration”.
Adminstration
Nothing. Please see “Configuration”.
Configuration
Before you install this extension, you need to register for a HotTracker account at http://www.hottracker.de (german interface) or http://www.hottracker.eu (english interface).
Registration process
 First step:You will see a registrationform. Please fill in all
required information.After completion, you will receive an email with
a link. Follow this link to activate your account.
First step:You will see a registrationform. Please fill in all
required information.After completion, you will receive an email with
a link. Follow this link to activate your account.
Second step:When you now login, you will be presented a countingcode you should use. You do not need to do this! This does the extension for you.The only thing we need from this code is your custNum. Please search for wm_custnum = YouNumber; and remember the number there.
Third step:Login into HotTracker analysis form http://www.hottracker.de (german interface) or http://www.hottracker.eu (english interface).
Step four:Watch your statistics and start optimizing your website!
Installation
First install the extension in the extensionmanager.
Within the HotTracker application you registered before, you need to get your custNum (see “Registration process” on how to get it).
Open your TS template setup where you defined your PAGE object. There add the lines
page.config.tx_webanalytics{
        custNum = YourCustNum
        prefix = ChoosePrefix
}
where page is the name of your PAGE object and YourCustNum the number you got from HotTracker before. Without the parameter custNum, the pixel won't show up. The parameter prefix is optional.
That's it. If you now open your website and view the sourcecode, you will see the counting code at the bottom in front of the </body> tag.
Reference
custNum
Property
custNum
Data type
integer
Description
Your customernumber of HotTracker - Required!
Default
empty
prefix
Property
prefix
Data type
string
Description
When the parameter wm_group_name is built, this will prefix it.Example: You have a multi language site and want to know in which language the user viewed it.With prefix = DE, the final output in the counting code will look like this:
wm_group_name = “DE/Images/Animals”;
Or with prefix = EN:wm_group_name = “EN/Images/Animals”;
Default
empty
[plugin.tx_webanalytics]
Known problems
None at the moment.You discovered a bug? Please report at ht@hottracker.de.
To-Do list
Use of other/more counting code variables.
Changelog
05/28/2008 – Version 0.1.2
Added parameters:- wm_page_name- wm_group_name with an optional prefix (e.g. to prefix with language code)
03/14/2008 – Version 0.1.0Initial release.
 EXT:webanalytics - 3