Extension tt_address
Common setup steps
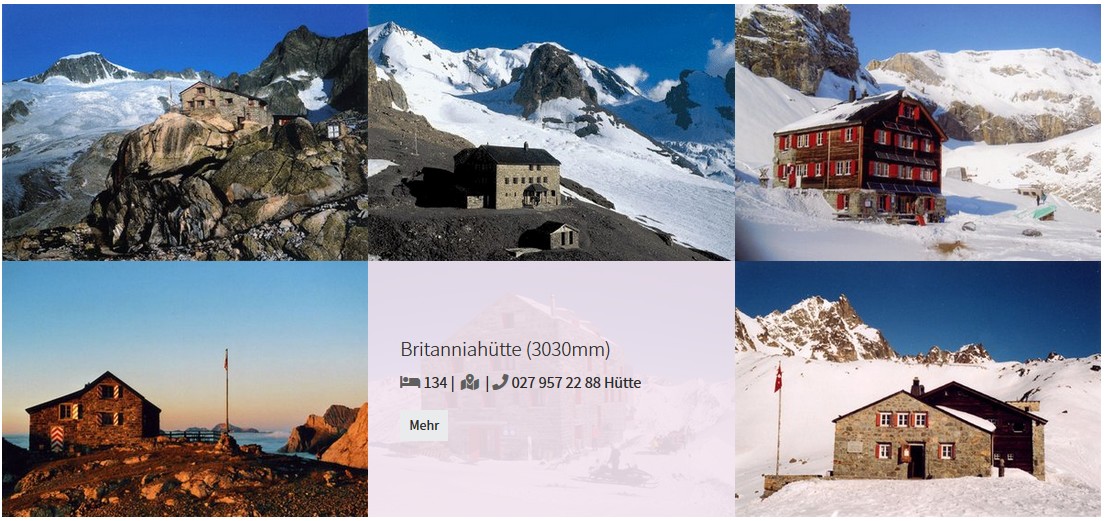
The below mentioned packages are available through the “Display mode” available in the plugin content element.
The setup steps are similar:
- Add static template “Pizpalue - tt_address [package name]”
- Add TypoScript Configuration to resources from page property
- Configure the package in the constant editor (category “PIZPALUE: PLUGINS”, section “Addresses (tt_address)”)
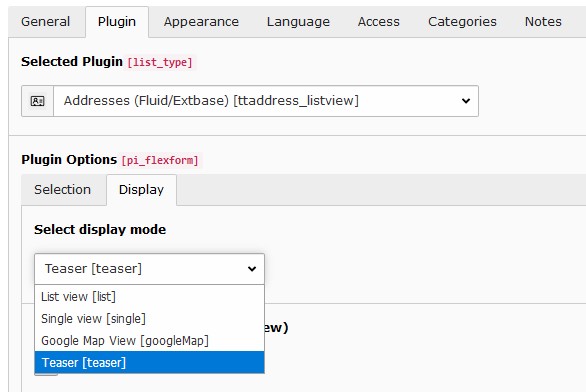
- Add the address plugin to a page and select the corresponding view (Plugin options - Display tab - Select display mode)
Google map
This package adds a Google map showing the selected addresses.
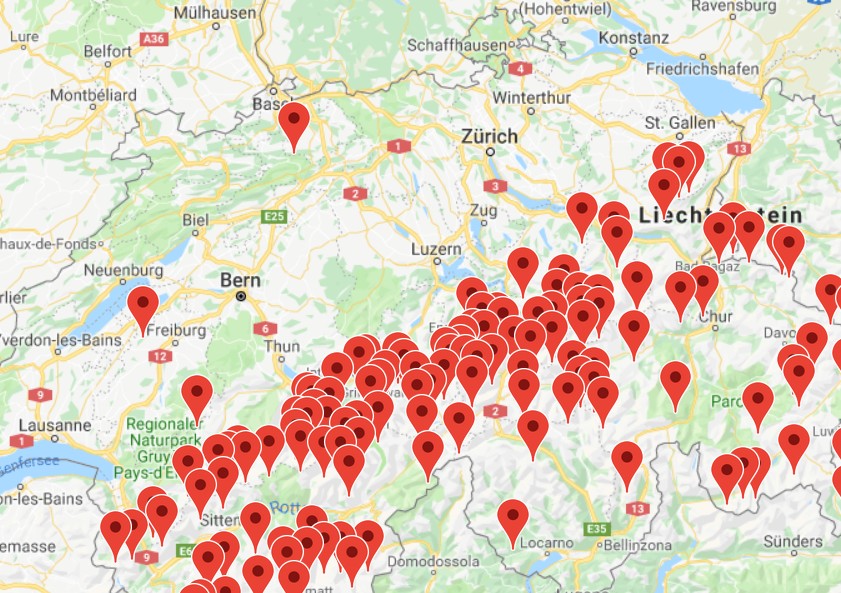
Map showing addresses from table tt_address
Setup
Carry out the common setup steps.
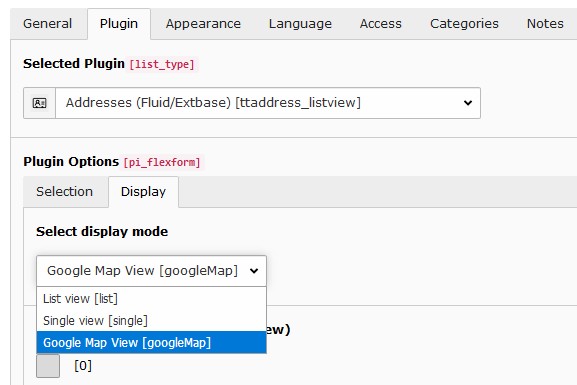
“Google Map View” in the “Display mode” from the plugin content element
Note
This package adds its Fluid templates and partials to index 20 (see TS setup “plugin.tx_ttaddress.view.templateRootPaths”). To overrule these files add own resources under a higher index.
Customization
The markers info window might be customized by overriding the templates partial (file “typo3conf/ext/pizpalue/ Extensions/tt_address/GoogleMap/Resources/Private/Partials/GoogleMap.html”). The content is defined in the tag with id “pp-ttaddress-maptemplate”:
<div class="pp-ttaddress-maptemplate" data-pp-amt-markertitle="company">
<div class="pp-amt-wrap" data-pp-amt-uid="uid">
<div class="pp-amt-imagewrap">
<img class="pp-amt-image" src="" data-pp-amt="image" />
</div>
<div class="pp-amt-text">
<h6><span data-pp-amt="company"></span> (<span data-pp-amt="title"></span>)</h6>
<p data-pp-amt="description"></p>
<p>
<b data-pp-amt="name"></b><br />
Tel: <span data-pp-amt="phone"></span> |
<a href="#" data-pp-amt="email">Email</a> |
<a href="#" target="_blank" data-pp-amt="www">Web</a>
</p>
</div>
</div>
</div>
Since the data for each address is assigned to a marker through JS some data attributes and class names serve a special need.
Template attributes
| Template attribute | Function |
|---|---|
| data-pp-amt-markertitle | Defines the address field used for the markers title shown when hovering over the marker |
| data-pp-amt-uid | The uid from the address the content is derived from |
| data-pp-amt | The value indicates the field used for replacing the tags content |
Data attributes
| Data attribute | Function |
|---|---|
| data-pp-amd-uid | Specifies the address record uid holding the data for the infowindow |
| data-pp-amd-imageuri | The uri from the image to be shown in the infowindow |
| data-pp-amd-uri | The uri to show the address details |
Classes
| Class | Function |
|---|---|
| pp-ttaddress-maptemplate | Identifies the template for the marker info window (is sibling from pp-ttaddress-map) |
| pp-amt-image | Identifies the image |