Users Manual
To include the map on your site, add a plugin content element and select Simple map for one location or create one with the new element wizard.
Under Plugin Option you find two tabs:
Location
Here you define the location that should be shown on the map.
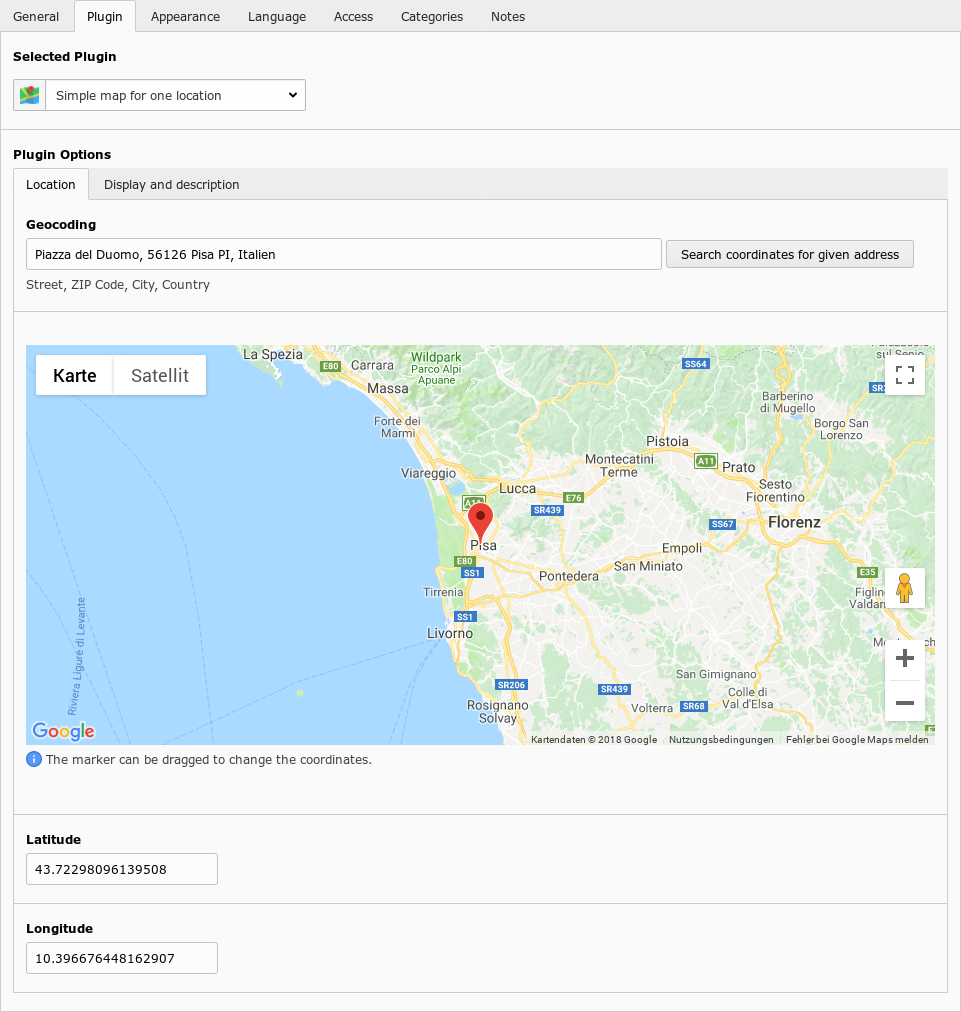
Location tab with comfortable location selection
The location is defined by the fields Latitude and Longitude which are geo coordinates.
You don’t have to edit those fields by hand. There are two helper to get that coordinates for you:
1. Search coordinates for given address
Input an address in the Geocoding field and click on the search button. When the address can be located, the map marker will be set to the coordinates. The coordinates field will be updated automatically.
2. Move map marker with mouse
You can drag the map marker around to define the wanted location. The coordinates field will be updated automatically.
Display and description
On this tab you define what will be displayed in the popup on the map. Additionally the map size and zoom level can be set.
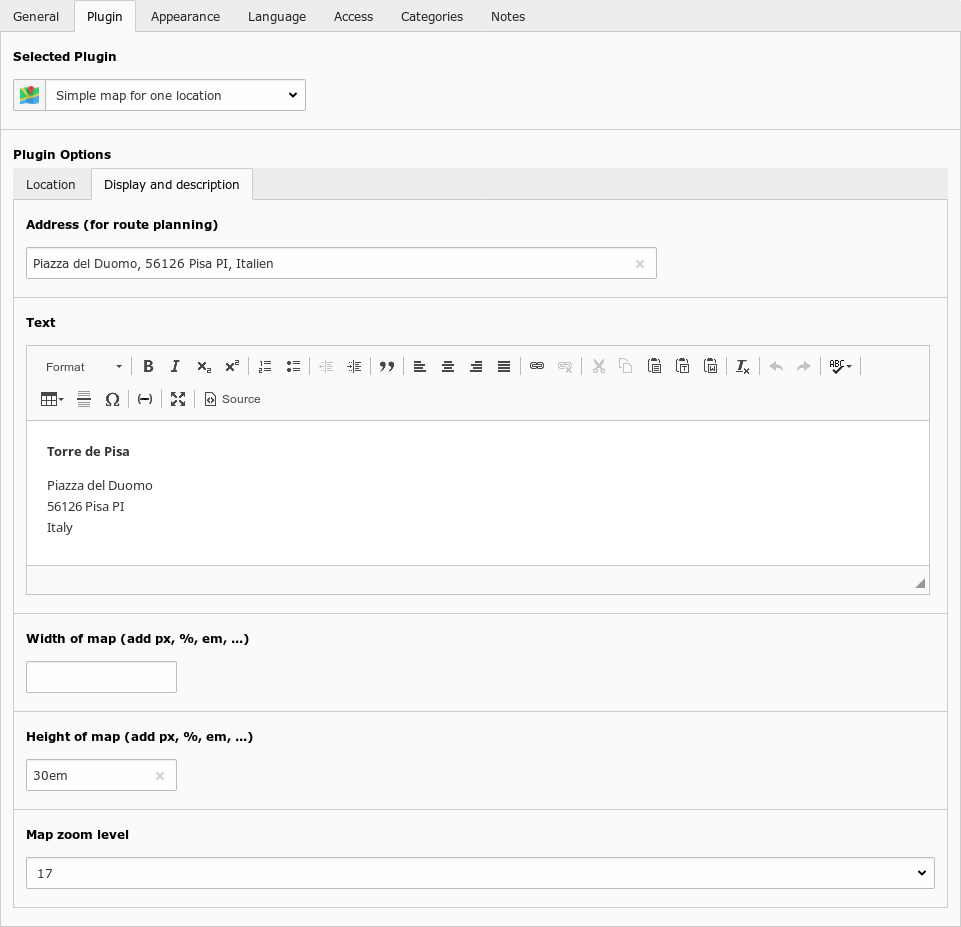
Tab with data what to display on the map
The Address field will not be displayed but only used for the route planner link.
The Text field will be shown in the popup. You can put the name and address of the location here but also other or additional information. Keep an eye on the amount of text, so it still fits on the map.
The Width and Height fields might be left empty so the default values from TypoScript are used. Please keep in mind that the unit (px, %, em) is mandatory.
Screenshots
This is how the plugin output looks like. The popup is open by default and shows a desription (rich text) and a link to a route planner.
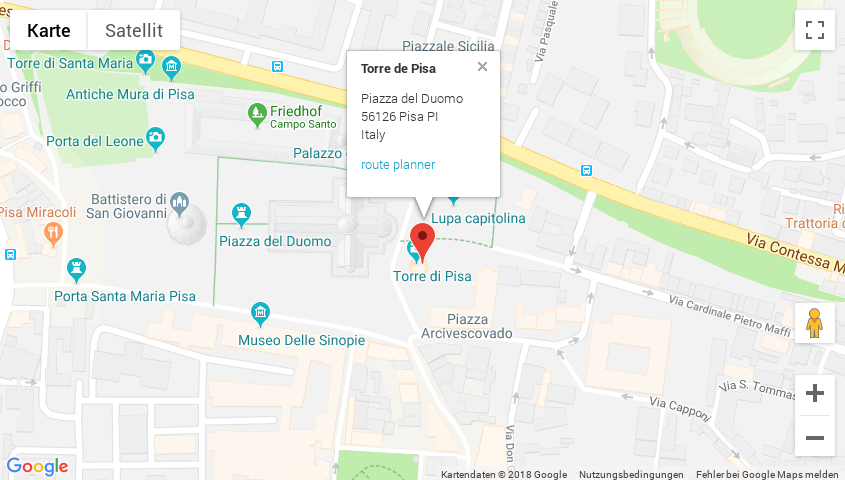
Well … a map