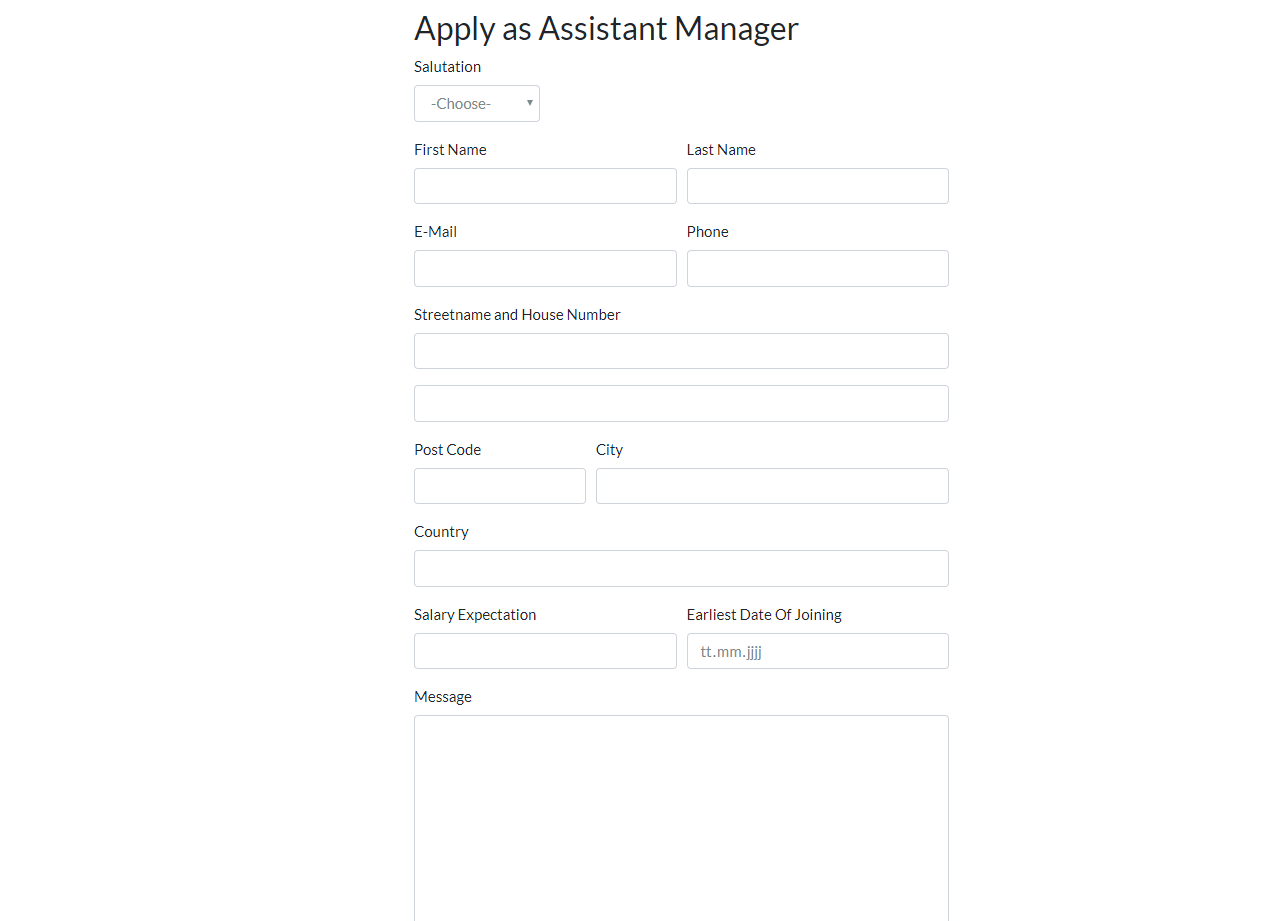
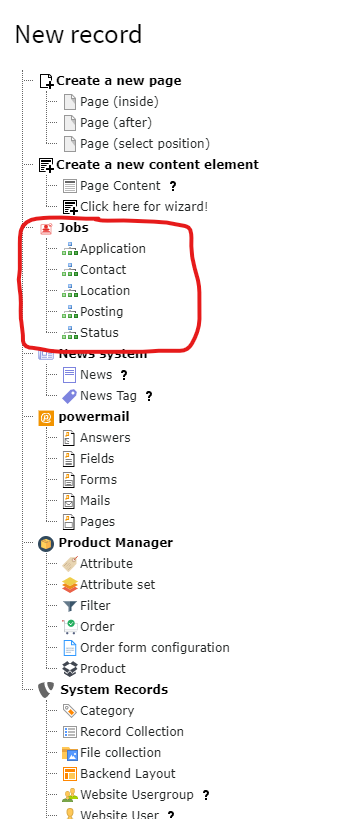
For adding records go into your folder(s) where you want to store the jobs system records via the list module.
Click the '+' and you will see all the records that are available.
Posting record
This is probably the most important record of this extension. With this record the actual job posting is created.
Keep in mind that apart from the title field every field that was left empty won't be displayed in the frontend.
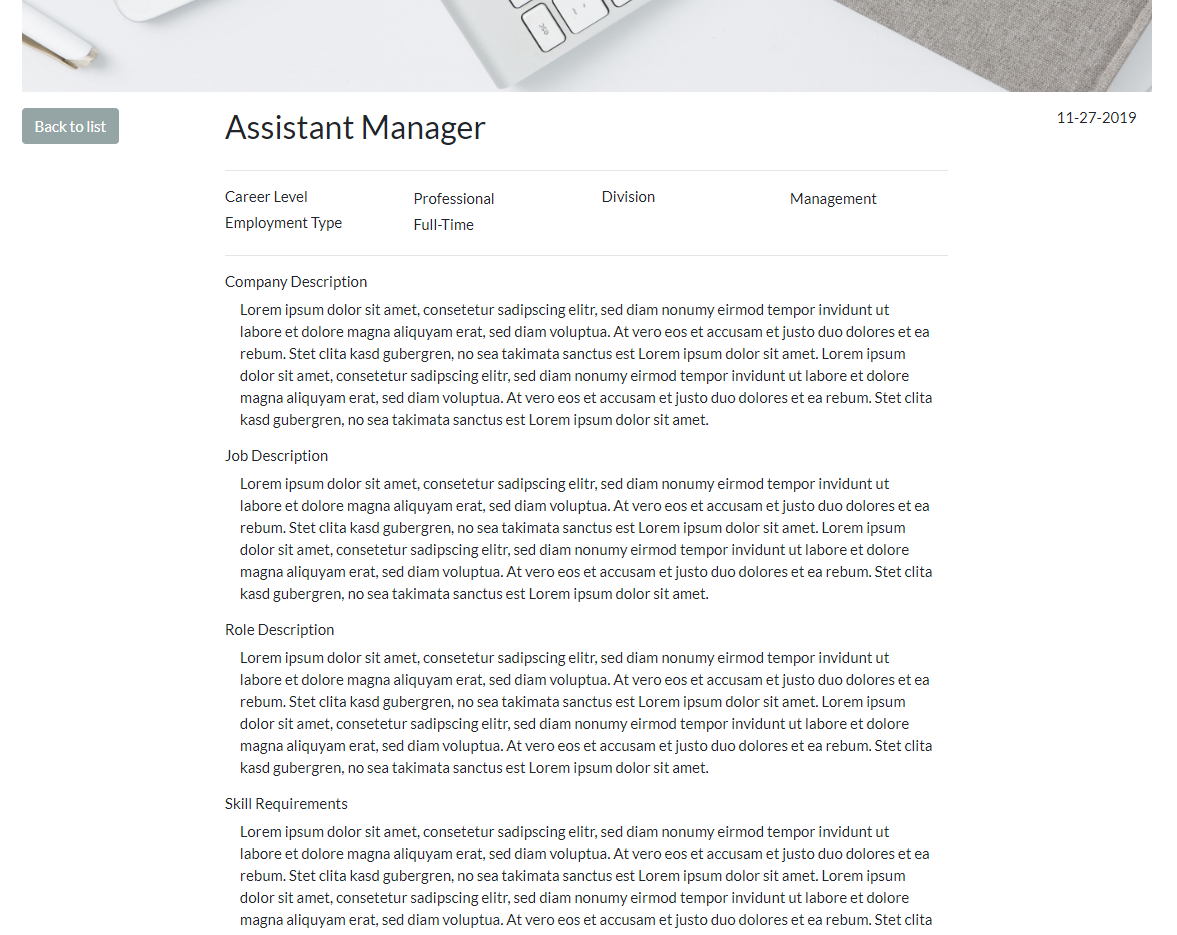
Title & division/department
The title is the main identifier of the posting.
The department field will be what defines the content of one of the filters and therefore should not be empty.
Date posted
The date posted will be shown in the frontend, and is also the datePosted field in Google Jobs context. It has no effect
though whether the posting will be shown or not.
Publish date & valid through
These two dates decide when the posting is published or taken down again.
The Valid through field is optional, meaning it can stay empty which results in the posting staying active until its
manually taken down. The valid through field is used for Google Jobs as well.
Base salary
This is another optional entry. You may enter numbers as well as text. This entry is especially useful for Google Jobs.
The extension will fetch the input value if available automatically and assign the currency defined in the extension settings.
This means any currency input into this field is only for cosmetics in the frontend. The actual currency must be defined
in the extension settings.
This behaviour may be improved in the future.
Career level
This field defines what career level the applicant should have.
Examples for this could be: career starters, professionally experienced, ...
Employment type
This setting has a select list which should cover every type, as they are copied from Google Jobs, which means the types
do correspond directy with the ones used for Google Jobs.
Terms of employment
This field can be used to describe the terms in a simple and short way.
E.g.: fixed-term contract, temporary-contract, open-ended contract
Homeoffice Possible
Only check this field on postings where the job can or is required to be executed 100% in an homeoffice setting.
Location Restriction
If the homeoffice setting is enabled you need to specify which locations the applicant is allowed to work from.
It is required to pick at least one location when the homeoffice setting is enabled on a posting to satisfy the Google
Jobs requirement. To specify said locations use the Applicant Location Requirement records or create a new one.
Slug
In the advanced settings tab you can find the slug. This represents how the url of this posting will look like.
It will be automatically generated when the posting is saved, but it is also possible to specify it yourself.
Texts
In this tab the actual content of the posting is specified.
There are a multitude of sections available. These can be filled via the Rich Text Editors on an as-needed basis.
Images
In this tab both of the posting images can be specified.
The posting can have a list view image, which as the name says will only be dispayed in the list view, and a
detail view image, which represents a header picture in the default Bootstrap template.
Categories
Every posting can be assigned to one or more TYPO3 categories. These are system records that have to be created manually.
These can be created in a seperate folder for the sake of clarity. Then they will show up in this tab, ready to be
activated.
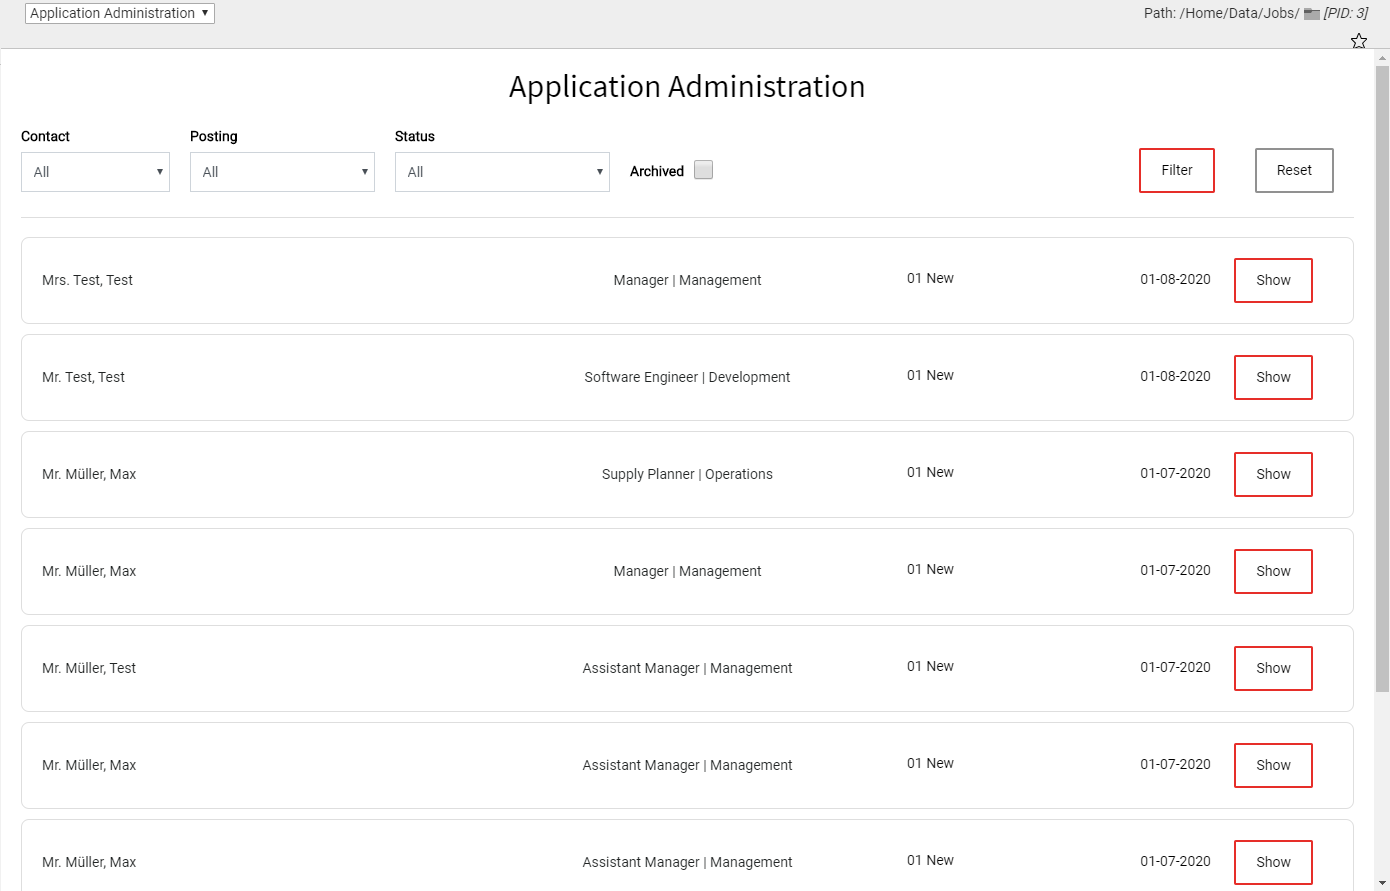
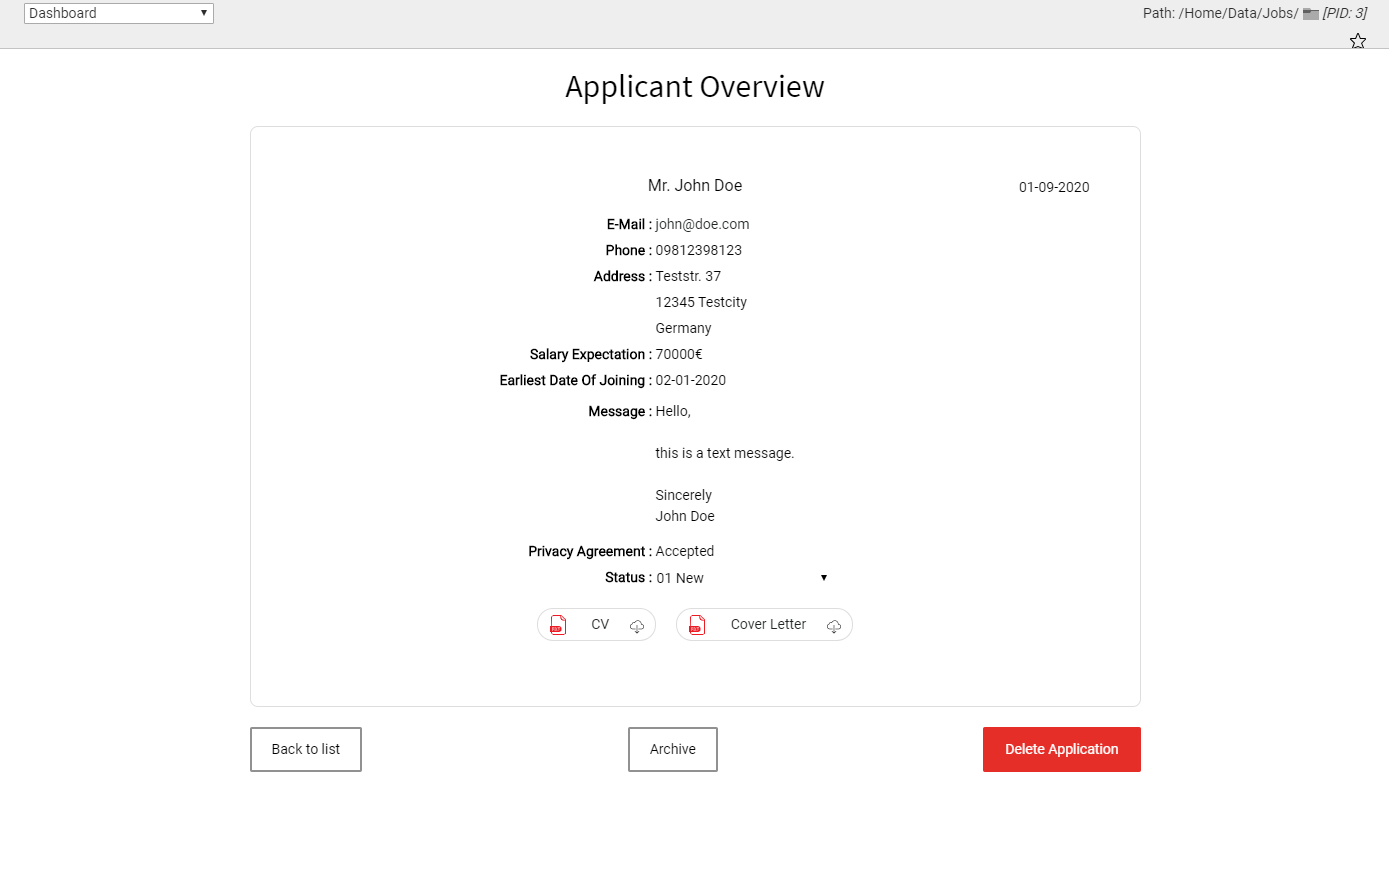
Status record
These records are only of good use if you use the Application-Managment-Backend-Module. They serve an organizational
purpose.
Each application can have a status. When a new application arrives it is then assigned to the first status. Which one this is
can be specified via a setting in the status record. This setting should only be enabled once in all of the statuses
to ensure the system is working correctly.
Each status has follower statuses, which enables you to build your own workflows.
Because its quite time consuming to create all of those statuses yourself an option to import a stack of default
statuses is included.
This form can be found in the settings of the backend module.
There is also a setting in the status record that, if enabled makes the status an end status. This means the applications
in this status are cleared to leave the system via either being deleted or anonymized by tasks executed by the scheduler.
The behaviour of these tasks can be specified when creating the task (Tasks).