
Configuration
Storage page
- Create a storage page
- Refer to it in the
recordargument when you set up the Scheduler task for the relevant console command (see Console commands overview)Storage Page - Also refer to it in the plugin
Multi plugin use
You can configure the record argument of a console command's Scheduler
task to save data to a specific storage page that you can later use in the plugin to
access data.
Change timezone
Go into your TYPO3 install tool and change the timezone under All configuration > System > phpTimeZone. This will change the timezone.
Console commands overview
Since version 7.0.0, weather2 no longer ships its own Scheduler task types. All
data fetching is implemented as Symfony console commands instead. To run one
regularly (or once), go to the scheduler module, add a new task, choose the task
type Execute console commands
(TYPO3CMSScheduler), select the desired
weather2 command from the list, and fill in its arguments in the form fields that
appear below.
The following three commands are available. They are listed in the order in which they should be set up.
weather2:fetch:dwdWarnCells
- Purpose
-
Downloads the official DWD warn cell reference list (place name to warn cell ID mapping) and stores it in weather2. It does not fetch any weather warnings itself.
- Arguments
-
None.
- Depends on
-
Nothing. Run this command first, before the other two.
- Recommended scheduling
-
Set the Scheduler task type to Single execution and run it once. Re-run it manually from time to time, since Deutscher Wetterdienst occasionally revises warn cell boundaries and IDs. Alternatively, configure it as a low-frequency recurring task, e.g. once a month.
weather2:fetch:dwdAlerts
- Purpose
-
Fetches the currently active weather warnings from Deutscher Wetterdienst for the configured place names and stores them in weather2.
- Arguments
-
selected(required) - comma separated list of place names, matched against your local warn cell records, e.g.Warn Cells Pforzheim,Karlsruhe.record(required) - the storage page (PID) the fetched records should be saved to.Storage Page page(optional) - comma separated list of page IDs whose cache should be cleared after the run.Ids To Clear
- Depends on
-
weather2:fetch:dwdWarnCells must have been executed at least once beforehand, so the place names can be resolved to warn cell IDs.
- Recommended scheduling
-
Configure it as a Recurring task, e.g. every hour, to keep the displayed alerts up to date.
weather2:fetch:openWeatherMap
- Purpose
-
Fetches current weather conditions (temperature, wind, humidity, ...) for one city from OpenWeatherMap. It is unrelated to the two Deutscher Wetterdienst commands above.
- Arguments
-
name(required) - a freely chosen identifier for this report. It is used later as theselectionTypoScript setting to pick which report to display, see Render weather reports inside a fluid template.city(required) - city name, e.g.Munich.country(required) - country code, e.g.DE.api(required) - your OpenWeatherMap API key.Key page(optional) - comma separated list of page IDs whose cache should be cleared after the run.Ids To Clear record(optional) - the storage page (PID) the fetched record should be saved to.Storage Page
- Depends on
-
Nothing. Independent from the other two commands - set up one task per city.
- Recommended scheduling
-
Configure it as a Recurring task, e.g. every 30 to 60 minutes.
Current weather (weather report)
How do I get set up?
- Create a new openweathermap.org account and copy your API key
- Download the extension from the TYPO3 Extension Repository
- Enable the scheduler extension in your TYPO3 installation if not already done
- Go to the scheduler module and add a new task of type
Execute console commands, then select the command
weather2:(see Console commands overview)fetch: open Weather Map - Fill in the command's arguments. Please note that the
nameargument is later used to only display this specific record - Create a new content element with the weather extension plugin selected
- Select the measure units and city to display
- Add the extension template file to your template
- Enjoy! ;)
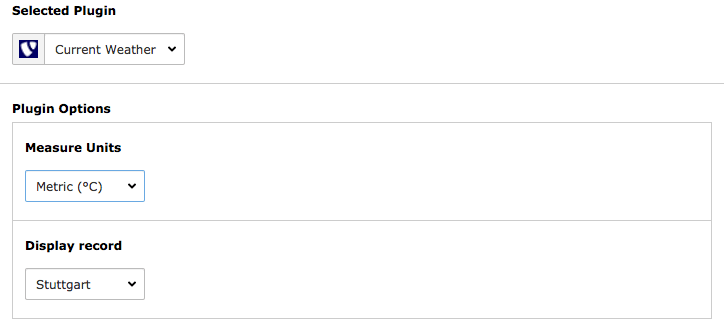
This is how the content element plugin looks like
Weather alerts
Get warn cells from Deutscher Wetterdienst
- Go to the scheduler module.
- Add a new task of type Execute console commands and select the
command
weather2:.fetch: dwd Warn Cells - Set this task as single execution because you have to execute this only once.
- Save and exit
- Execute the task
-
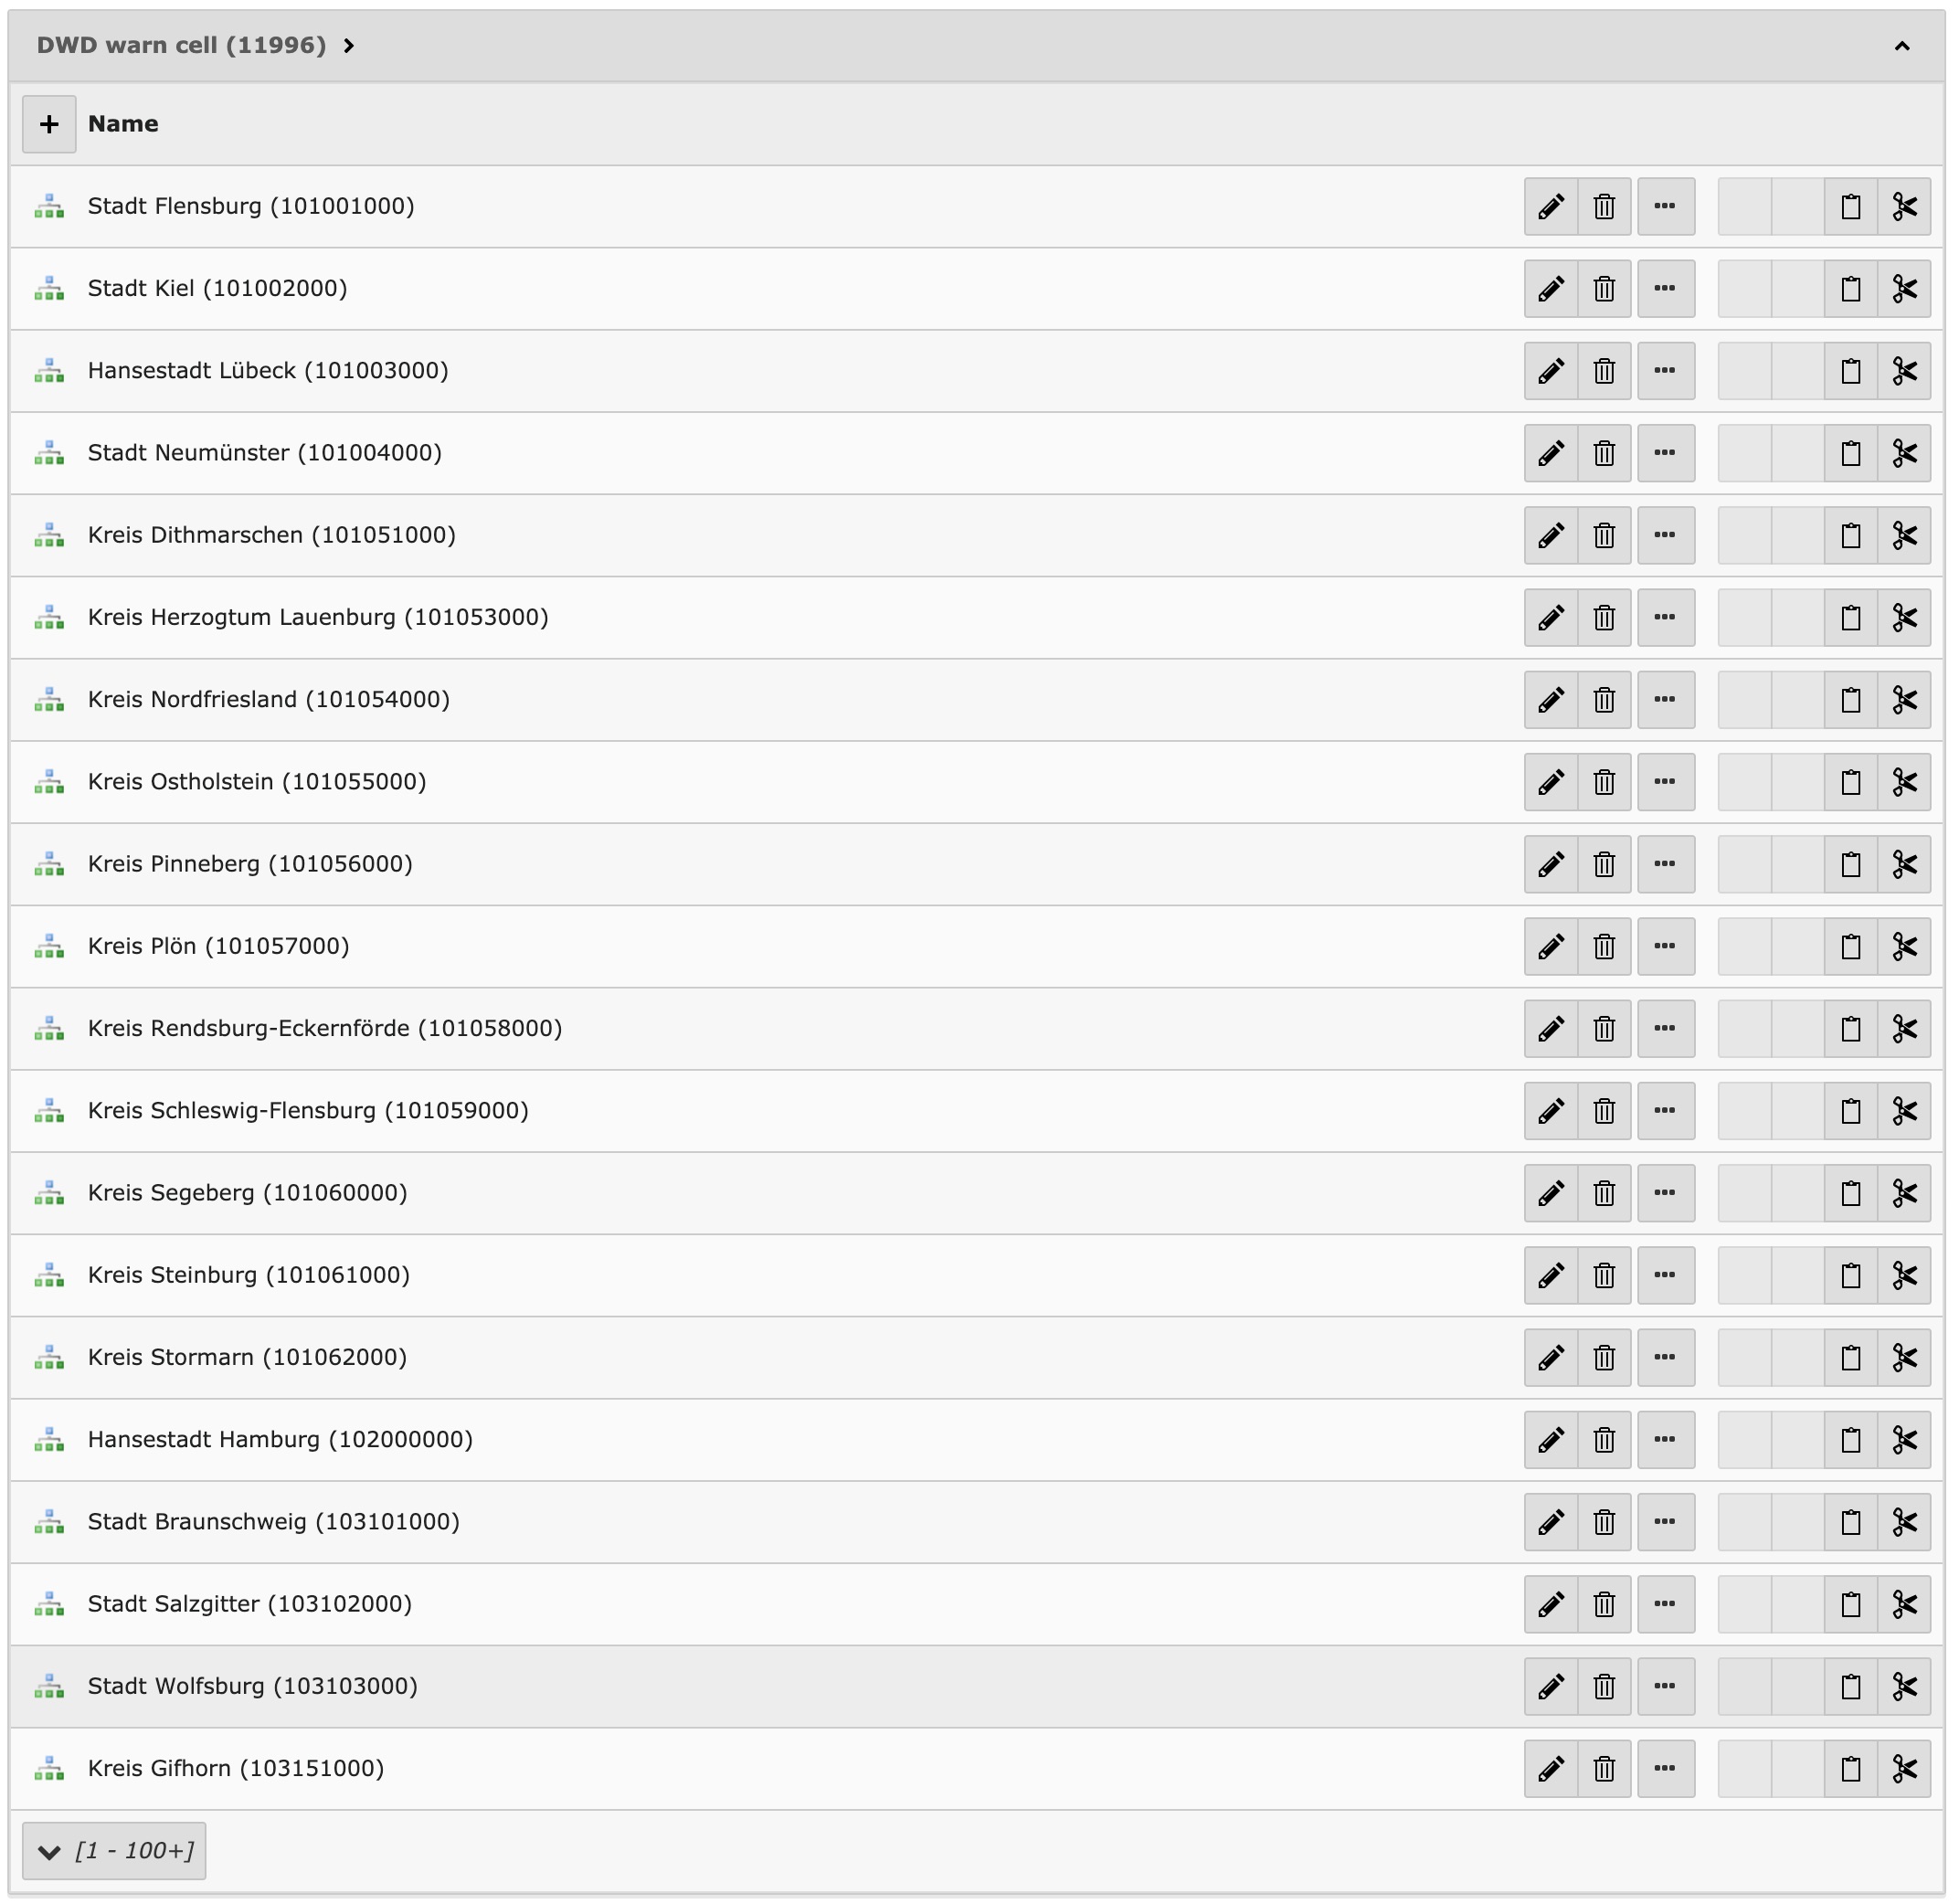
If the execution was successful you will see all the region records in your root page.
- Done
Take a look into Get weather alerts from Deutscher Wetterdienst
Create warn cells manually
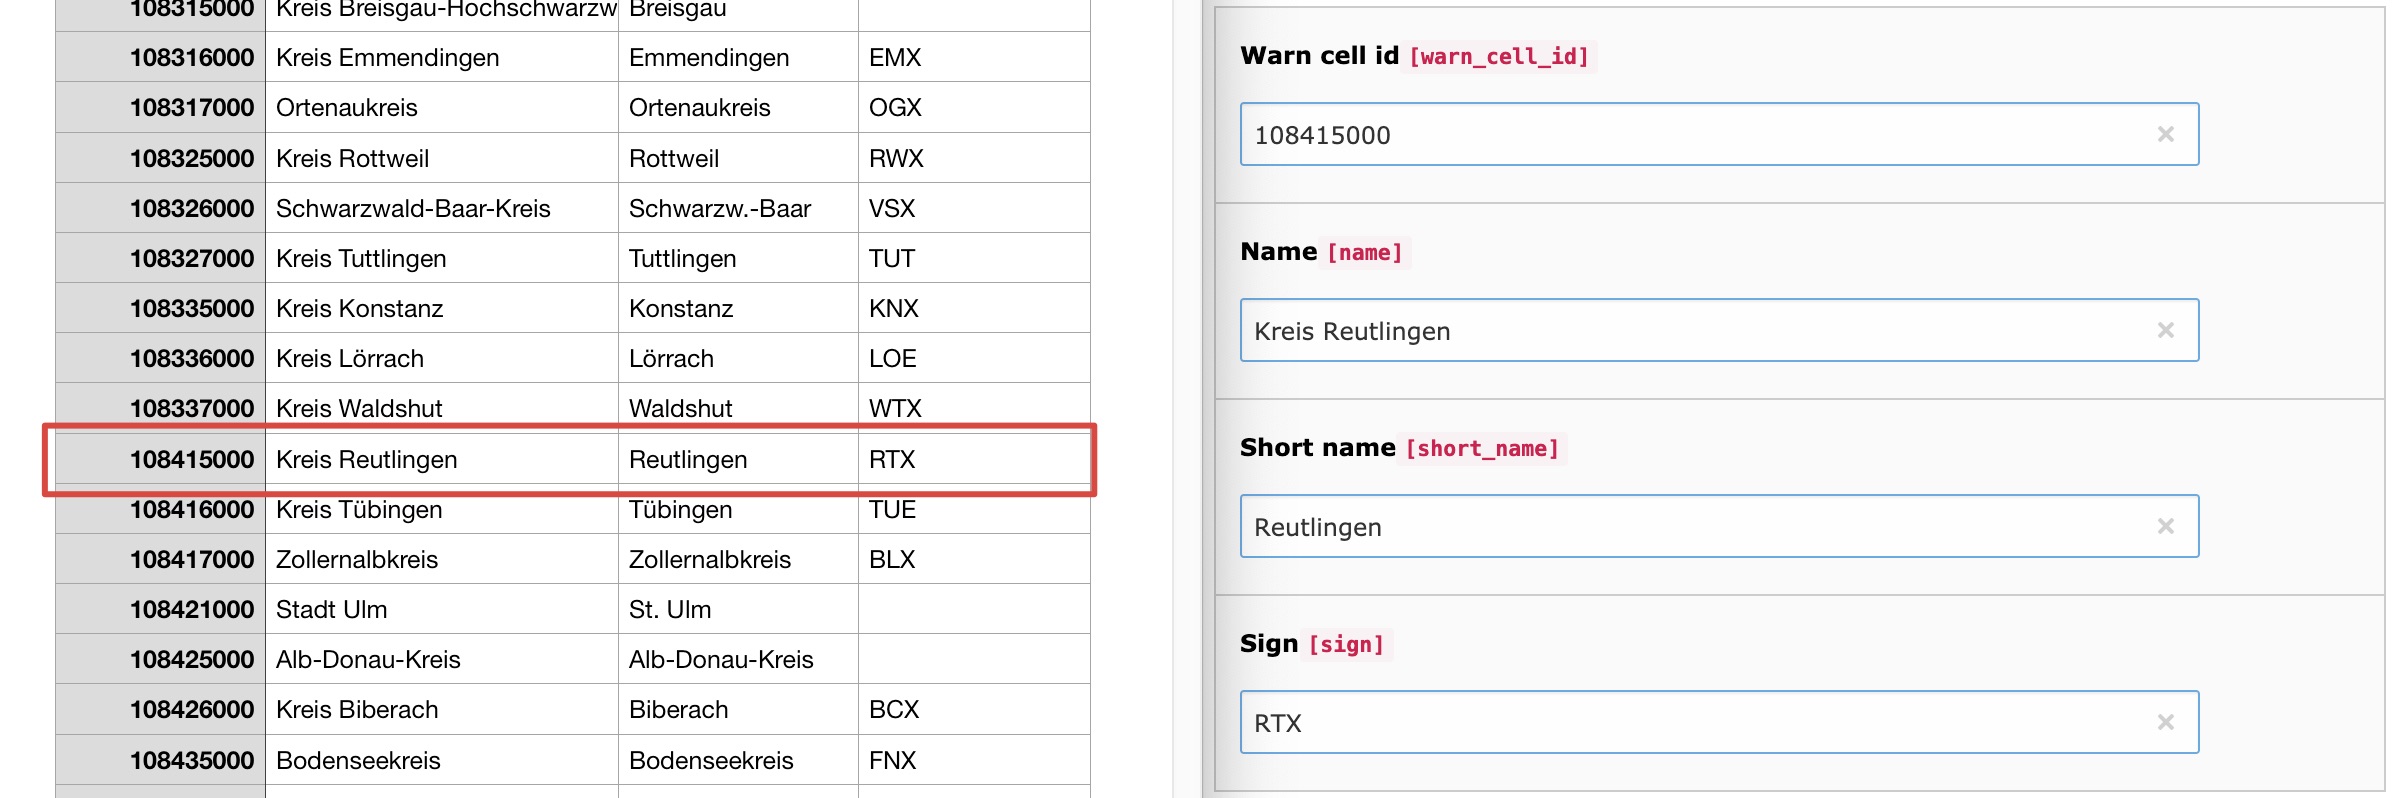
- Download the warn cell IDs CSV from DWD and search for your city/location.
- Go into the page or list module.
- Select your root page (the one with the TYPO3 logo) on the page tree.
-
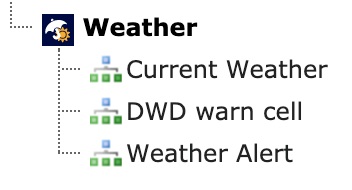
Click on Create new record and select DWD warn cell.
- Now you can enter the city name and additionally the district of your city.
-
Done
Take a look into Get weather alerts from Deutscher Wetterdienst
Get weather alerts from Deutscher Wetterdienst
- Go to the scheduler module.
- Add a new task of type Execute console commands and select the
command
weather2:.fetch: dwd Alerts - You should set recurring as type and e.g. 3600 as frequency to get the latest alerts every hour.
- Fill in the
selectedargument with a comma separated list of place names. Please make sure you added the warn cell records (cities/locations) or got them from Deutscher Wetterdienst. Don't know? Take a look into Get warn cells from Deutscher Wetterdienst and/or Create warn cells manually.Warn Cells -
You can add multiple place names to the
selectedargument, comma separated.Warn Cells 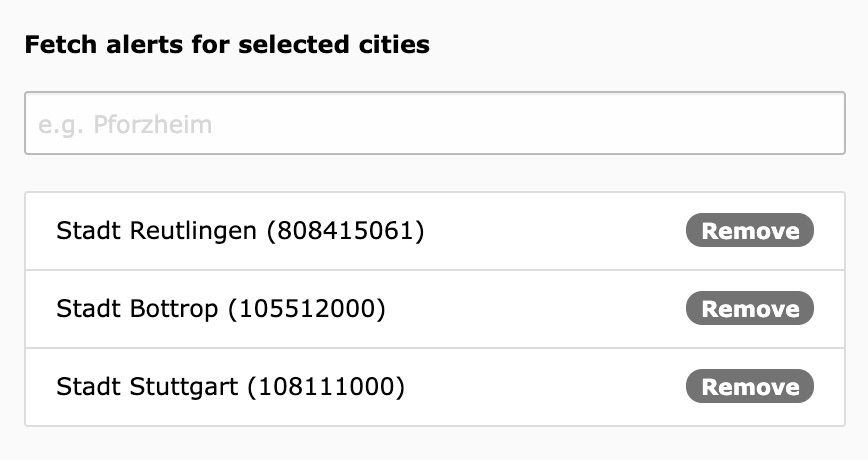
-
If you have a record storage page you can fill in its PID in the
recordargument additionally. This can be useful for Multi plugin use. Otherwise the records will be saved on the root page.Storage Page 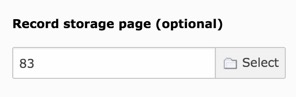
- Now you're done and ready to execute the scheduler.
Read the user manual to get an output on your website.