Create content elements
After following the installation steps, you can start using Mask. Open the backend module Mask. It is located right below the extension manager module.
New content element wizard
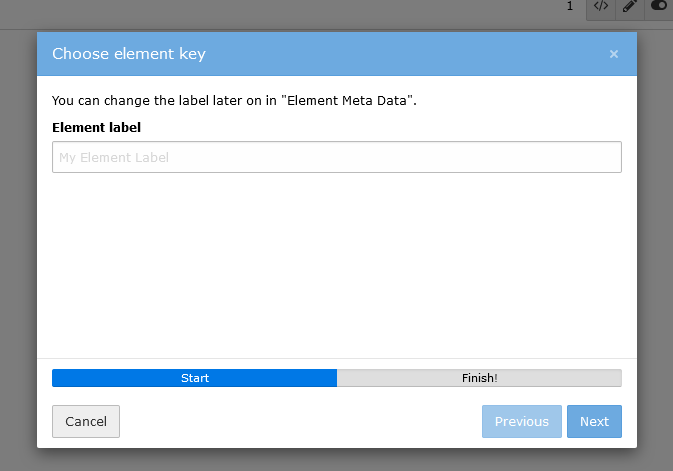
Create your first content element by clicking on the Create new content element button. Now a wizard appears, which will guide you through some mandatory fields:
Label: Enter the label for this content element. This is the name editors will see when creating the content element.Key(unique, lowercase): Your element needs a unique key. This key is used for the CType (Content Type), which is essential for defining the content element. Also the Fluid HTML templates will be generated with this name.
The Multi Step Wizard
After you have finished defining the label and the key, click finish and the Mask Builder will open.
By default the tab Fields will be opened.

The Mask Content Element Builder
Create fields
Now you can fill your element with different fields. Look at the page Fieldtypes for more information about all the different fieldtypes. Drag and drop your desired field into the dragarea in the middle of the screen. It is also possible to just click on a field. In this case the field will be inserted beneath the current active field. After doing so, a form will appear on the right side.

Form of a field
Analogous to the element key, you will have to come up with a unique key for your field. Your custom fields will always
have tx_mask_ as a prefix, which you can not remove. This is important in order to avoid conflicts with existing
fields. You also have the possibility to use existing TYPO3 core fields or existing Mask fields in the Choose field
drop down.
Most fields have this options in common:
Field Key: As described above the unique key for this field. A new column in the database tablett_contentwill be created with this exact name.Label: The label, which the editor will see when editing the content element. Can be a localized string.Description: The description will be shown beneath the label. Here you can give your editor some more information on how to use this field.Reset to default: Resets all the TCA options like it would be when newly created (not label and description).
TCA settings
All other options relate to the according TCA (Table Configuration Array) options. The exact name of the TCA option is shown in brackets and a small black circle with a question mark links directly to the TYPO3 docs. TCA is used to define how the fields will be rendered and validated. There is a lot that can be done with TCA and of course Mask has not adapted (yet) all of the available functionality, but for the most part it should be enough to tackle day to day needs.
The Element Meta Data Tab
Switch to the tab Element Meta Data. This tab contains general information about your content element. If you already
defined a label and a key in the creation wizard, they will be shown here.

Besides the label and the key there are some further fields:
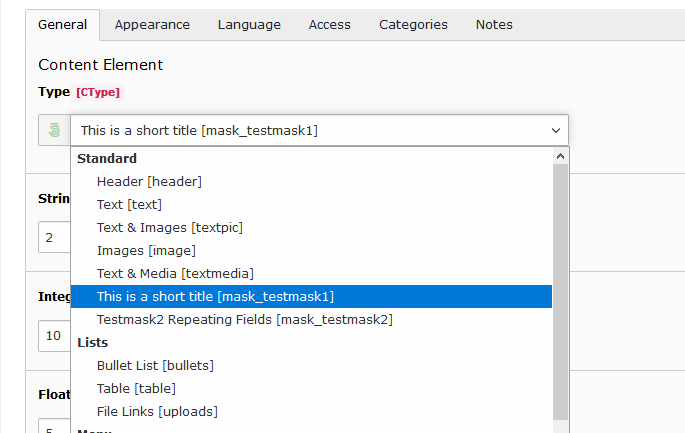
Short Title: The Short Title is used, if you edit an element and open the selectbox for the
CType. If this field is empty, the title is used.
Description: It would be helpful to add a description for the editors. It appears in the wizard for creating new
content elements next to the title and the preview image.
Icon: If you quickly need a preview icon for your content element and you don't want to create an image, just choose
a fontawesome icon. You can select from different categories or search for a keyword. If you don't define any icon, a
fallback icon will be created with the first letter of your label.
Color: Choose a color for your icon.

Save the content element
When ready, save your element with the save button on the top left corner. On first save, a HTML file with example fluid code is generated and saved in your template folder path. Now you can change the structure of the HTML file like you need it. Of course the full power of Fluid is available and all TYPO3 ViewHelper are ready to be used. This file will never be overwritten, even if you change the element in Mask. If you need some fluid example code for newly added fields, click the HTML icon of the element in the list view.
That is all you have to know - now you can use your new element in the page module.