Configuration
All configuration options are available in the Extension Configuration module on the Admin Tools > Settings page. You may need to enter your password before you can access the page.
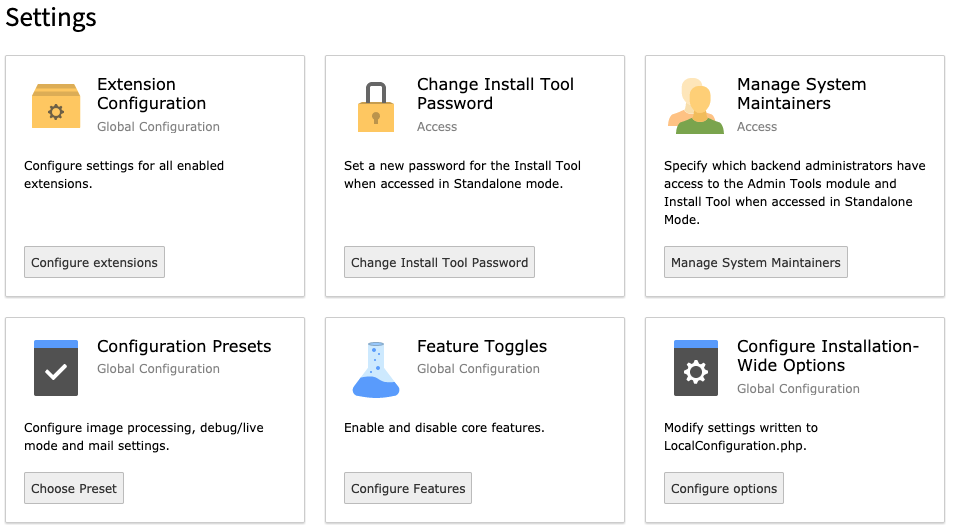
The Configuration Settings page
Click on the Configure extensions button to open the configuration panel.
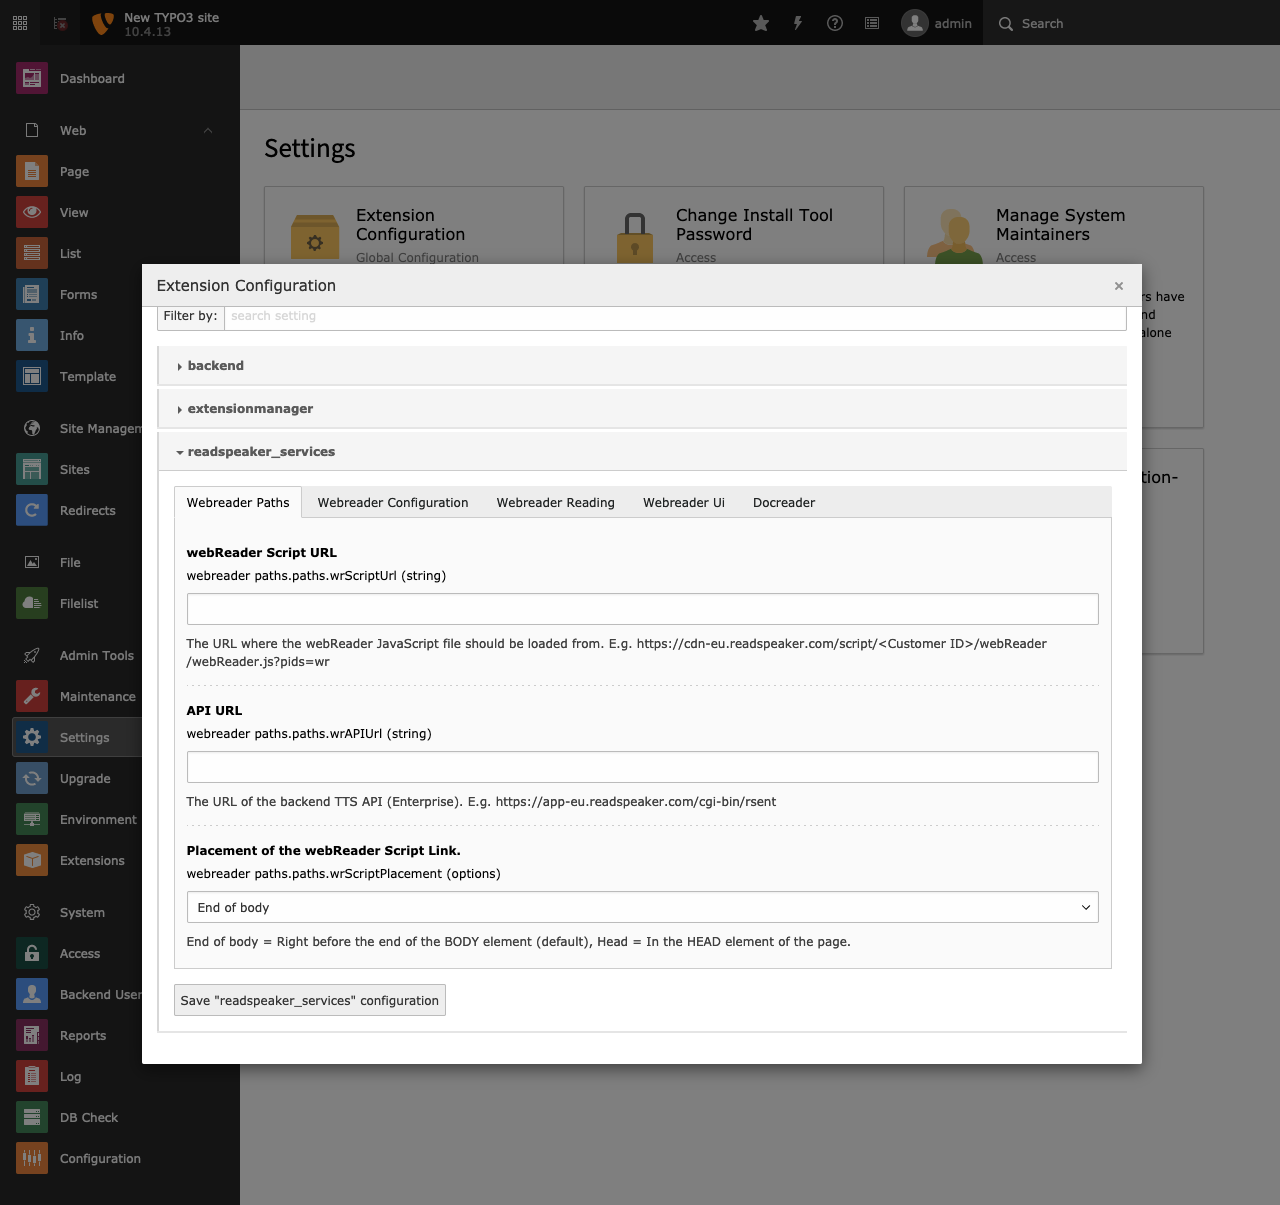
The Extension Configuration panel
Locate the readspeaker_services section and expand it. The configuration is divided up into different categories, each represented by a separate tab.
Remember to click on the Save "readspeaker_services" configuration button after you have made changes to the configuration.
In the following sections we will go through each configuration setting tab by tab. Note that most configuration options can be overridden in your Fluid templates using tag-based or inline notation. See Using the Extension in a Fluid Template for more information. The name of the attribute/parameter to use for each setting will be listed in each section below, under a heading called Fluid Parameter Name.
Webreader Paths Tab
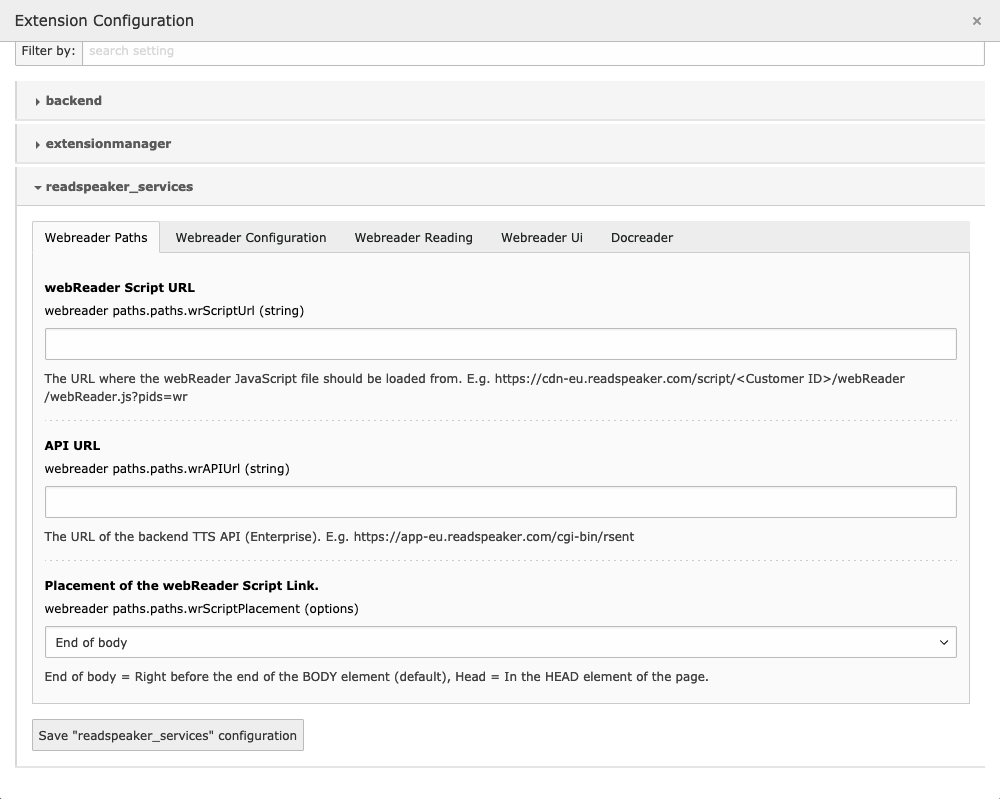
The Webreader Paths tab
webReader Script URL
This tells the extension where the webReader JavaScript file should be loaded from. Unless you host the script on your own server, this should be a link to ReadSpeaker's content delivery network. Note that the parameter pids=wr must be appended to the URL. This field is required.
This information is available in ReadSpeaker's customer portal. Go to the Implementation section and select the implementation instructions for webReader. For more information on script parameters, see the ReadSpeaker webReader developer site.
Example:
https://cdn1.readspeaker.com/script/1/webReader/webReader.js?pids=wr
Fluid Parameter Name
This setting should not be overridden.
API URL
This field tells the extension where the service that does the actual text-to-speech conversion is located. This field is required.
This information is available in ReadSpeaker's customer portal. Go to the Implementation section and select the implementation instructions for webReader.
Example:
https://app-eu.readspeaker.com/cgi-bin/rsent
Fluid Parameter Name
This setting should not be overridden.
Placement of the webReader Script Link
You can decide where the webReader JavaScript (webReader.js) will be inserted into the page.
Depending on the structure of your code, the placement of the JavaScript link can be important, but if you are unsure, set it to Head, which should work in most cases.
Fluid Parameter Name
This setting should not be overridden.
Webreader Configuration Tab
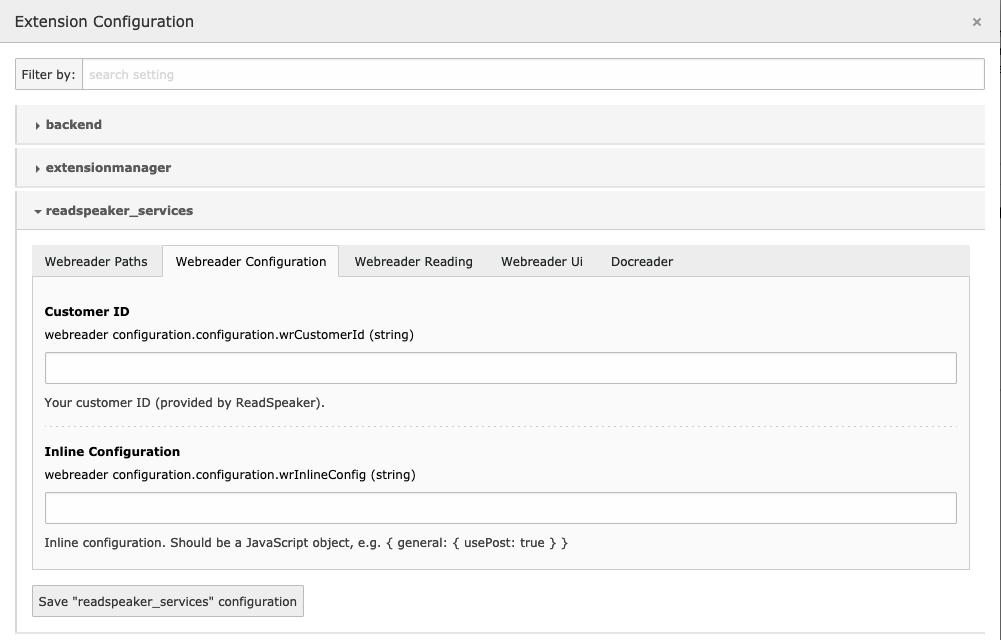
The Webreader Configuration tab
Customer ID
This is the numeric customer ID that you received from ReadSpeaker when you became a customer.
This information is available in ReadSpeaker's customer portal. You will find it on the Account page.
Example:
1234
Fluid Parameter Name
customerId
Inline Configuration
webReader allows you to set certain configuration options inline on your web page in the form of a JavaScript object. There are many options available, which you will find on the ReadSpeaker webReader developer site.
Note that due to the fact that the text field does not allow line breaks, you need to make the configuration object fit on a single line.
Example
Let's say this is your configuration code:
{
   cb: {
      ui: {
         open: function() {
            console.log('Player opened!');
         }
      }
   },
   ui: {
      tools: {
         translation: false
      }
   }
}
The above code registers a callback function to be triggered when the webReader player is opened, and disables the translation tool.
In order to enter it into the Inline Configuration field, it must be stripped of line breaks:
{ cb: { ui: { open: function() { console.log('Player opened!'); } } }, ui: { tools: { translation: false } } }
Tip
Replace line breaks with spaces for better readability.
Fluid Parameter Name
inlineConfig
While this setting can be overridden in your Fluid templates, it's advisable to keep all inline configurations global, to make them easier to maintain.
Webreader Reading Tab
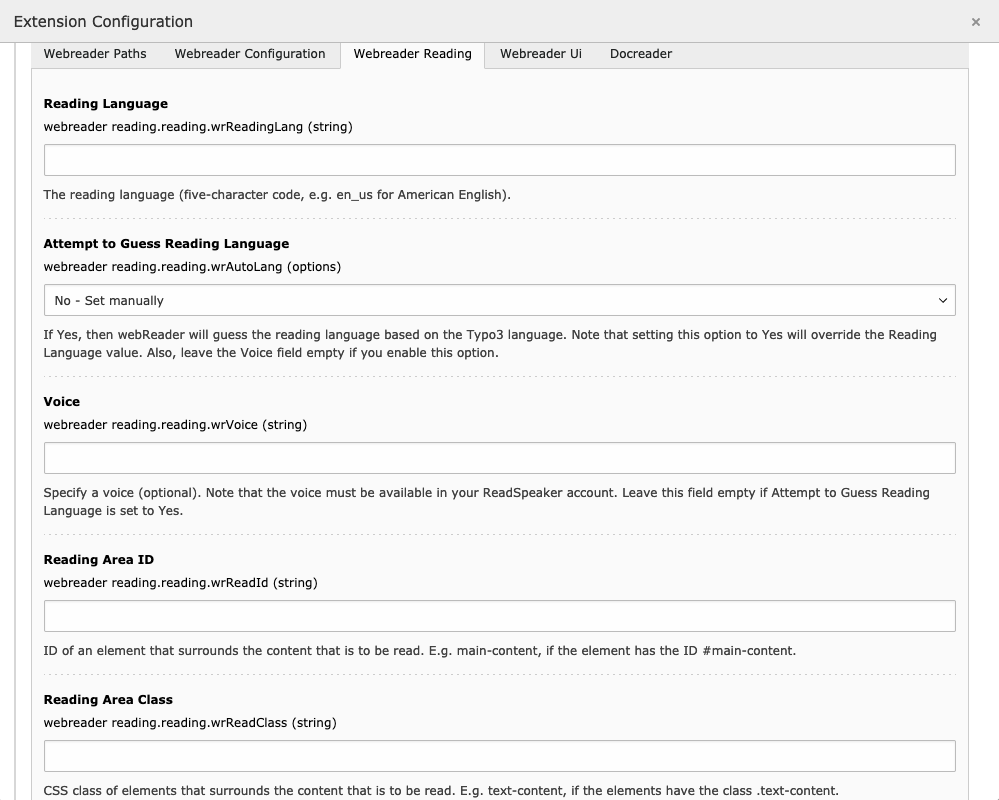
The Webreader Reading tab
Reading Language
This setting tells webReader which language the page content is in, so that the correct language rules are applied when converting the text to speech.
The value should be a five character locale string, all lowercase, where the language and country codes are separated by an underscore.
If you have a multi-lingual website, you probably want to look at the setting Attempt to Guess Reading Language instead of this one.
Note
You can only enter languages that are included in your contract with ReadSpeaker.
Example
en_usfor American Englishen_ukfor British Englishde_defor Germanfr_frfor Frenchpt_ptfor Portuguesept_brfor Brazilian Portuguese
Fluid Parameter Name
readingLang
Attempt to Guess Reading Language
If you run a multi-lingual website, it may be a good idea to let the extension guess the reading language based on the language setting for the current page.
This should work most of the time, but the extension is not super smart and will always pick en_us if the page language is any form of English, for instance.
It's important that you leave the Voice field empty if you set this value to Yes - Guess, since you are likely to end up with an incorrect combination of reading language and voice otherwise.
Fluid Parameter Name
autoLang - Possible values are yes or no.
Voice
If you only use a single language and want to specify which voice to use, you can enter the voice name into this field.
The list of available languages and voices can be found in ReadSpeaker's customer portal. Go to Account > Voices to see which combinations are available to you.
Example
Sophie- American English female voiceMark- American English male voiceMaja- Swedish female voiceMax- German male voice
Fluid Parameter Name
voice
Reading Area ID
In order to let webReader know which content to read, you can specify a single HTML element by its ID (Reading Area ID) or you can enter a CSS class (Reading Area Class), in which case all elements with the specified class will be read in the order they appear in the code. If you don't specify ID or CSS class, webReader will read all content in the <body> element in the order it appears in the code.
Example:
<body>
   <article id="main-article">
      <header>Article header and meta data</header>
      <div id="article-content">
         . . .
         Article content
         . . .
      </div>
      <footer>Article footer</footer>
   </article>
</body>
If you have the above code and want to read only the article content, you set Reading Area ID to article-content. But if you want to include the header and the footer also, you set it to main-article.
Fluid Parameter Name
readId
Reading Area Class
In order to let webReader know which content to read, you can specify a single HTML element by its ID (Reading Area ID) or you can enter a CSS class (Reading Area Class), in which case all elements with the specified class will be read in the order they appear in the code. If you don't specify ID or CSS class, webReader will read all content in the <body> element in the order it appears in the code.
Example
Ponder this code:
<body>
   <p>Some information...</p>

   <article class="advertisement">
      <h2>Volvo XC90, hardly used</h2>
      <p>Exeptional condition Volvo XC90 for sale...</p>
   </article>

   <div>General information...</div>

   <article class="advertisement">
      <h2>BMW X5 2020, mint condition</h2>
      <p>Great car for the family...</p>
   </article>

   <p>Disclaimer...</p>
</body>
If we only want webReader to read the car ads we put advertisement as the value into the Reading Area Class field.
Fluid Parameter Name
readClass
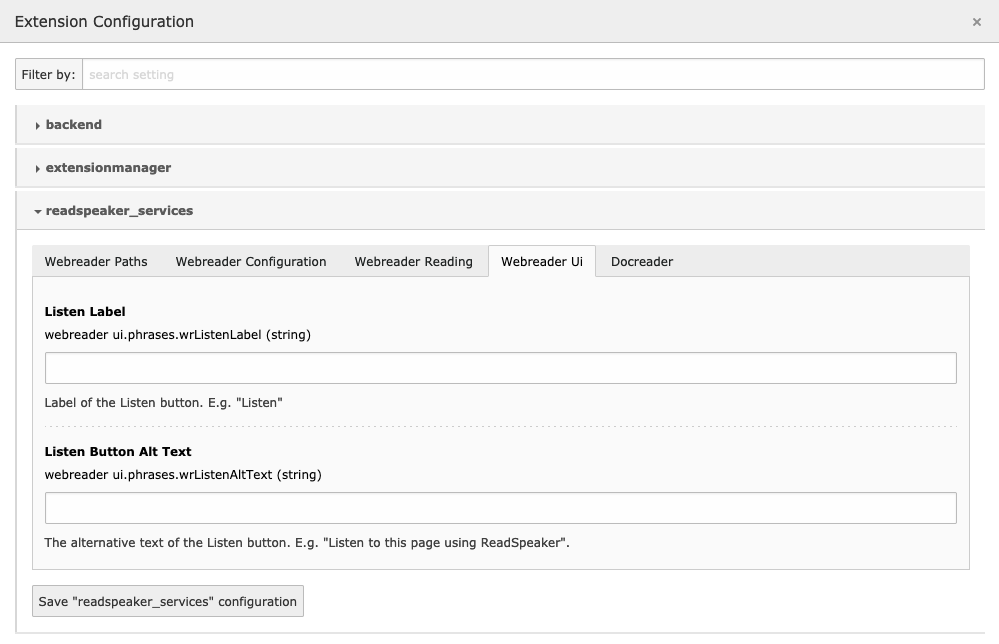
Webreader UI Tab
Use the fields in this section to customize the labels displayed in the Listen button.
The Webreader UI tab
Listen Label
This is the text "Listen" that is displayed in the Listen button:

The Listen button, the label is "Listen".
Read the Localization section for more information on how to customize the translation for this label. Note that if you enter a value into this field, it will disable the automatic translation detection.
Fluid Parameter Name
listenLabel
Listen Button Alt Text
The value of this field is displayed as the tooltip when you hover the mouse over the Listen button:
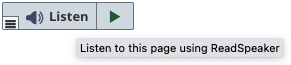
The Listen button with tooltip
Read the Localization section for more information on how to customize the translation for this text. Note that if you enter a value into this field, it will disable the automatic translation detection.
Fluid Parameter Name
listenAltText
Docreader Tab
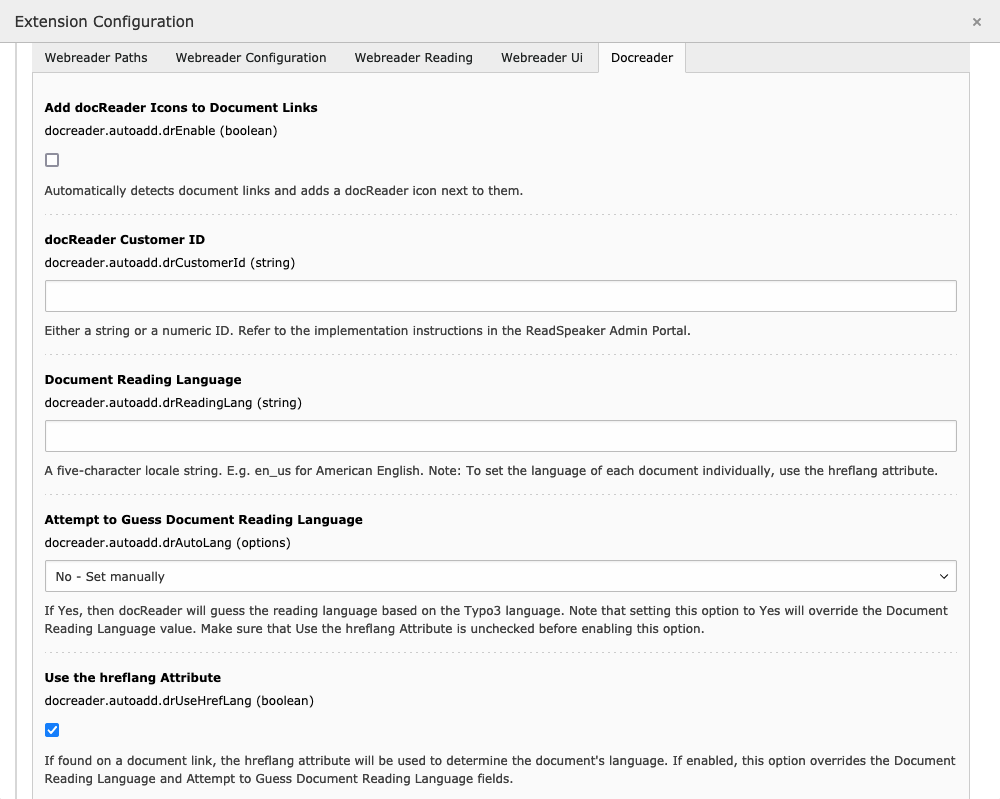
Add docReader Icons to Document Links
Check this box to enable docReader links to be automatically added on a page.
The extension will scan each page (where it has been added) and add a small icon next to each document link. Clicking on the icon will open the linked document in ReadSpeaker docReader.
Fluid Parameter Name
drEnable - Possible values are 0 or 1.
docReader Customer ID
This is your docReader customer ID, which can be found in ReadSpeaker's customer portal. Go to the Account page, and you will find it there.
Example:
bmpld
Fluid Parameter Name
drCustomerId
Document Reading Language
This setting tells docReader which language the document content is in, so that the correct language rules are applied when converting the text to speech.
The value should be a five character locale string, all lowercase, where the language and country codes are separated by an underscore.
There are three different ways to tell docReader which language a specific document is in:
Use the Document Reading Language setting. The same language will be applied to all documents on the website.
Let the page language determine the document language. In this case, use the Attempt to Guess Document Reading Language setting. This is a better option if you have a multi-lingual website.
Use
hreflangattributes on document links. This way each individual document link can define its language. If you want to use this method, make sure to check Use the hreflang Attribute.
docReader will determine the document language by checking the settings in this order:
Use the hreflang Attribute is checked and the link contains a
hreflangattribute.Attempt to Guess Document Reading Language is set to
Yes - Guess.The value of the Document Reading Language setting.
Note
You can only enter languages that are included in your contract with ReadSpeaker.
Example
en_usfor American Englishen_ukfor British Englishde_defor Germanfr_frfor Frenchpt_ptfor Portuguesept_brfor Brazilian Portuguese
Fluid Parameter Name
drReadingLang
Attempt to Guess Document Reading Language
If you run a multi-lingual website, it may be a good idea to let the extension guess the document's reading language based on the language setting for the current page.
This should work most of the time, but the extension is not super intelligent and will always pick en_us if the page language is any form of English, for instance.
Fluid Parameter Name
drAutoLang - Possible values are yes or no.
Use the hreflang Attribute
If your document links contain the hreflang attribute, check this box to make docReader determine the language based on it.
Example
Consider this code:
<a href="https://www.yourdomain.com/a_document_in_english.pdf" hreflang="en_us">English Document</a>
<a href="https://www.yourdomain.com/a_document_in_french.pdf" hreflang="fr_fr">French Document</a>
Using the hreflang attribute you are able to set different document languages on the same page.
Fluid Parameter Name
drUseHrefLang - Possible values are 0 or 1.
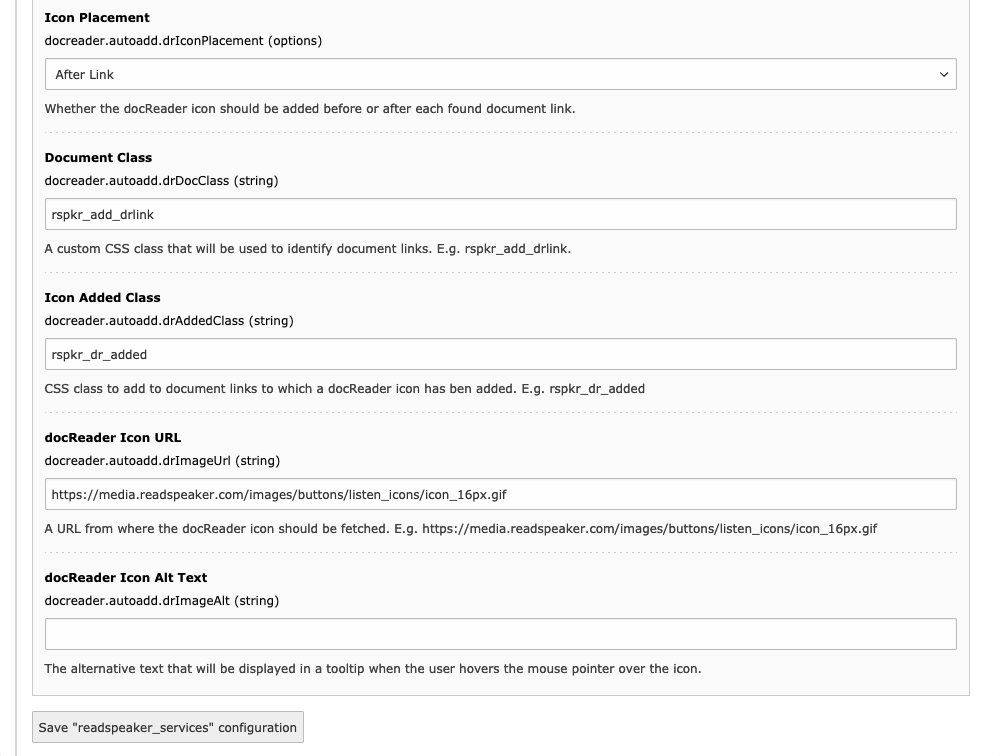
Icon Placement
The extension will place a small icon next to any document links it finds on the page. Using this setting you can decide whether the icon should be placed before or after the link.
Example
Icon placed after the document link:
Icon placed before the document link:
Note
It may seem as the icon placement in the examples above is more a matter of below or above, than after or before, but the placement refers to the position in the code, not on the screen. How the icon is rendered visually should be controlled with CSS.
Fluid Parameter Name
drIconPlacement
Document Class
The extension will look for all links that have a href attribute that contains any of the pre-defined document file extensions:
.doc
.docx
.odt
.pdf
.rtf
.ppt
.pptx
.xls
.xlsx
.epub
Sometimes, however, your document links will not contain any file extensions, probably because the documents are dynamically generated or served by a server-side component.
In those cases you can add a CSS class to the links in order to tell docReader to process them anyway. The default class is rspkr_add_drlink, but you can set it to whatever you want. Note that it's not possible to add documents of any other type than the ones listed above. If you do, docReader will open with an error message.
Example
This example link points to a script that generates PDFs, so we have added a CSS class to indicate that it's a document link:
<a href="https://www.someapp.com/generate_document.php" class="rspkr_add_drlink">Download Document</a>
Fluid Parameter Name
drDocClass
Icon Added Class
When the extension identifies a document link, it will add a CSS class to the link in order to know that it has been processed. The default class is rspkr_dr_added, but you can set it to whatever you want using this setting.
Example
The class rspkr_dr_added has been added to this link, indicating that a docReader icon has already been added to it:
<a href="a-file.pdf" class="rspkr_dr_added">
   <span class="ce-uploads-fileName">Download</span>
</a>
Fluid Parameter Name
drAddedClass
docReader Icon URL
The extension includes an icon image (document with a speaker), but if you want to use your own, you can enter the image url into this field.
Example:
https://mycdn-mydomain.com/images/my-docreader-icon.png
Fluid Parameter Name
drImageUrl
docReader Icon Alt Text
The value of this field is displayed as the tooltip when you hover the mouse over the docReader icon:
Read the Localization section for more information on how to customize the translation for this text. Note that if you enter a value into this field, it will disable the automatic translation detection.
Fluid Parameter Name
drImageAlt