Using the Extension
After installing the extension, you should configure it to work the way you want. See the Configuration section for more information.
If you want to test out the extension before you start configuring it, you can just fill in the following information:
This minimal configuration is what is required to get the extension to work with the default settings.
Once you have finished configuring the extension, you should select one of the methods of enabling it. Which one you choose depends on the structure of your website and the level of control you need on each individual page.
Using the Extension as a Plug-in - Install on a single page, or just a few pages.
Using the Extension in the Main Template - Install on all pages, with the same settings everywhere.
Using the Extension in a Fluid Template - Install on all pages, with full control over settings on each page.
Using the Extension as a Plug-in
Use this mode if you want to enable the extension on a single page or just a few pages.
Locate the page
To use webReader and/or docReader as a plugin, go to Web > Page and locate the page where you want it to be added.
Click on the + Content button where you want webReader to be displayed:
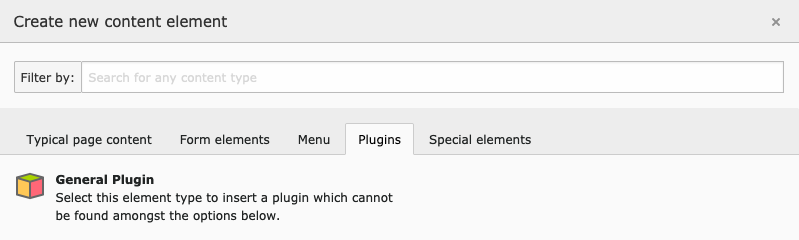
Select plug-in type
Select General Plugin from the Plugins tab
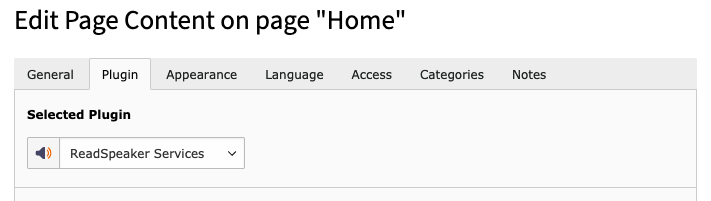
Select ReadSpeaker Services
Select ReadSpeaker Services from the Plugin tab
Save
Click on Save and then Close

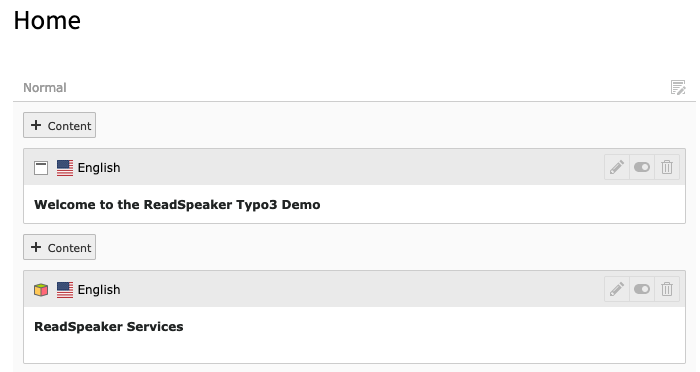
Verify that the plug-in is visible on the page
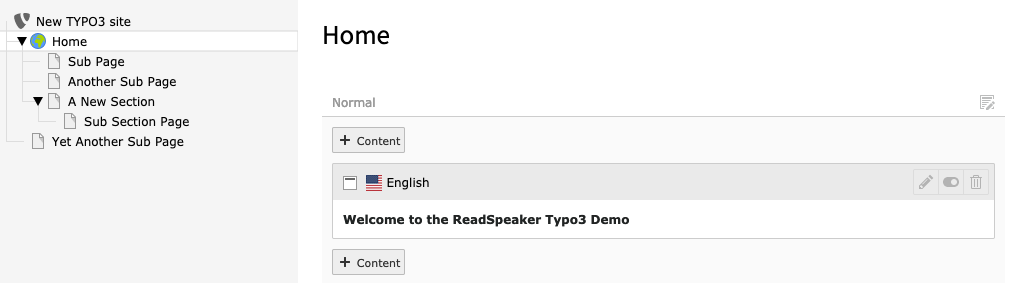
The plugin should now be visible in the content section:
Preview
If you preview the page you should now see webReader's listen button. It may look something like this:
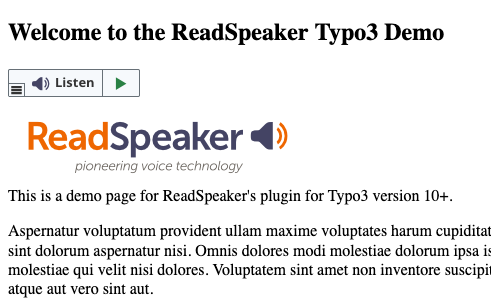
Note
Note that you may have to configure the reading area in order to make webReader read the desired content. See Reading Area ID in the Configuration section for more information.
Using the Extension in the Main Template
Use this method if you want the extension to be enabled on all pages in the website, but don't need fine-grained control over the configuration on each page.
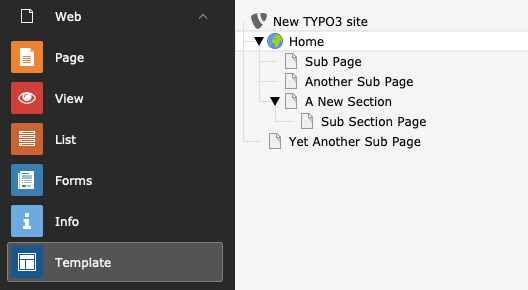
Locate the root template
Go to Web > Template and select the website's root page:
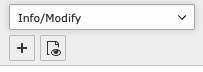
Info/Modify
Make sure Info/Modify is selected in the dropdown at the top of the page:
Set it up
Now click on Setup:

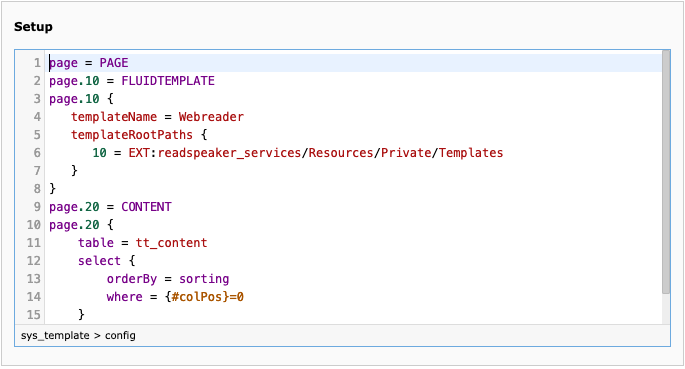
Alter the TypoScript code
webReader can be added as a
FLUIDTEMPLATEobject in the TypoScript code:page.20 = FLUIDTEMPLATE page.20 { templateName = Webreader templateRootPaths { 10 = EXT:readspeaker_services/Resources/Private/Templates } }
Where to insert the code depends on where you want the webReader button to show up. In the example below, the Listen button will always be displayed at the top of the screen, above any page content:
Save
Click on Save when you are done editing the TypoScript code.
Preview
The result may look something like this:
Using the Extension in a Fluid Template
Use this method to gain more control over how the extension functions.
Before you can insert webReader in your Fluid template, you need to declare the extension's namespace:
{namespace rs=Readspeaker\ReadspeakerServices\ViewHelpers}
Add the namespace declaration at the top of your Fluid template.
webReader's Listen button can be inserted with either tag-based or inline notation. Which one you choose is entirely up to you. We will show you both.
Most configuration options can be overridden at the object level using attributes and parameters. This makes for a very flexible approach and gives you a lot of control over each webReader button.
Tag-based Notation
Inserting a webReader Listen button is as simple as just adding a tag:
<rs:webreaderbutton />
Output:

The above button will inherit all settings from the global configuration. If you want to override the base settings, you can add attributes to your tag. For instance, this will change the button label:
<rs:webreaderbutton listenLabel="Listen to this article" />
Output:

If you want to change multiple settings, just add more attributes:
<rs:webreaderbutton
   listenLabel="Listen to this article"
   readId="a-specific-aricle-id"
/>
See the Configuration chapter for more information on which attributes are available.
Inline Notation
Inline notation has the same capabilities as tag-based notation, but sometimes allows for a more compact syntax.
A plain Listen button can be inserted like this:
{rs:webreaderbutton()}
Output:
Altering configuration options can be done by adding parameters:
{rs:webreaderbutton(
   listenLabel: 'Listen to this article',
   readId: 'a-specific-article-id'
)}
Output: