Configuration
Create APP at dropbox.com
-
Go to Developer area of dropbox.com
Simply visit: https://www.dropbox.com/developers
If this link is not valid anymore go to https://www.dropbox.com/, click the upper left menu icon with the 9 dots. Choose the App Center. In the left menu of the
App Centeryou will find a link toDevelop Apps. Now you should be in the developer corner of Dropbox. -
Create new Dropbox App
Click the
App Consolebutton in the upper right corner. Now you see all your apps (if you have created some). Click theCreate appbutton. -
Choose API
With a free or simple Dropbox account you only have the possibility to choose the API with
Scoped access. The TYPO3 Dropbox extension can only work with this API. Do not choose any other API. -
Choose App type
For security reasons I prefer to choose
App folder. But if you`re sure, you also can give your app full access to all of your Dropbox files. -
Give it a name
Assign a Dropbox global unique name to your new app. Please consider, that words like
dropboxare not allowed as part of the name.Confirm your settings with button
Create App. You will be redirected to detail view of your app. -
Configure your new app
Switch over to tab
Permissionsand activate following permissions:files.metadata. read files.content. write files.content. read
-
Locate
App keyFor next section you will need to copy
App keyfrom tabSettings.
Create File Storage
- Go to list module and choose PID 0 (Rootpage with TYPO3 logo in front).
- Create a new record of type
File Storage - On tab
Generalchoose a name likeDropbox - On tab
Configurationyou have to choose theDropboxdriver
Start Driver Wizard
While editing the File storage click on the + icon to start the wizard.
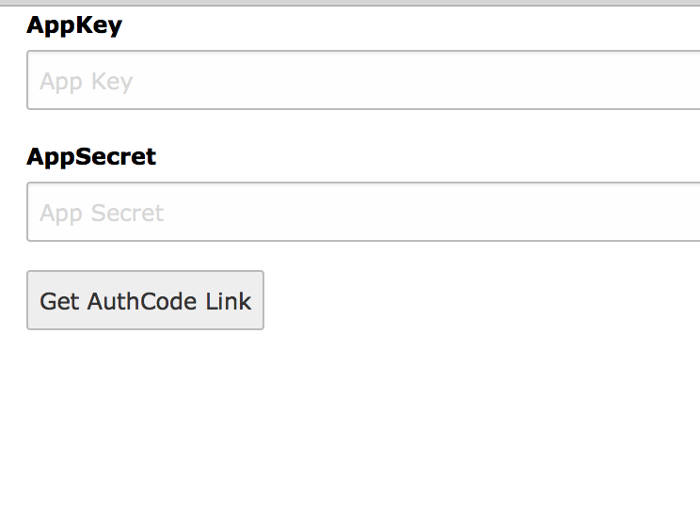
Paste in the App Key from Dropbox App explained above.
Click on Get AuthCode Link
On the next page you have to click on the authorization link which will
open a new tab where you have to give access to your Dropbox App.
Copy the AuthCode from Dropbox page into the AuthCode field of the Wizard.
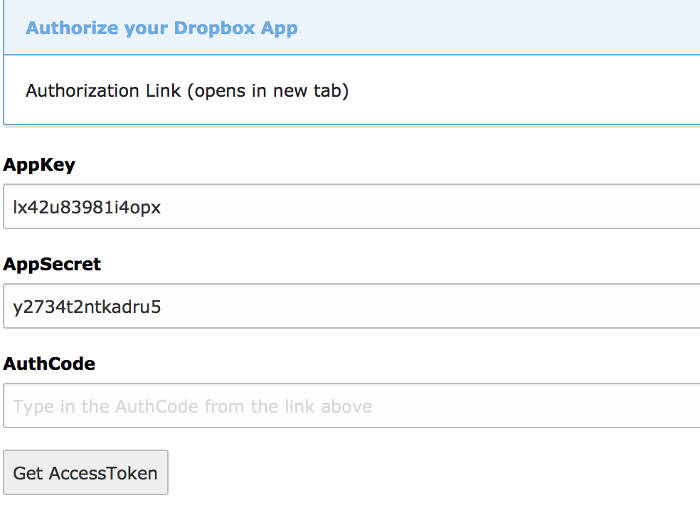
With a click on Get AccessToken a further request to dropbox.com will
start in the background. On success the Refresh Token will automatically
inserted in File Storage record and the wizard will close.
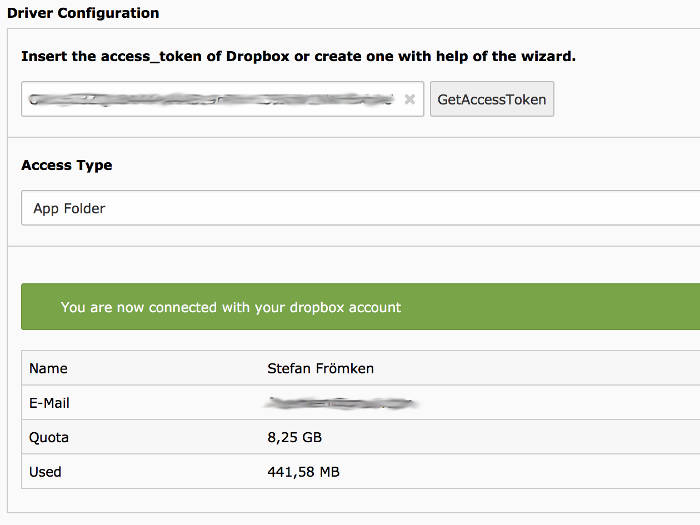
Save the record. On success it will show you some user data.
Performance
Deactivate countFilesInFolder
The extension provides an extension setting named count, which
is enabled by default. When activated, the extension performs an individual
API request to Dropbox API for each listed folder in order to determine the
number of contained files.
Each API call introduces a latency of approximately 300–400 milliseconds. For example, if a parent folder contains 10 subfolders, the total time required to render the file list may reach up to 4 seconds.
Since the file count is primarily a visual indicator, this feature can be
disabled to optimize performance. When count is set to 0, the
file list will render significantly faster, but will display "0 files" for
each subfolder.
Folder for manipulated and temporary images
Within the Configuration tab, at the bottom of the settings list, you will
find the option Folder for manipulated and temporary images etc..
By default, this folder is located within the Dropbox file storage. As a result, all processed or temporary images are transferred via the Dropbox API, which significantly impacts performance due to the slow transfer rates.
To improve rendering speed and overall performance, it is recommended to
relocate this folder to a fast local file storage. For example, if your
fileadmin storage has the storage UID 1, you can set the value to:
1:/_. This ensures that temporary files are handled locally
rather than being transferred through the Dropbox API.
Attention
Cleanup required after changing the processed folder storage
After changing the Folder for manipulated and temporary images to a local
file storage (e.g., UID 1 for fileadmin), it is necessary to clean up
existing processed files.
Specifically, all records in the sys_ table that
reference the previous Dropbox storage (e.g., UID 2) must be deleted.
Otherwise, TYPO3 may continue to reference outdated processed files stored
in the remote storage.
For further details, refer to the related TYPO3 issue: https://forge.typo3.org/issues/84069