Cute Mailing

Version

4.1

Language

en

Authors

Undkonsorten

Email

extensions@undkonsorten.com

License

This extension documentation is published under the CC BY-NC-SA 4.0 (Creative Commons) license

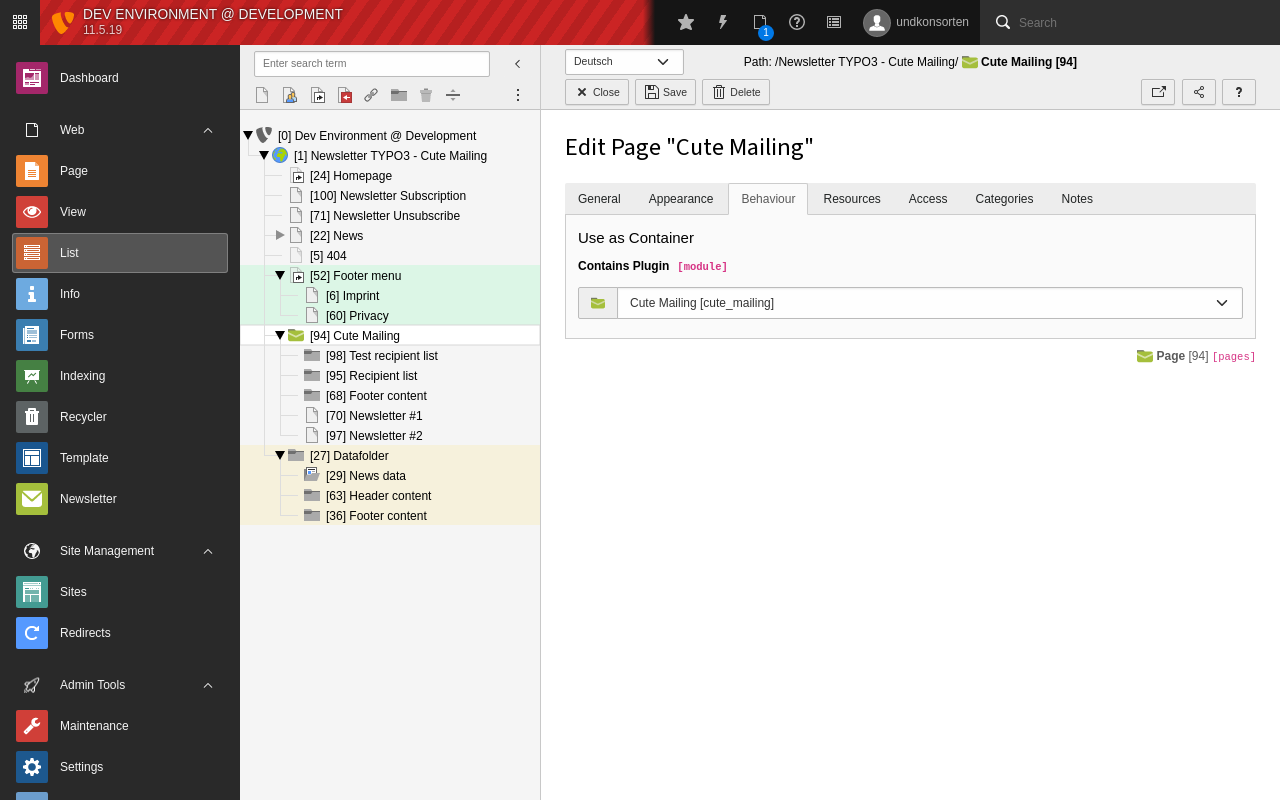
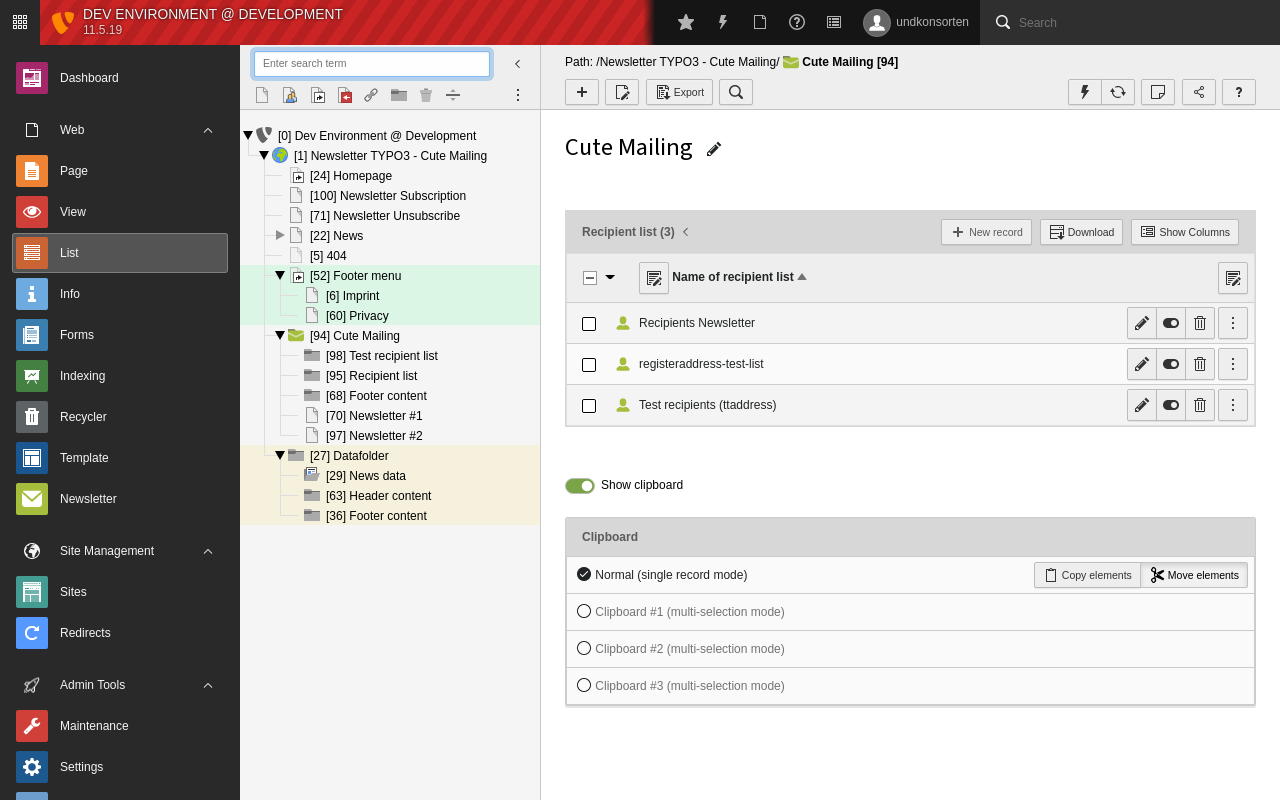
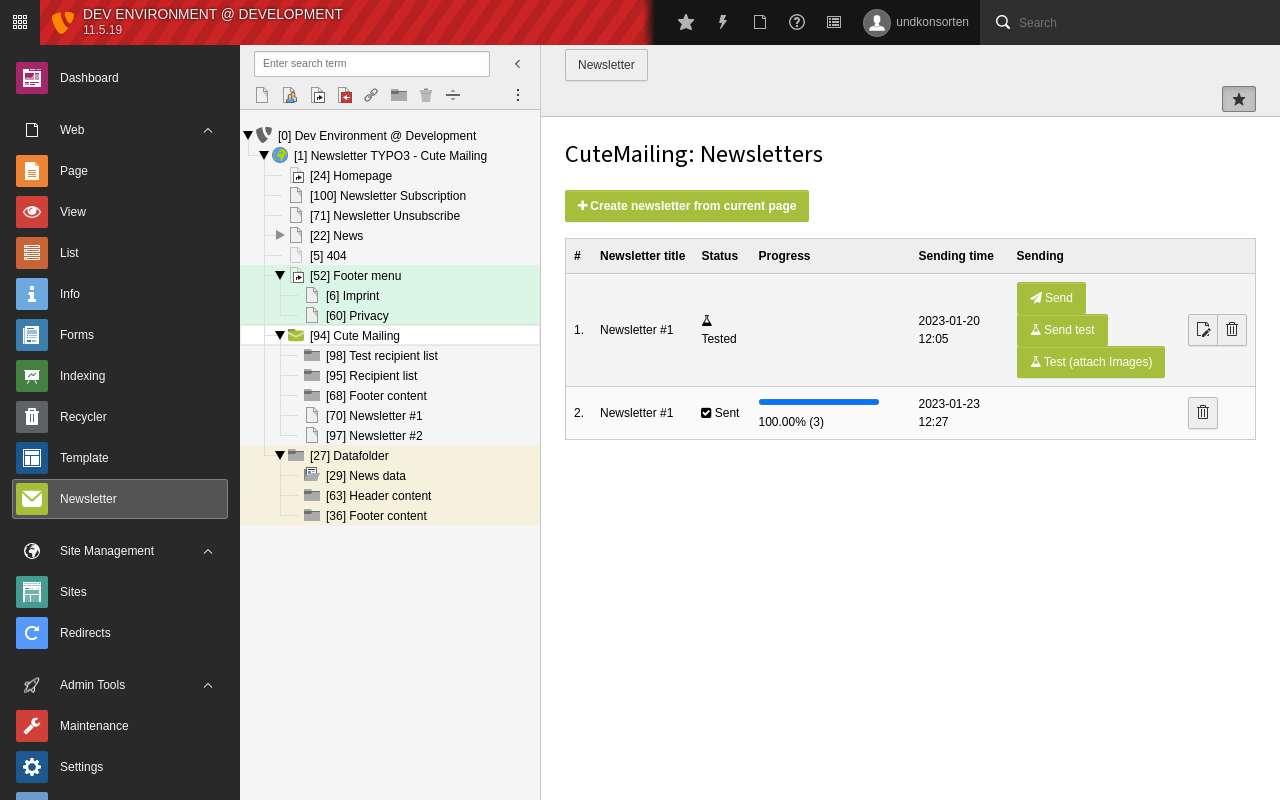
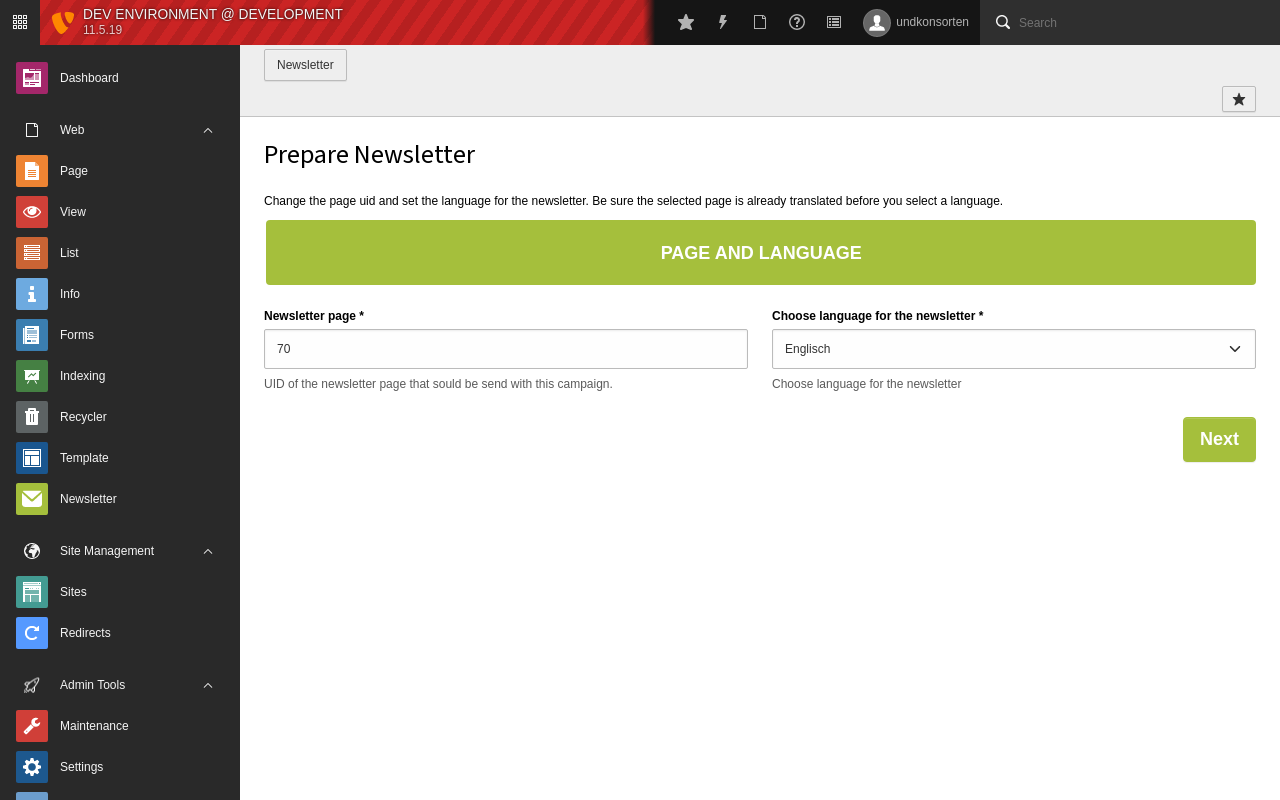
Pronounced [kø] "queued" mailing :grin:

A TYPO3 extension that makes mail and newsletter sending cute.

Extension Manual

This documentation is for the TYPO3 extension cute-mailing.

Introduction

What does it do?

Cute Mailing is a multilanguage newsletter tool that spools and sends TYPO3 pages as emails to many recipients. Cute Mailing can handle different types of recipient lists. That is possible with so called "Connector Extensions". There are two extension that introduce different recipient list for tt_address or registeraddress :

Cute Mailing is heavily inspired by luxletter but omits the rendering part to focus on it‘s main purpose:

Cute Mailing only does one thing: Sending mails!

We say thank you to the developers at In2Code for their good work.

Installation

The extension needs to be installed as any other extension of TYPO3 CMS:

Get the extension by one of the following methods:

Install the extension with Composer

composer require undkonsorten/cute-mailing
Copied!

Get it from the Extension Manager

Switch to the module Admin Tools > Extensions. Switch to Get Extensions and search for the extension key cute_mailing and import the extension from the repository. Please note that this installation method is not tested. Please feedback your experiences!

Latest version from git

You can get the latest version from git by using the git command:

git clone https://github.com/undkonsorten/typo3-cute-mailing
Copied!

Requirements

Cute Mailing requires the extension taskqueue for sending the emails. The extension is automatically installed during installation via Composer. If Cute Mailing is installed via one of the other ways, the extension must be installed manually before.

Suggested Recipientlists

If you want to use tt_address data for recipients, we suggest one of those connector extensions.

Use this connector if you use registeraddress extension for newsletter subscribing. registeraddress adds some new properties to the tt_address Model. Without those connector extension it is not possible to replace such markers in mail content.

Use this connector if you just using tt_adress data for recipient lists. This connector can also be used if you use an extension that simply use the tt_address table for recipient data.

Configuration

Set up CuteMailing Sysfolder

You need at least one Newsletter Sysfolder with module "Cute Mailing". Set field "Contains Plugin" in div "Behaviour" in page properties.

Created Sysfolder with module "Cute Mailing"

Create Sysfolder with module "Cute Mailing"

Page TS-Config

You can configure your newsletter default via Page TSconfig.

Typical example

mod.web_modules.cute_mailing {
   # default sender mail
   sender = newsletter@undkonsorten.com
   # default sender name
   sender_name = Undkonsorten
   # default reply to mail
   reply_to = newsletter@undkonsorten.com
   # default reply to name
   reply_to_name = Undkonsorten
   # we use a page type to render html code optimized for emails
   page_type_html = 10
   # and a page type to render text emails
   page_type_text = 11
   # list markers allowed to be replaced in the rendered page
   allowed_marker = firstName,lastName,registeraddresshash
   # return path, e.g. for bounce mails
   return_path = bounce@undkonsorten.com
   # If you dont need multi language support you can deactivate it
   hideLanguageSelection = 1
   # uid of the default language of created newsletter
   language = 1
   # Basic auth if your newsletter page needs auth
   # Basic auth user
   basic_auth_user =
   #Basic auth password
   basic_auth_password =
   listunsubscribe_enable = 1
   listunsubscribe_email = unsubscribe@example.com
   # uid for a default recipient list if needed
   default_recipient_list = 1
   # uid for a default test recipient list if needed
   default_test_recipient_list = 3
}
Copied!

Taskqueue

The taskqueue extension must be configured to run regularly, best via Scheduler.

Create a new Scheduler Task

Choose "Execute Console Commands" in the field "Class" in Scheduler Task. The type should be "recurring". Set the frequency you need. After saving the new task you can select the "taskqueue:run-tasks" as the "Schedulable Command". Set the limit for "how many task should be executed in one run" (equal to how many mails will be sent in one run) and save the task.

Now you are prepared for sending Newsletters. Scheduler will start executing the spooled Tasks in the "Task Queue".

For Editors

Prepare newsletter sending

There needs to be at least one Sysfolder as Cute Mailing Module folder. Editors can manage newsletter data via the "Newsletter" Module.

Create recipient lists first.

For the time being, recipient lists can only be managed via the default list module. Select the "List" Module in the module column and then pick the newsletter SysFolder in the page tree. There you should create new data with Type CuteMailing -> Recipient List.

Add new Newsletter in backend

Create at least two recipients lists

After creating those recipient lists you can continue with your first newsletter.

Create Newsletter

Select the "Newsletter" Module on the left and choose a page for the newsletter in the page tree. Then click the [+] button.

Create new Newsletter from the current page

Create new newsletter

The fields in the wizard are prefilled with the default data you entered in Page TSconfig. You can change the target page and other data for the newsletter in the wizard. The fields have a description and should be self-explanatory.

If you have multiple languages you will be asked which language should be used.

Once you have filled in all the necessary information you can save the newsletter. It will not yet be released for dispatch.

Newsletter sending

Click the "send" button in the Newsletter module to trigger sending. After clicking the "send" Button, a new newsletter task will be created. When this newsletter task is executed it will unfold in many mail tasks, depending on the number of recipients. You can find them in the backend module "Task Queue". For automatic execution of such tasks, see Create a new Scheduler Task. Alternatively you can execute the tasks manually for testing purposes, of course.

Module Task Queue with newsletter and mail tasks

Module Task Queue with created tasks

Send a test before Newsletter sending

There are two Buttons to send a Test-Newsletter. They are using the same Test-Recipients-List. The Button "Test (attach images)" is just for developers or people they want test the layout (html) in Mail Clients. It's not purposed for sending many mails with embedded images.

Cutemailing Buttons

Cute Mailing Module Buttons in list

Multilanguge Newsletter

Cute Mailing support multilange Newsletter from version 2.1. To create multilanguage newsletters configure your languages in your Site Config.

On creating a new Newsletter, you should see now an additionally step before the wizard. Here you can choose the page (uid) which should be send and you can choose the language.

Module Cute Mailing: Creating multilanguage Newsletter

Module Cute Mailing: Additionally step on creating multilanguage Newsletter

If you dont want to use multilanguage support (just default language) you can disable this feature and the additionally step in the wizard by setting mod.web_modules.cute_mailing.hideLanguage to 1.

Set mod.web_modules.cute_mailing.language to the default language you want to use, this can be overwritten by language selection on the first step.

See Configuration section.

Update

Update to 4.1

TYPO3 11 compatibility has been removed and TYPO3 13 compatibilty has been added in 4.1.0. There are currently no known breaking changes. The wizard to migrate old Sysfolders with the old CuteMailing doktype (from version 1.x) has been removed. If you update CuteMailing from a version lower than 2, you need an interim update step with version 2.x or 3.x to use that update wizard. Or change existing folders manually.

Update to 2.x?

CuteMailing Sysfolder now should be marked as module. In v1.x the Sysfolder had an special doktype. The "module" property is now used instead of the "doktype" property. Execute upgrade wizard to update old Sysfolders.

If you are using an old recipient list from v1 of CuteMailing, then you should install undkonsorten/typo3-cute-mailing-registeraddress or undkonsorten/typo3-cute-mailing-ttaddress (see here). Use the upgrade wizard to migrate the old recipient list types.