This extension provides a new TYPO3 backend module "Dashboard".
Users can create multiple dashboards visible in this module, and switch between those
dashboards.
Each of the dashboards can have multiple widgets.
Developers are able to create new widgets.
Integrators and developers are able to register new widgets through configuration.
Installation
Target group: Administrators
This extension is part of the TYPO3 Core, but not installed by default.
Check whether you are already using the extension with:
composer show | grep dashboard
Copied!
This should either give you no result or something similar to:
typo3/cms-dashboard v12.4.11
Copied!
If it is not installed yet, use the composer require command to install
the extension:
composer require typo3/cms-dashboard
Copied!
The given version depends on the version of the TYPO3 Core you are using.
Installation without Composer
In an installation without Composer, the extension is already shipped. You just have to activate it.
Head over to the extension manager and activate the extension.
Extension manager showing Dashboard extension
For Editors
Target group: Editors
Welcome to our small dashboard introduction.
We will explain the basic usage of the TYPO3 dashboard.
Opening Dashboard
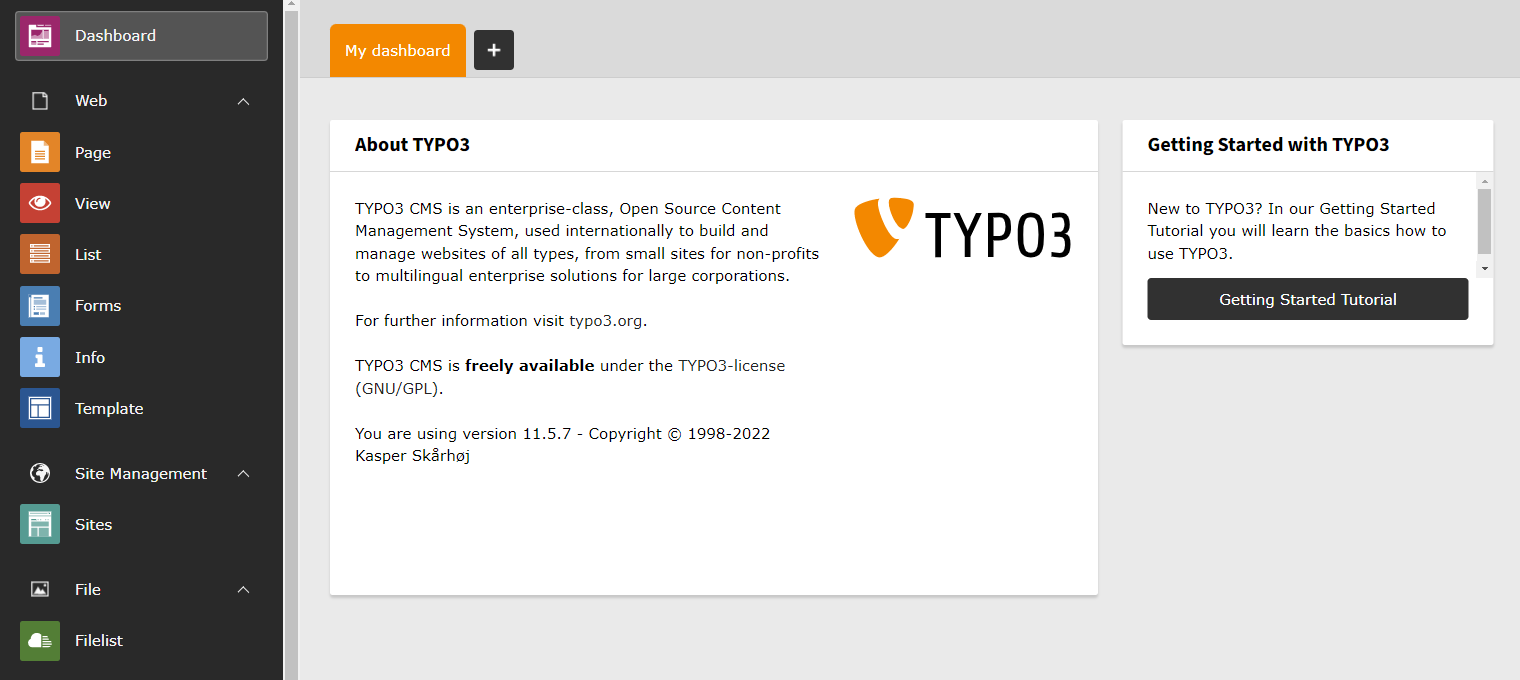
By default the dashboard is opened when logging into the backend.
The dashboard can be opened at any time by clicking the entry
Dashboard in the module menu.
Open the dashboard by clicking on Dashboard.
Note
If the entry Dashboard is not visible in the menu there are two
possible causes:
You lack sufficient rights to view the dashboard.
The system extension dashboard was not installed on your system.
Ask your administrator about this.
Adding Dashboard
The EXT:dashboard allows to have multiple dashboards.
Switching between different dashboards is possible by using the corresponding tab.
In order to add further dashboards, press the + sign.
Tabs allowing to switch and add dashboards.
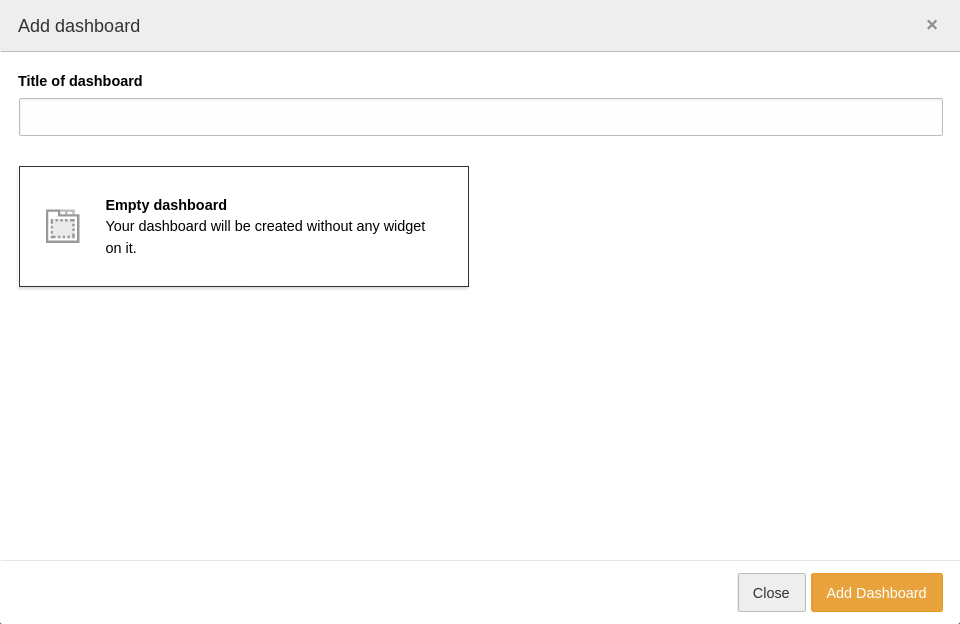
A wizard should open which allows to add the new dashboard.
There you can select a preset. At least the default preset, which is shipped
by core should be available. Depending on system configuration further dashboard
presets might be available.
Wizard to add a new dashboard.
Editing Dashboard
Existing dashboards can be edited and deleted.
On the right side of the tab bar are the icons which allow deletion and adjusting
settings of the currently active dashboard.
Icons on the right side of the tab bar allow adjusting settings or deletion of
the currently selected dashboard.
Adding Widgets
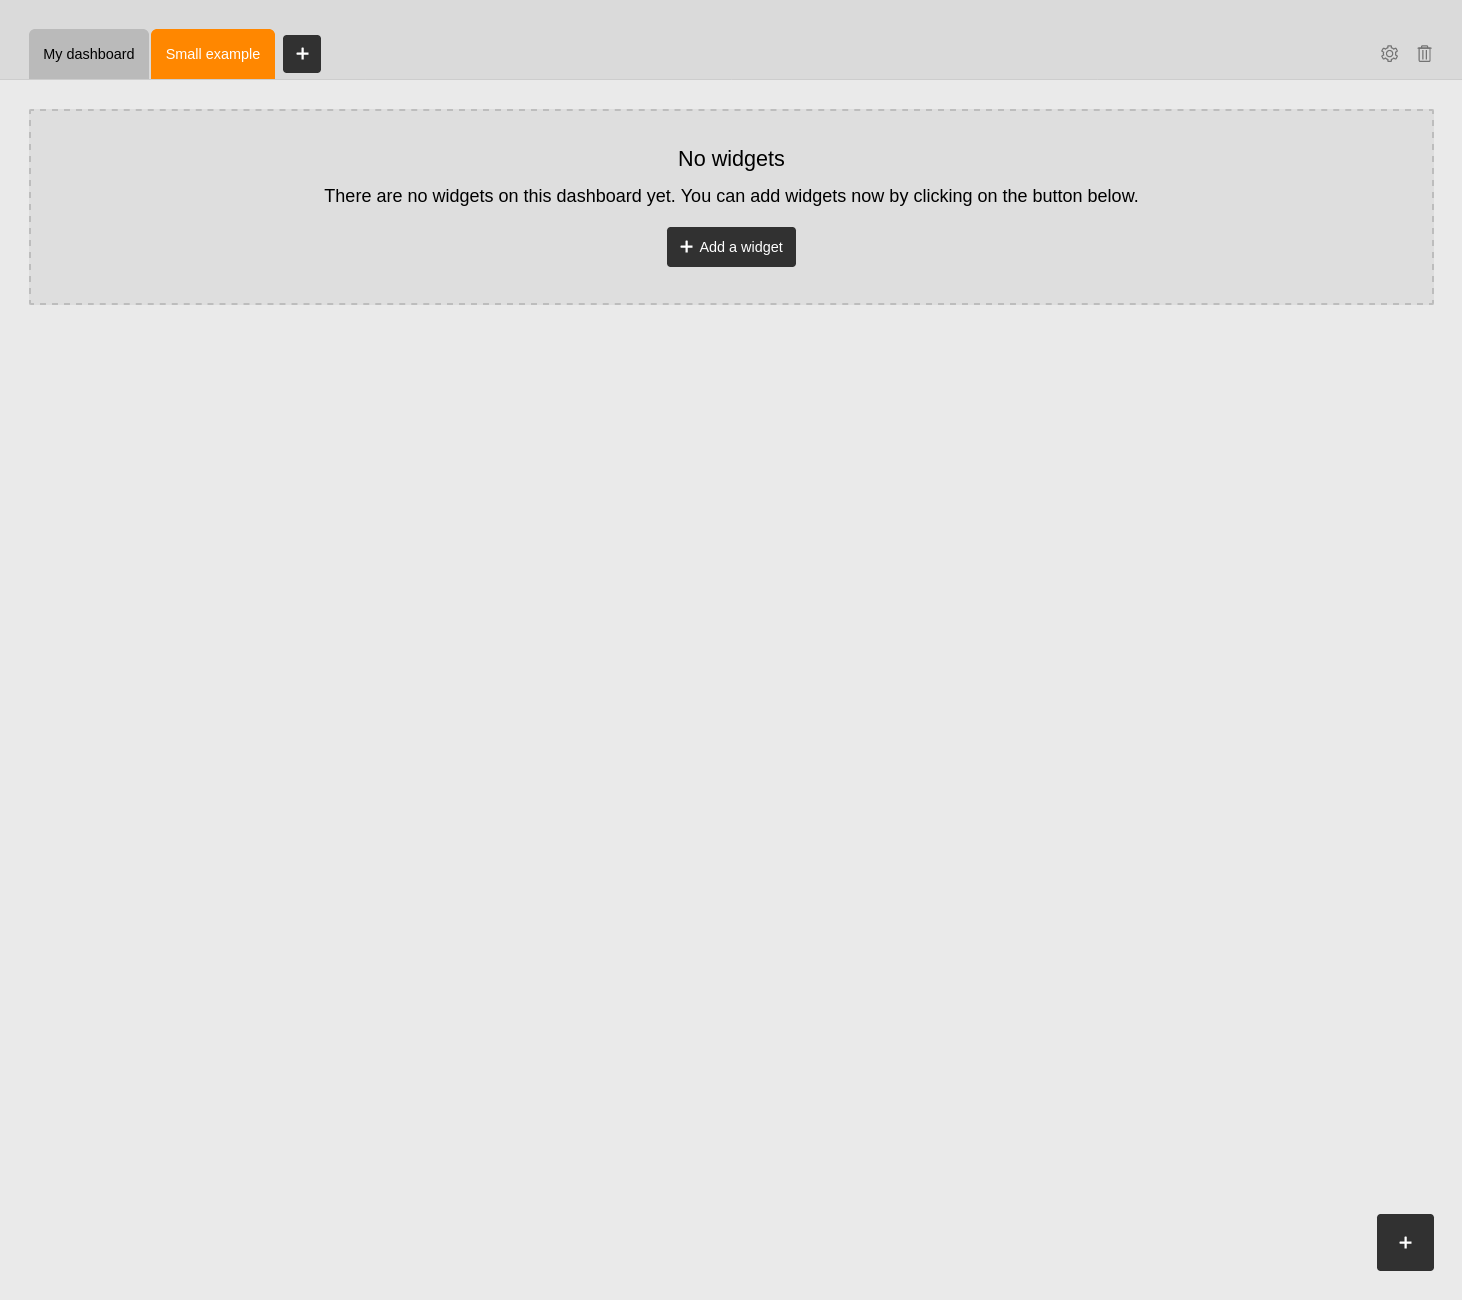
Widgets can be added to a dashboard.
Dashboards which do not contain any widget yet, offer a dialog in the middle of
the screen, which allows to add one or more widgets to the current dashboard.
All dashboards allow to add further widgets in the lower right corner through the
+ Icon.
Empty dashboard with possibilities to add new widgets.
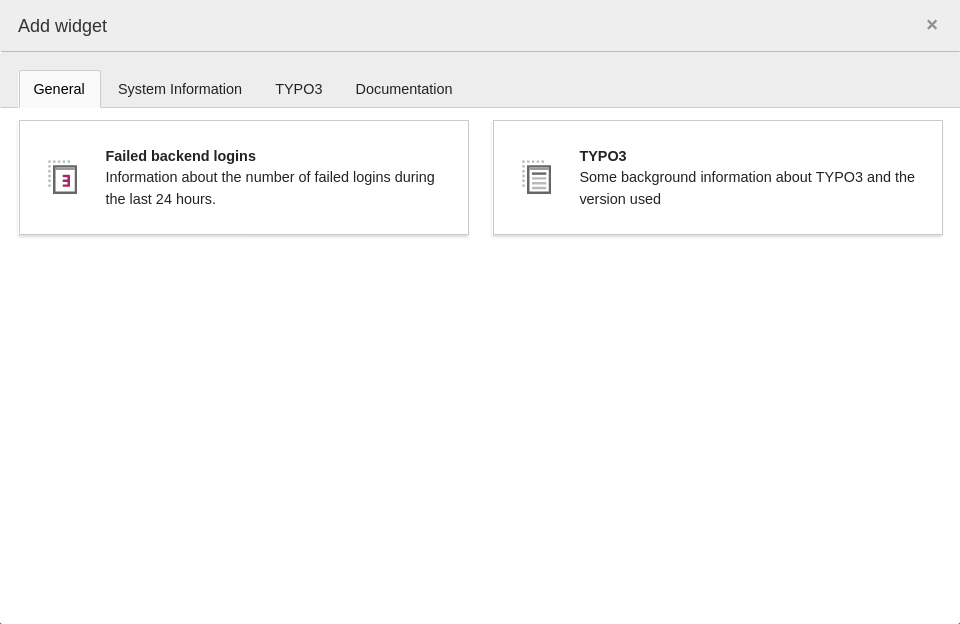
Once the action to add a new widget was triggered, a wizard opens which allows to
select the widget to add.
Widgets are grouped in tabs and can be added by clicking on them.
Wizard to select a new widget that will be added to the active dashboard.
Moving Widgets
Widgets can be moved around. Therefore a widget needs to be hovered.
If a widget is hovered some icons appear in the upper right corner of the widget.
To move the widget, click and hold left mouse button on the cross icon.
Then move to the target position.
Widget in hover mode with additional icons in upper right corner.
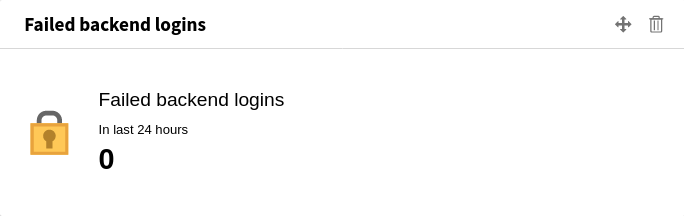
Deleting Widgets
To delete a widget, the widget needs to be hovered.
If a widget is hovered some icons appear in the upper right corner of the widget.
Click the trash icon which appears to delete the widget.
Widget in hover mode with additional icons in upper right corner.
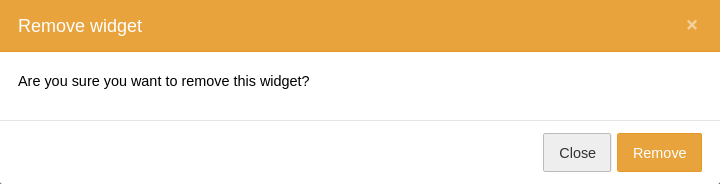
In order to prevent accidentally deletion, a modal is shown to confirm deletion.
Confirm by clicking the Remove button.
Widgets need to be provided by an extension, e.g. by ext:dashboard.
They are provided as a PHP class with specific feature sets.
Each of the widgets can be registered with different configurations as documented below.
Note
Difference between registration of widgets and implementation of widgets:
Widgets provide some functionality, e.g. collect system log errors over a time span.
This functionality is provided by the implementation, a PHP class with some code.
The registration is done in Services.yaml,
in order to create the actual widget with provided functionality.
During registration options can be set, e.g. the time span.
The beginning of the file is not related to the widget itself, but dependency injection in general,
see: Configuration.
Service configuration
The last block configured a service called
dashboard.widget.t3news.
This service is configured to use the existing PHP class
\TYPO3\CMS\Dashboard\Widgets\RssWidget .
When creating the instance of this class, an array is provided for the constructor argument
$options.
This way the same PHP class can be used with different configuration to create new widgets.
The following keys are defined for the service:
class
class
Type
string
Example
\TYPO3\CMS\Dashboard\Widgets\RssWidget
Defines the concrete PHP class to use as the implementation of the widget.
arguments
arguments
Type
map
A set of key-value pairs, where the keys are the argument names and the
values are the corresponding argument values. The specific arguments depend
on the widget being configured, and each widget can define custom arguments.
Documentation for the provided widgets is available at Widgets.
tags
tags
Type
array of dictionaries
Registers the service as an actual widget for
typo3/cms-dashboard
. Each entry in
the array is a dictionary that can include various properties like name,
identifier, groupNames, and so on, used to categorize and identify the widget.
In order to turn the instance into a widget, the tag dashboard.widget is configured in tags section.
The following options are mandatory and need to be provided:
name
name
Type
string
Required
true
Example
dashboard.widget
Always has to be dashboard.widget.
Defines that this tag configures the service to be registered as a widget for
ext:dashboard.
identifier
identifier
Type
string
Required
true
Example
t3news
Used to store which widgets are currently assigned to dashboards.
Furthermore, it is used to allow access control, see Permissions of widgets.
groupNames
groupNames
Type
string (comma-separated)
Required
true
Example
news
Defines which groups should contain the widget.
Used when adding widgets to a dashboard to group related widgets in tabs.
Multiple names can be defined as a comma-separated string, e.g.: typo3, general.
See Create widget group regarding how to create new widget groups.
There is no difference between custom groups and existing groups.
Widgets are registered to all groups by their name.
Defines the description of the widget. Language references are resolved.
iconIdentifier
iconIdentifier
Type
string
Required
true
Example
content-widget-rss
One of the registered icons.
Icons can be registered through Icon API.
The following options are optional and have default values which will be used if not defined:
height
height
Type
string
Example
large
Has to be a string value: large, medium, or small.
width
width
Type
string
Example
medium
Has to be a string value: large, medium, or small.
additionalCssClasses
additionalCssClasses
Type
string
Will be added to the surrounding rendered markup.
Usually used when working with Graphs.
Splitting up Services.yaml
In case the Services.yaml is getting to large, it can be split up.
The official documentation can be found at symfony.com.
An example to split up all Widget related configuration would look like:
Excerpt from EXT:dashboard/Configuration/Services.yaml
imports:-{resource:Backend/DashboardWidgets.yaml}
Copied!
Note
Note that you have to repeat all necessary information, e.g.
services: section with
_defaults: again.
Excerpt from EXT:dashboard/Configuration/Backend/DashboardWidgets.yaml
This is not intended for integrators but developers only, as this involves PHP experience.
The typical use case should be solved via Services.yaml.
But for more complex situations, it is possible to register widgets via Services.php.
Even if Services.php contains PHP, it is only executed during compilation of the dependency injection container.
Therefore, it is not possible to check for runtime information like URLs, users, configuration or packages.
Instead, this approach can be used to register widgets only if their service dependencies are available.
The
ContainerBuilder instance provides a method
hasDefinition()
that may be used to check for optional dependencies.
Make sure to declare the optional dependencies in composer.json and
ext_emconf.php as
suggested extensions to ensure packages are ordered correctly in order for
services to be registered with deterministic ordering.
The following example demonstrates how a widget can be registered via Services.php:
Above example will register a new widget called widgets.dashboard.widget.exampleWidget.
The widget is only registered, in case the extension "reports" is enabled, which
results in the availablity of the
\TYPO3\CMS\Report\Status during container compile time.
Configuration is done in the same way as with Services.yaml, except a PHP API is used.
The
new Reference equals to
@ inside the YAML, to reference another service.
arguments: are registered via
->arg() method call.
And
tags: are added via
->tag() method call.
Using this approach, it is possible to provide widgets that depend on 3rd party code,
without requiring this 3rd party code.
Instead the 3rd party code can be suggested and is supported if its installed.
Further information regarding how Services.php works in general, can be found
at symfony.com.
Make sure to switch code examples from YAML to PHP.
Create widget group
Widget groups are used to group widgets into tabs.
This will have an effect when adding new widgets to an dashboard.
See Adding Widgets to get an idea of the UI.
Groups are defined as PHP array:
Example from EXT:dashboard/Configuration/Backend/DashboardWidgetGroups.php
The file has to return an array of groups.
Each group consists of an array key used as identifier and an single option
title.
The title will be processed through translation and can be an LLL reference.
Each extension can create arbitrary widget groups.
Widgets can be assigned to multiple groups using the groupNames.
Please read Register new Widget to understand how this is done.
Dashboard Presets
It is possible to configure presets of dashboards.
The extension already ships a default as well as an empty dashboard preset.
Create preset
New presets can be configured:
Example from EXT:dashboard/Configuration/Backend/DashboardPresets.php
The file has to return an array with all presets.
Each prefix itself is an array, with an identifier as key.
The identifier is used to configure presets for users, see Configure preset for user.
Each preset consists of the following options:
classDashboardPreset
Fully qualified name
\TYPO3\CMS\Dashboard\DashboardPreset
title
title
Type
string
The title used for the preset. E.g. a LLL:EXT: reference..
description
description
Type
string
The description used for the preset. E.g. a LLL:EXT: reference..
iconIdentifier
iconIdentifier
Type
string
The identifier of the icon to use.
defaultWidgets
defaultWidgets
Type
array
An array of widget identifiers, that should be part of the dashboard preset.
Widgets are always filtered by permissions of each user.
Only widgets with access are actually part of the dashboard.
Have a look at Permissions of widgets to understand how to handle permissions.
showInWizard
showInWizard
Type
bool
Boolean value to indicate, whether this preset should be visible in the wizard,
when creating new dashboards, see Adding Dashboard.
This can be disabled, to add presets via Configure preset for user, without
showing up in the wizard.
Configure preset for user
To define the default preset for a backend user, the following User TSconfig can be added:
Each widget is registered with an identifier, and all Services.* files are merged.
Therefore it is possible to override widgets.
In order to override, the extension which should override has to be loaded after the extension that registered the widget.
Concrete options depend on the widget to configure.
Each widget should provide documentation covering all possible options and their meaning.
For delivered widgets by EXT:dashboard see Widgets.
In case a widget defined by EXT:dashboard should be adjusted,
the extension has to define a dependency to EXT:dashboard.
Afterwards the widget can be registered again, with different options. See
Register new Widget to get an in depth example of how to register a widget.
Why not adjust specific settings?
There is no documented way to adjust specific settings,
as this would result in a situation where multiple extensions are loaded in different order
changing settings of widgets.
That would lead to a complex system.
Adjust template of widgets
When adding own widgets, it might be necessary to provide custom templates.
In such a case the file path containing the template files needs to be added.
This is done using a Configuration/page.tsconfig file, see
changelog and
changelog
for details on this:
A template file can then be added to path Resources/Private/Templates/Widgets/MyExtensionsGreatWidget.html
and is referenced in the PHP class using
->render('Widgets/MyExtensionsGreatWidget');. The registration
into namespace
typo3/cms-dashboard is shared between all extensions. It is thus a good idea to give
template file names unique names (for instance by prefixing them with the extension name), to avoid situations
where templates from multiple extensions that provide different widgets override each other.
Permissions of widgets
Backend users marked as administrator have always access to all registered widgets.
Other backend users can be restricted via Access List > Dashboard widgets inside of user groups.
Each widget needs to be explicitly allowed.
Granting access to dashboard widgets for backend users.
For Developers
Target group: Developers
Welcome to our small dashboard introduction.
We will explain how to create widget groups and implement widgets.
Note
Difference between registration of widgets and implementation of widgets:
Widgets provide some functionality, e.g. collect system log errors over a time span.
This functionality is provided by the implementation, a PHP class with some code.
The registration is done in Services.yaml,
in order to create the actual widget with provided functionality.
During registration options can be set, e.g. the time span.
For information regarding registration of widgets, see: Register new Widget.
This section describes the implementation of new widgets for developers.
Each extension can provide multiple Widgets.
ext:dashboard already ships with some widget implementations.
Each widget has to be implemented as a PHP class.
The PHP class defines the concrete implementation and features of a widget,
while registration adds necessary options for a concrete instance of a widget.
For example a TYPO3.org RSS Widget would consist of an
RssWidget PHP class.
This class would provide the implementation to fetch rss news and display them.
The concrete registration will provide the URL to RSS feed.
PHP class
Each Widget has to be a PHP class.
This class has to implement the
WidgetInterface and could look like this:
The class should always provide documentation how to use in Services.yaml.
The above class is documented at RSS Widget.
The documentation should provide all possible options and an concrete example.
It should make it possible for integrators to register new widgets using the implementation.
The difference between
$options and
$configuration in above example is the following:
$options are the options for this implementation which can be provided through Services.yaml.
$configuration is an instance of
WidgetConfigurationInterface
holding all internal configuration, like icon identifier.
Using Fluid
Most widgets will need a template.
Therefore each widget can define
BackendViewFactory as requirement for DI in
constructor, like done in RSS example.
Providing custom JS
There are two ways to add JavaScript for an widget:
The
RequireJsModuleInterface has been deprecated, use
JavaScriptInterface instead.
Affected widgets have to implement
\TYPO3\CMS\Dashboard\Widgets\JavaScriptInterface
instead of deprecated
\TYPO3\CMS\Dashboard\Widgets\RequireJsModuleInterface .
Instead of using inline JavaScript for initializing RequireJS modules,
\TYPO3\CMS\Core\Page\JavaScriptModuleInstruction have to be declared.
In each widget the refresh option can be enabled. If the option is enabled the
widget displays a reload button in the top right corner. It can then be
refreshed via user interaction or via a javascript api.
To enable the refresh action button, you have to define the
refreshAvailable option in the
$options part of the widget
registration. Below is an example of a RSS widget with the refresh option enabled.
In this example, the TYPO3 core
\TYPO3\CMS\Dashboard\Widgets\RssWidget
widget class is used. In case you have implemented own widget classes, you
have to implement the
getOptions() method, returning
$this->options,
to the corresponding classes. Otherwise the refresh option won't have any
effect.
Enable the refresh button
Widgets can render a refresh button to allow users to manually refresh them.
This is done by passing the value
['refreshAvailable'] = true; back
via
getOptions() method of the widget.
All TYPO3 Core widgets implement this behaviour and allow integrators to
configure the option:
refreshAvailable
refreshAvailable
Type
boolean
Default
false
Boolean value, either
false or
true.
Provides a refresh button to backend users to refresh the widget.
If the option is omitted
false is assumed.
JavaScript API
It is possible for all widgets to dispatch an event, which will cause
the widget being refreshed. This is possible for all widgets on the dashboard
even when the
refreshAvailable option is not defined, or set to false.
This will give developers the option to refresh the widgets whenever they think
it is appropriate.
To refresh a widget, dispatch the
widgetRefresh event on the
widget container (the
div element with the
dashboard-item class).
You can identify the container by the data attribute
widget-hash, which
is a unique hash for every widget, even if you have more widgets of the same
type on your dashboard.
The chart.js library, used to render charts in a dashboard widget, has been
upgraded in TYPO3 v12.1. The chart.js configuration has changed, for more
information have a look into the Migration chapter.
First of all a new data provider is required, which will provide the data for the chart.
Next the data will be provided to the widget instance, which will be rendered with JavaScript modules and Css.
To make the dashboard aware of this workflow, some interfaces come together:
EventDataInterface
AdditionalCssInterface
RequireJsModuleInterface
Also the existing template file Widget/ChartWidget is used, which provides necessary HTML to render the chart.
The provided eventData will be rendered as a chart and therefore has to match the expected structure.
An example would be Classes/Widgets/BarChartWidget.php:
The configuration adds necessary CSS classes, as well as the dataProvider to use.
The provider implements
ChartDataProviderInterface and could look like the following.
The following list provides information for all necessary interfaces that are used inside of this documentation.
For up to date information, please check the source code.
classWidgetInterface
Fully qualified name
\TYPO3\CMS\Dashboard\Widgets\WidgetInterface
Has to be implemented by all widgets.
This interface defines public API used by ext:dashboard to interact with widgets.
renderWidgetContent()
returntype
string
Returns
The rendered HTML to display.
getOptions()
returntype
array
Returns
The options of the widget as set in the registration.
This interface declares a widget has a dependency to the current PSR-7 request.
When implemented, the dashboard controller will call
setRequest() immediately
after widget instantiation to hand over the current request. Widgets that rely on
BackendViewFactory typically need the current request.
Widgets implementing this interface will add the provided RequireJS modules.
Those modules will be loaded in dashboard view if the widget is added at least once.
getRequireJsModules()
Returns a list of RequireJS modules that should be loaded, e.g.:
Widgets implementing this interface will add the provided JavaScript files.
Those files will be loaded in dashboard view if the widget is added at least once.
getJsFiles()
Returns a list of JavaScript file names that should be included, e.g.:
Widgets implementing this interface will add the provided Css files.
Those files will be loaded in dashboard view if the widget is added at least once.
getCssFiles()
Returns a list of Css file names that should be included, e.g.:
Provide the data for a graph.
The data and options you have depend on the type of chart.
More information can be found in the documentation of the specific type:
Provide the array if items.
Each entry should be a single string.
Widgets
The following section will provide information for all provided widgets.
For each widget an example registration will be provided,
together with all configuration options.
Optionally you can add a button with a link to some additional data.
This button should be provided by a ButtonProvider that implements the interface
ButtonProviderInterface .
Widgets using this class will show a CTA (=Call to action) button to easily go to
a specific page or do a specific action. You can add a button to the widget by
defining a button provider.
You can use this kind of widget to link to for example a manual or to an important
website that is used a lot by the users.
Example
Excerpt from EXT:dashboard/Configuration/Services.yaml
Adds an optional text to the widget to give some more background information
about what a user can expect when clicking the button.
You can either enter a normal string or a translation string.
Provides the actual button to show within the widget.
This button should be provided by a ButtonProvider that implements the interface
ButtonProviderInterface .
Optionally you can add a button with a link to some additional data.
This button should be provided by a ButtonProvider that implements the interface
ButtonProviderInterface .
Widgets using this class will show a simple list of items provided by a data
provider.
Example
Excerpt from EXT:dashboard/Configuration/Services.yaml
services:dashboard.widget.testList:class:'TYPO3\CMS\Dashboard\Widgets\ListWidget'arguments:$dataProvider:'@Vendor\Ext\Widgets\Provider\TestListWidgetDataProvider'$options:refreshAvailable:truetags:-name:dashboard.widgetidentifier:'testList'groupNames:'general'title:'List widget'description:'Description of widget'iconIdentifier:'content-widget-list'height:'large'width:'large'
Copied!
Options
refreshAvailable
refreshAvailable
Type
boolean
Default
false
Boolean value, either
false or
true.
Provides a refresh button to backend users to refresh the widget.
If the option is omitted
false is assumed.
The optional subtitle that will give some additional information about the number and title.
You can either enter a normal string or a translation string.
icon
icon
Type
string
The icon-identifier of the icon that should be shown in the widget.
You should register your icon with the Icon API.
Provides an optional button to show which is used to open the source of RSS data.
This button should be provided by a ButtonProvider that implements the interface
ButtonProviderInterface .
Used to cache fetched RSS items.
This should not be changed.
Migration
From TYPO3 version 11 to version 12
The chart.js library, used to render charts in a dashboard widget, has been
updated from version 2.9 to version 4, introducing some breaking changes. For
TYPO3 v12 there is a migration layer in place to migrate known and used affected
settings. If a migration is executed, an entry is written to the deprecation
log.
The CSS file EXT:dashboard/Resources/Public/Css/Contrib/chart.css became
obsolete with the update and has therefore been removed without replacement.
Migrate the chart.js configuration as mentioned in the table below:
Old setting
New setting
graphConfig/options/scales/xAxes
graphConfig/options/scales/x
graphConfig/options/scales/yAxes
graphConfig/options/scales/y
Please also consult the migration guides available at