Grid TS Syntax
The syntax we use to store information about the grid structure within the page and CE backend layout records is basically TypoScript . Both grid view and grid elements are using the internal TS parser of the core to transform this syntax into an array, which is then used by the different methods we attached to the hooks provided by the core.
We could have used serialized objects or arrays as well, but decided to go for TypoScript, since this can easily be written by advanced integrators. For those, who are not familiar with TypoScript or just prefer the usability of a point and click interface, there is a comfortable Grid Wizard, that will help to create the TypoScript code. Later on it might be more convenient to modify the structures by hand, especially when backend layouts that are based on a similar structure haven’t got too many differences.
Step by step:
Start with the number of columns and rows
Go to the Configuration tab of the layout record and edit the Grid Configuration there. The wrapper for the whole block is the same as for pages: backend_layout – Use the keys colCount and rowCount to create the basic grid structure. Both values should be at least the lowest common multiple of the column sizes you want to create. They represent the actual grid behind the cell structure. The calculation should take into account that you might be using colspan and rowspan as well.
backend_layout {
  colCount = 4
  rowCount = 3
}
Fill in the rows
The array of rows does not offer any specialties. It is just a simple array with numeric keys. You will need a key for each possible row, even though it might stay empty later on.
backend_layout {
  colCount = 4
  rowCount = 3
  rows {
    1 {
    ...
    }
    2 {
    ...
    }
    3 {
    ...
    }
  }
}
Create the cells
Each of the cells comes with up to 6 different keys: name, colPos, colspan, rowspan, allowed and allowedGridTypes. There must be at least the name and if you want to use the column as something else than a placeholder, there must be a value for colPos as well. Otherwise the cell will be marked as inactive in the page module.
The values for colspan , rowspan, allowed and allowedGridTypes are optional.
The allowed feature is used to determine those content element types the user will be allowed to use within this column. You can use a comma separated list of Ctype values here and as soon as this contains at least one value, any other element type will be forbidden.
Same goes for the allowedGridTypes feature which is used to determine those grid types the user will be allowed to use within this column. You can use a comma separated list of Grid names here and as soon as this contains at least one value, any other Grid type will be forbidden and the value gridelements_pi1 will be silently added to allowed.
The colPos value will be used while fetching the content elements from the database, since grid view and grid elements are using normalized relations to relate columns and content elements with each other.
The following example will create a cell for a larger top column with only text and text with image allowed as a content type:
backend_layout {
  colCount = 4
  rowCount = 3
  rows {
  1 {
    columns {
      1 {
        name = Top
        colspan = 4
        colPos = 0
        allowed = text,textpic
      }
    }
  }
  2 {
    columns {
      1 {
        name = Outer Left
        rowspan = 2
        colPos = 1
        allowed = text,textpic
        allowedGridTypes = 2ColumnContainer,3ColumnContainer
      }
      2 {
        name = Left
        colPos = 2
        allowed = *
      }
      3 {
        name = Right
        colPos = 3
      }
      4 {
        name = Outer Right
        colPos = 4
      }
    }
  }
  3 {
    columns {
      1 {
        name = Bottom
        colspan = 4
        colPos = 5
      }
    }
  }
}
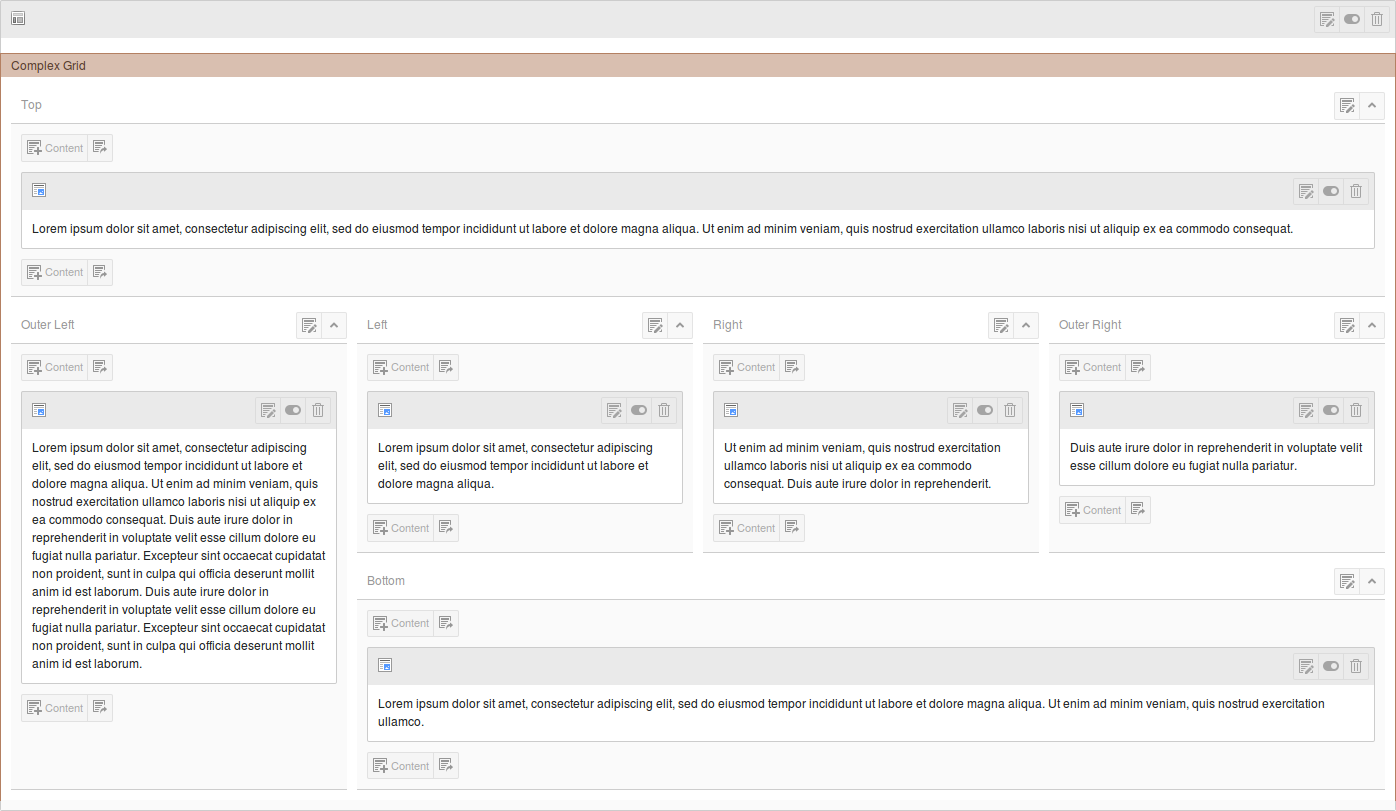
This is the visible result of the example code
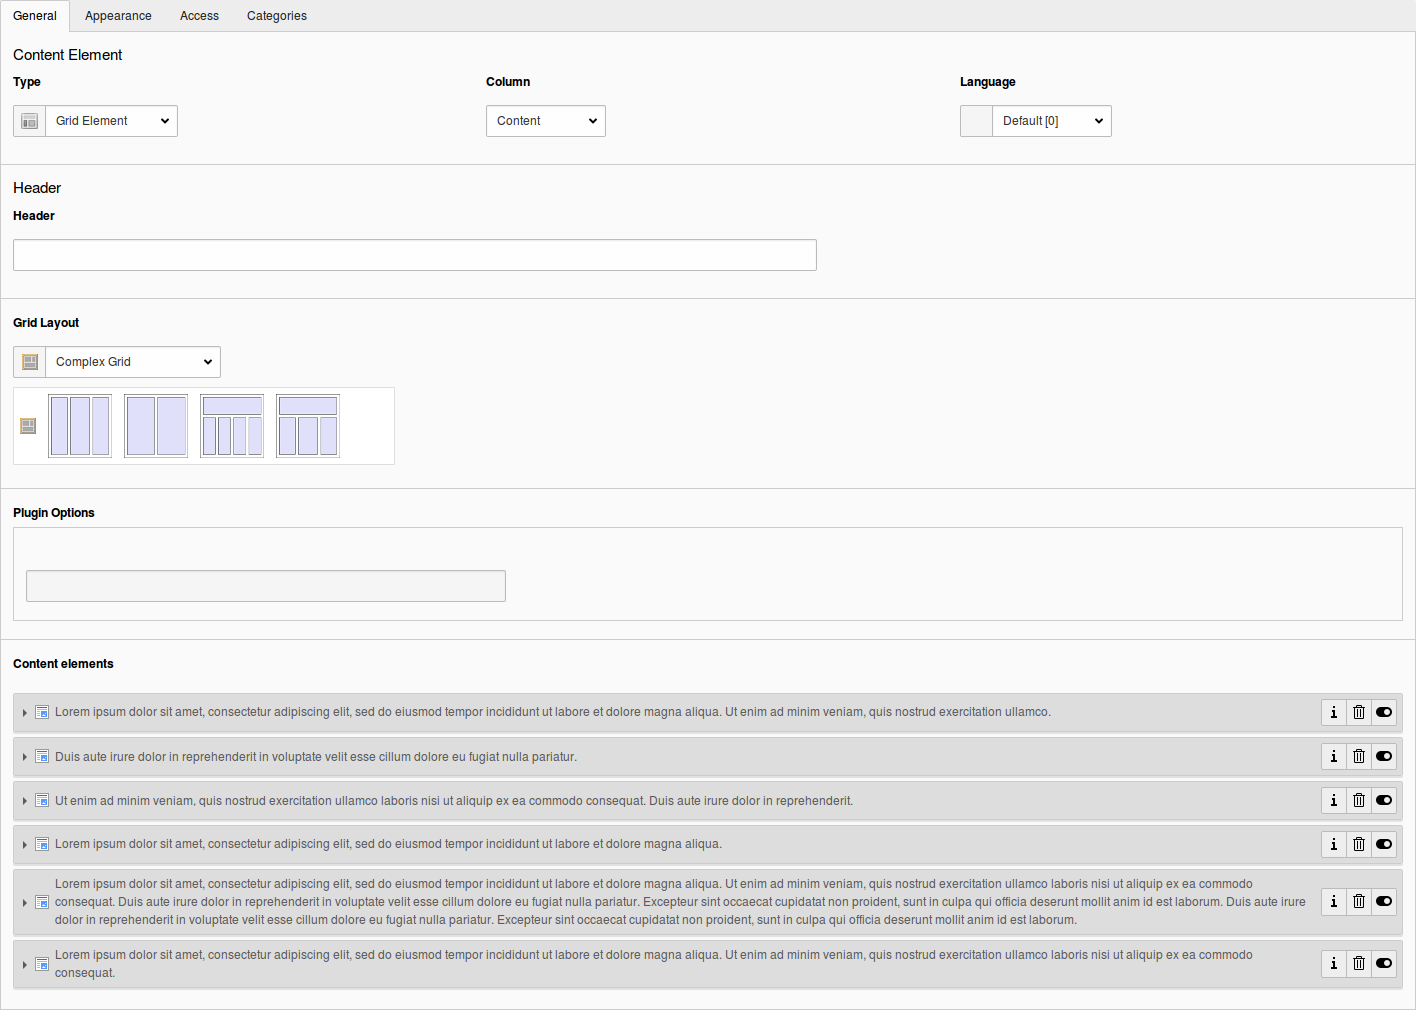
When you now edit this grid element, you can see how the child elements are connected to their parent grid via the core functions provided by Inline Relational Record Editing (IRRE). You will even be able to edit any element within a possible tree of nested grids and their children without having to deal with the whole page module, but of course you will lose the structured view of the grid this way. Sorting by D&D or clicking on the sorting arrows will be disabled inside the editing form as well. But you still can sort elements by directly dragging and dropping them in the page module.


