Installation
Before you start
Before you can start to implement the DocCheck Login to your TYPO3 website, you will need a valid DocCheck Login ID, as well as access to DocCheck CReaM, the login configuration backend. For detailed instructions please read the technical manual.
Example CReaM settings
Login url
https://yourwebsite.com/login
Target url
https://yourwebsite.com/login?logintype=login&dc=dcloginparam
Step-by-step instruction
Install the extension
Install the extension using composer on the command-line:
composer require antwerpes/typo3-docchecklogin
Make sure the database-fields were created
In the TYPO3 backend, switch to the Maintenance module and click on Analyze Database Structure. Create the database-fields for
typo3_docchecklogin, if necessary. For information what database fields get includes see here.Include the TypoScript template
In the TYPO3 backend, switch to the Template module and select your Root-Template. Edit the template record and include the static TypoScript configuration for
typo3-docchecklogin.Create a login page and include the login plugin
Navigate to the page of your choice, click on the + Content button and navigate to the tab Plugins. Here select the DocCheck Login plugin.
Edit the plugin settings
Under the tab Plugins set the Login ID for the plugin to work properly. To set a global Login ID please see here
Create a user folder
In your page tree create an user folder. Switch to the List View and create a usergroup and a user inside the newly created folder. The names can be free of your choice.
An example you can see here:
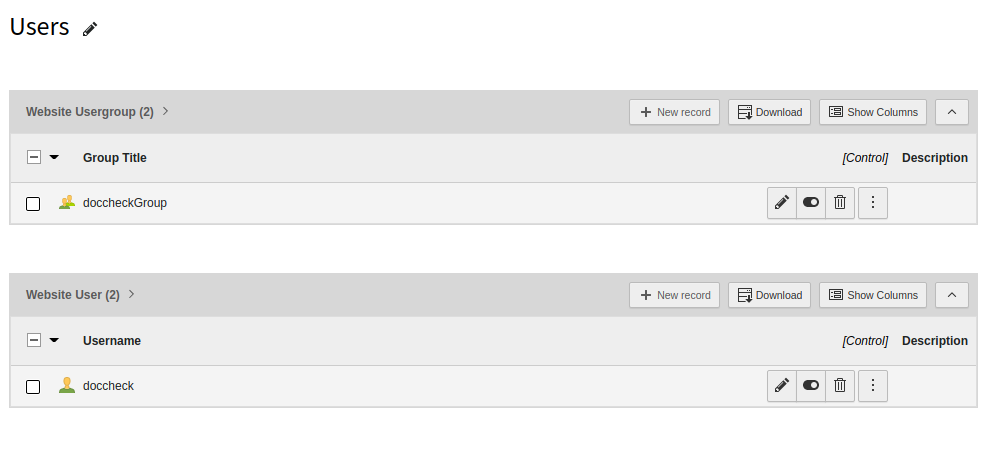
Example user folder
Edit the extension configuration
For the plugin to work properly you need to set up the extension configuration accordingly to your login licence and your needs. To understand better which settings are usable by your licence the settings are grouped by so.
For more detailed information about the extension configuration see here.