
Managing accesses and accounts
Unfortunately, it is not yet possible to manage accesses and accounts via the backend module.
To import posts from a social media profile, you must first specify how you want to access the social network and then provide your account details.
Establishing a connection with the SocialServer
Communication with the respective social networks is handled through a bridge - the SocialServer.
Note
Using the SocialServer is only possible in combination with a subscription. Without a subscription, you can try the service free of charge during a trial period.
To set up an access:
- Create an account at http://social.fixpunkt.com and create an access token there. You may need to set up a subscription.
-
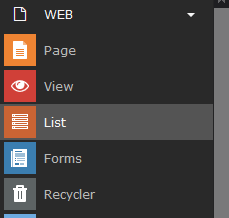
In your TYPO3 instance, switch to the List module and navigate to the folder in which you want to store the posts from the network.
-
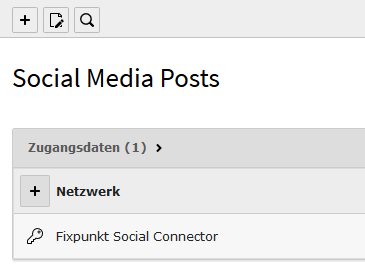
Click "Create new record" and select fp_social > Credentials.
-
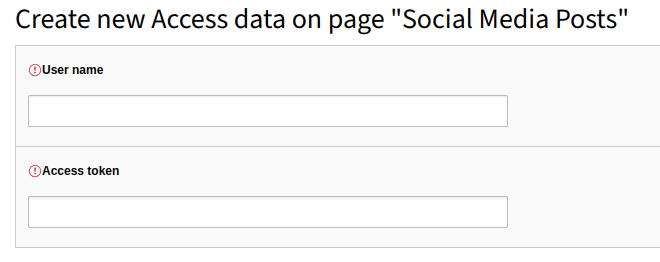
Enter your SocialServer username as well as the access token created in the first step.
- Save your changes.
Setting up an account
Once you have created an access, you can now create the account for which you want to use these access credentials.
To do so, proceed as follows:
-
Switch to the List module and navigate to the folder in which you want to store the posts from the network.
-
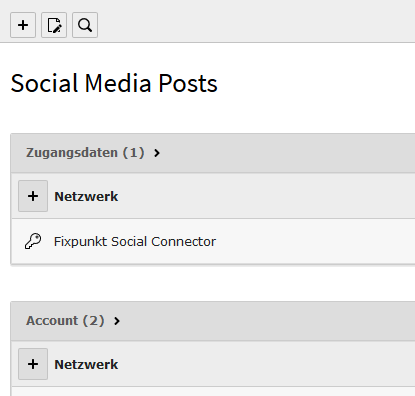
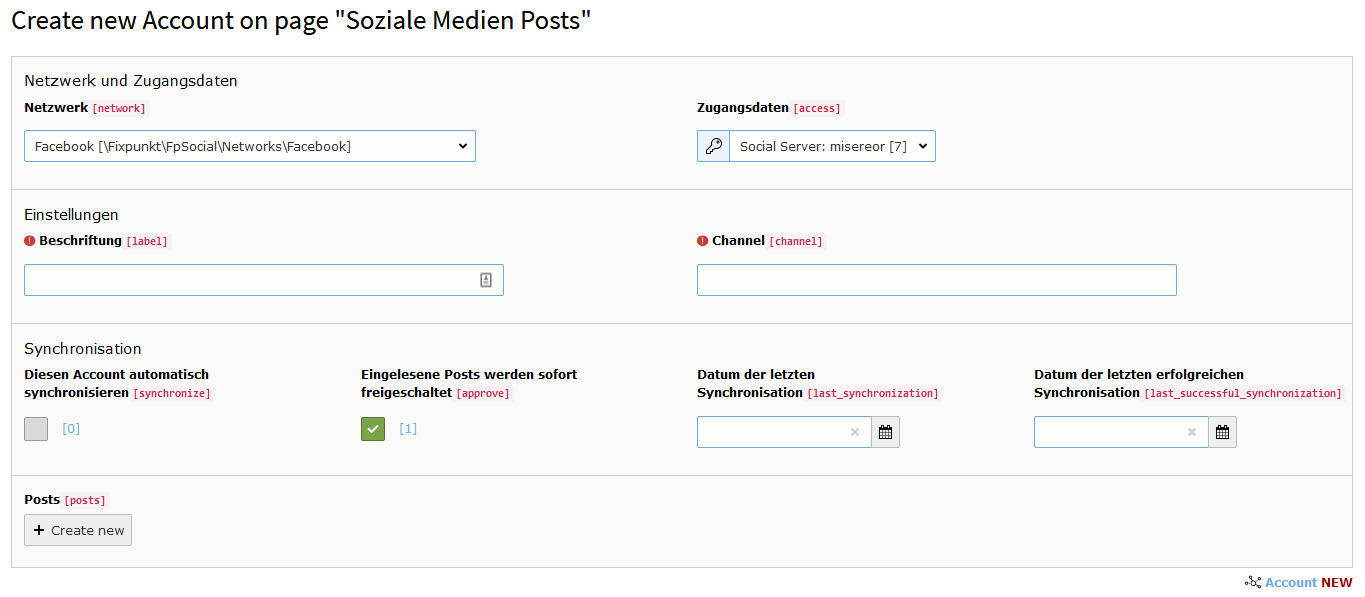
Click "Create new record" and select fp_social > Account.
-
Now fill in the fields as follows:
-
Basic data:
- Network: The network from which you want to synchronize the account.
- Credentials: The credentials created earlier.
- Label: The display name of the account.
- Additional fields: Depending on the selected network, further details must be provided. Click the label to get more guidance.
-
Synchronization:
- Synchronize this account automatically: If this option is selected, the account is synchronized automatically (to learn how to set up automatic synchronization, see here).
- Imported posts are published immediately: If this option is selected, all imported posts are published automatically (and thus visible in the frontend). Otherwise they must be published manually.
- Date of the last synchronization: The point in time of the last synchronization attempt. Leave this field empty.
- Date of the last successful synchronization: The point in time of the last successful synchronization. Leave this field empty.
- Posts: Leave this field empty.
-
- Save your changes.