Attention
TYPO3 v9 has reached its end-of-life September 30th, 2021 and is not maintained by the community anymore. Looking for a stable version? Use the version switch on the top left.
You can order Extended Long Term Support (ELTS) here: TYPO3 ELTS.
Configuring the Plugin
A plugin is a content element, that can be placed on a page
like any other element (like a text element or an image).
It is a "virtual" collection of one or more actions.
In our example there is only one controller action combination,
namely StoreInventory->list.
To register a plugin, we need the following code in the file
ext_localconf.php, that we create in the top level of
our extension directory.
<?php
defined('TYPO3_MODE') || die('Access denied.');

\TYPO3\CMS\Extbase\Utility\ExtensionUtility::configurePlugin(
    'MyVendor.StoreInventory',
    'InventoryList',
    [
        'StoreInventory' => 'list',
    ],
    // non-cacheable actions
    [
        'StoreInventory' => '',
    ],
);
With the first line we prevent calling the PHP code in this file without TYPO3 context
(this is basically a small security measure).
The static method \TYPO3\CMS\Extbase\Utility\ExtensionUtility::configurePlugin()
is used to configure the plugin for use in TYPO3.
The first parameter denotes the extension key and vendor name (MyVendor.ExtensionKey).
With the second argument we give an unique name for the plugin (in UpperCamelCase notation).
This is later used to clearly identify the plugin.
The third argument is an array with all allowed controller action combinations.
The array key is the controller name (without the suffix Controller)
and the array value is a comma separated list of all allowed actions.
In our case this is the list action (also without the suffix Action).
Thus the array ['Inventory' -> 'list'] allows to execute the method listAction()
in the \MyVendor\StoreInventory\Controller\StoreInventoryController.
All actions are cached by default. If you need to have an uncached action,
specify the controller/action combination as fourth parameter.
In an array with the same format as the previous.
Now all actions are listed whose results should not be stored in the cache.
This concludes the configuration of the plugin.
Now, we need to register the plugin to have it actually appear as selectable element in the backend plugin list.
To achieve this insert the following line into a new file Configuration/TCA/Overrides/tt_content.php:
<?php

\TYPO3\CMS\Extbase\Utility\ExtensionUtility::registerPlugin(
    'MyVendor.StoreInventory',
    'InventoryList',
    'The Store Inventory List',
    'EXT:store_inventory/Resources/Public/Icons/Extension.svg'
);
The first argument is like the method configurePlugin() again the vendor namespace
and extension key and the second is the name of the plugin.
The third argument is the title of the plugin used in the select box of the content element.
After installing the extension (and clearing the cache) we can insert the plugin on a page.
Don't forget to set the sys_folder, where the products are stored as the starting point
(in our case "Inventory") in the plugin.
Otherwise your products are not found (see figure 4-4).
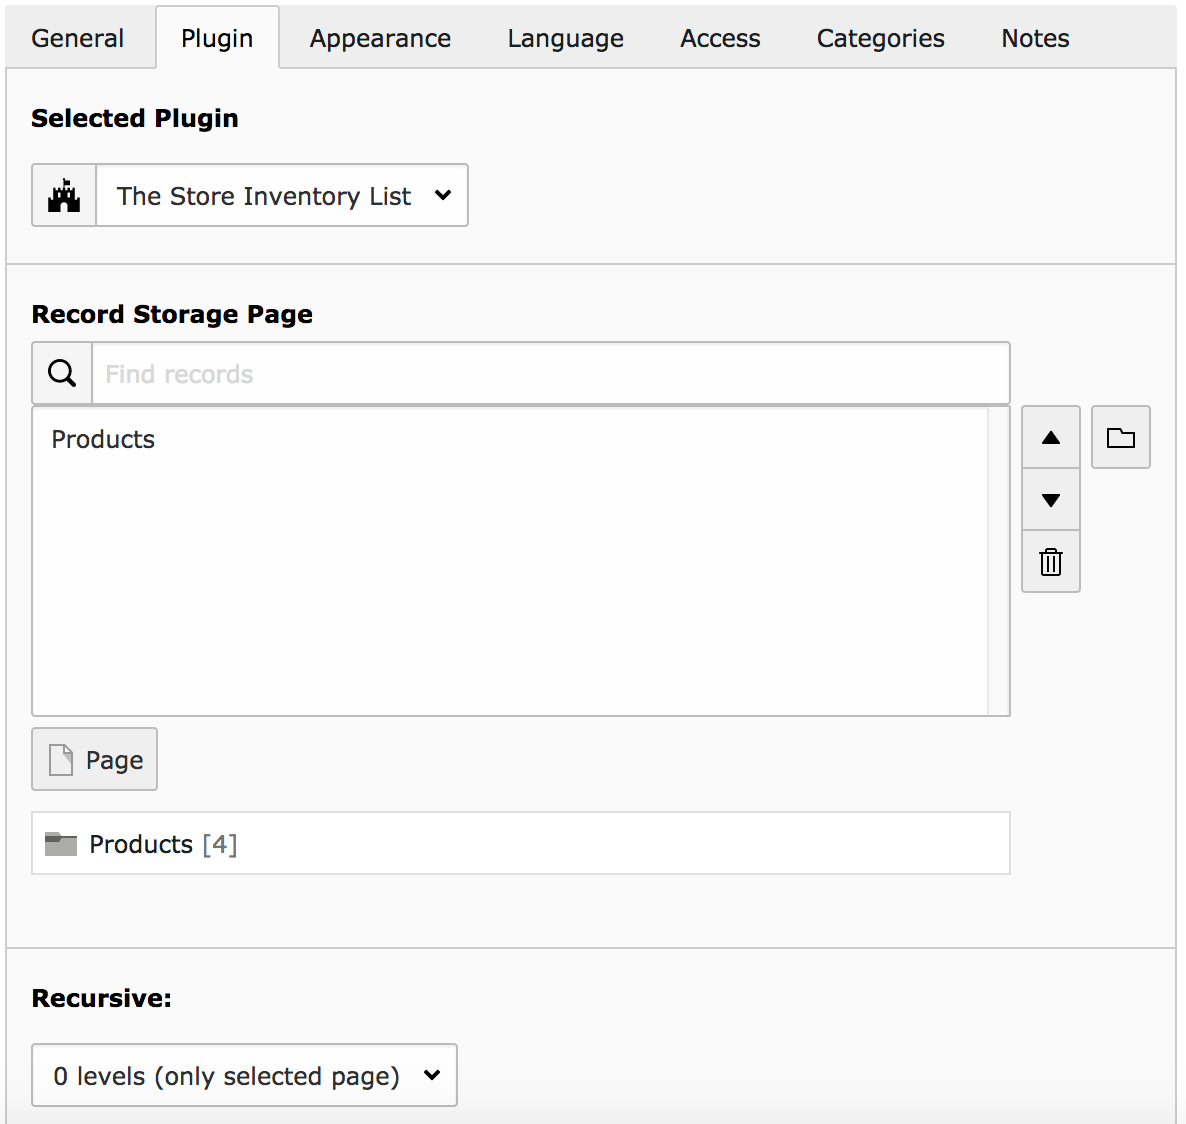
Figure 4-4: Our plugin appears in the selection box of the content element.
The next call of the page with the plugin on it, shows the inventory as a table (figure 4-5).
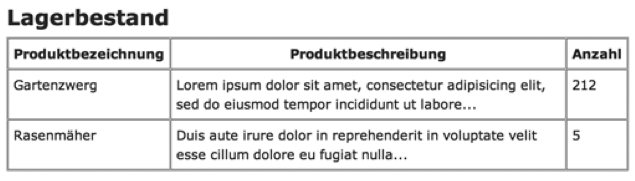
Figure 4-5: The output of the inventory in the front end
This marks the end of our first little Extbase extension. This example was intentionally simple to get you started. It illustrates all the important steps and the conventions.