Attention
TYPO3 v11 has reached end-of-life as of October 31st 2024 and is no longer being maintained. Use the version switcher on the top left of this page to select documentation for a supported version of TYPO3.
Need more time before upgrading? You can purchase Extended Long Term Support (ELTS) for TYPO3 v11 here: TYPO3 ELTS.
Post-upgrade tasks
Run the upgrade wizard
Attention
TYPO3 v11 has reached end-of-life as of October 31st 2024 and is no longer being maintained. Use the version switcher on the top left of this page to select documentation for a supported version of TYPO3.
Need more time before upgrading? You can purchase Extended Long Term Support (ELTS) for TYPO3 v11 here: TYPO3 ELTS.
Enter the Install Tool at https:// on your
TYPO3 site.
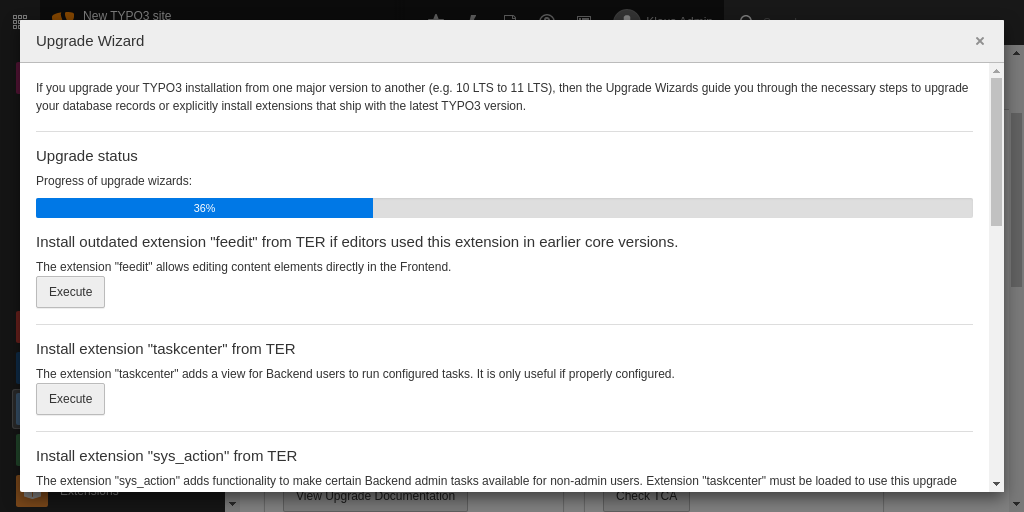
The "Upgrade Wizard" in the Install Tool.
TYPO3 provides an upgrade wizard for easy upgrading. Go to the Upgrade section and choose Upgrade Wizard. Take a look at the different wizards provided. You should go through them one by one.
You must start with Create missing tables and fields if it's displayed, which adds new tables and columns to the database.
Click Execute. Now all ext_ files from core and extensions
are read and compared to your current database tables and columns. Any missing
tables and columns will be shown and you'll be able to execute queries
sufficient to add them.
After you added these tables and columns, go on to the next wizard.
Hint
If you have CLI access you can run the update wizards on command line, too. This allows you to run all upgrade wizards at once and might help with long running wizards that may fail because of webserver timeouts otherwise
For Composer Mode
Run ./ to show a complete status of
upgrade wizards.
Use ./ to run a specific wizard.
Use ./ to run all wizards.
For Classic Mode (Non Composer Mode) replace ./ with
./.
The "Version Compatibility" wizard sets the compatibility version of your TYPO3 installation to the new version. This allows your Frontend output to use new features of the new TYPO3 version.
Note
This wizard might affect how your website is rendered. After finishing the upgrade, check that your website still displays the way it is supposed to be and adjust your TypoScript if necessary.
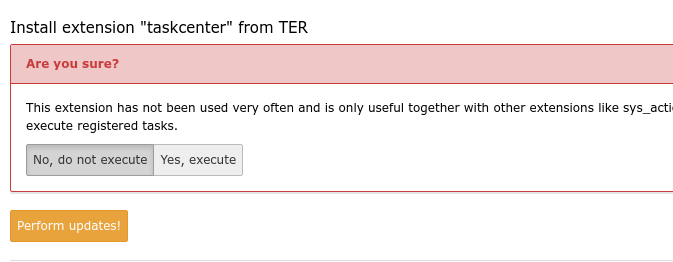
Go through all wizards and apply the (database) updates they propose. Please note that some wizards provide optional features, like installing system extensions that you may not need in your current installation, so take care to only apply those wizards, which you really need. Apply the optional wizards too - just be sure to select the correct option (e.g. "No, do not execute"). This way, these wizards will also be removed from the list of wizards to execute and the upgrade will be marked as "done".
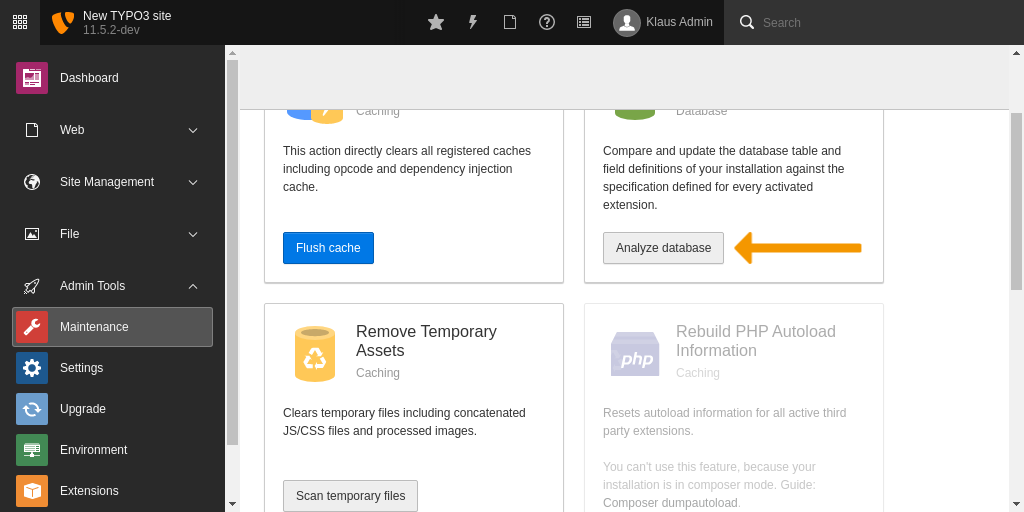
After running through the upgrade wizards go to Maintenance > Analyze Database Structure. You will be able to execute queries to adapt them so that the tables and columns used by the TYPO3 Core correspond to the structure required for the new TYPO3 version.
Note
If you don't know the current Install Tool password,
you can set a new one by entering one in the Install Tool login screen,
hitting enter and then setting the displayed hash as value
of $GLOBALS
in typo3conf/.
Run the database analyser
Attention
TYPO3 v11 has reached end-of-life as of October 31st 2024 and is no longer being maintained. Use the version switcher on the top left of this page to select documentation for a supported version of TYPO3.
Need more time before upgrading? You can purchase Extended Long Term Support (ELTS) for TYPO3 v11 here: TYPO3 ELTS.
While in the previous step, tables and columns have been changed or added to allow running the upgrade wizards smoothly. The next step gives you the possibility to remove old and unneeded tables and columns from the database.
Use the "Maintenance section" and click "Analyze Database".
You will be able to execute queries to remove these tables and columns so that your database corresponds to the structure required for the new TYPO3 version.
Warning
Be careful if you have deliberately added columns and/or tables to your TYPO3 database for your own purposes! Those tables and columns are removed only if you mark them to be deleted of course, but please be careful that you don't delete them by mistake!
Note
TYPO3 does not directly remove tables and fields, but first renames them
with a prefix zzz_. This allows checking whether the fields and
tables really are not needed anymore or were accidentally marked as deleted
by wrong configuration.
When you are sure you aren't going to need them anymore, you can drop them via the wizard.
Select the upgrades you want and press "Execute":
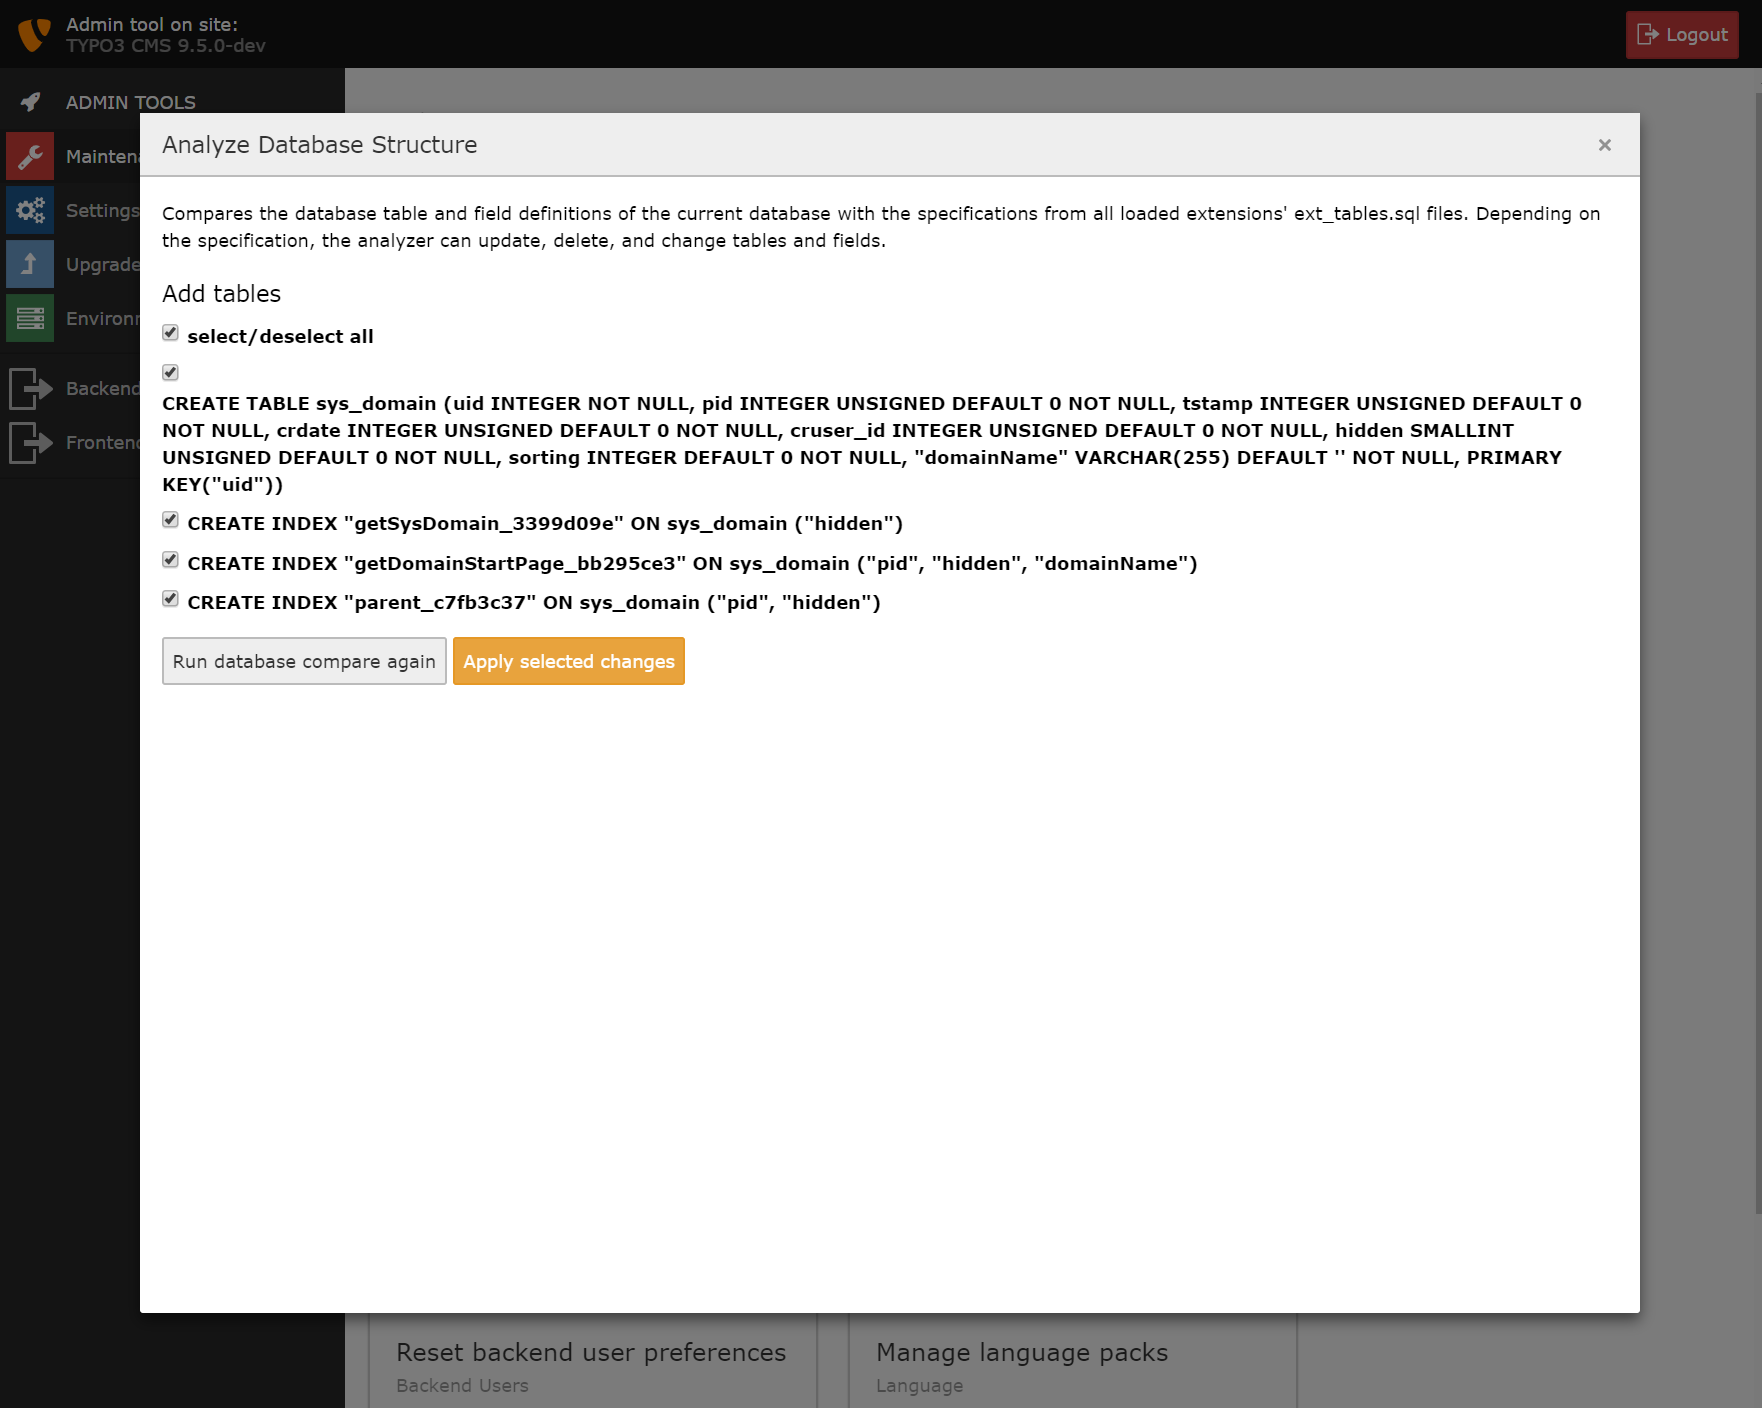
The Database Analyzer
When you then click "Compare current database with specification" again and you only see the message
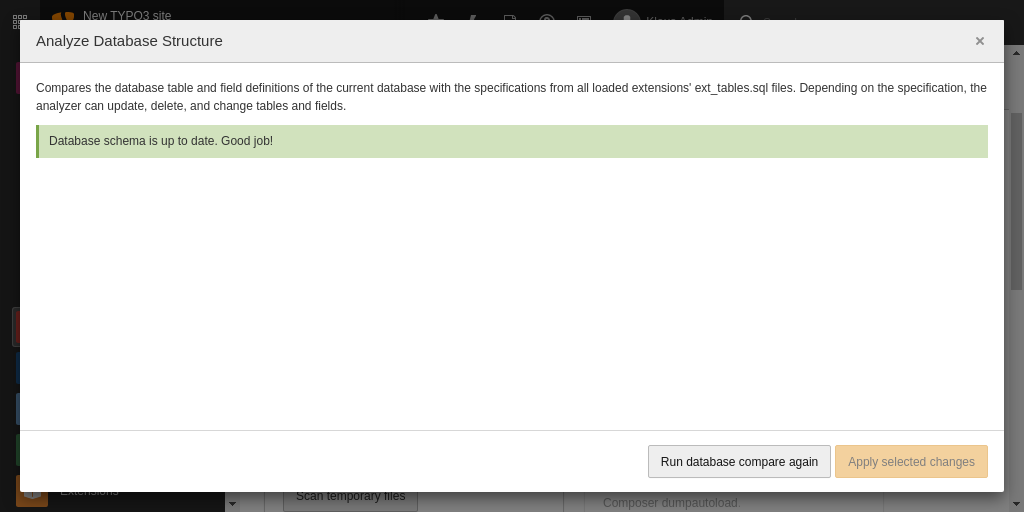
The Database Analyzer with no updates to do
then all database updates have been applied.
Clear user settings
Attention
TYPO3 v11 has reached end-of-life as of October 31st 2024 and is no longer being maintained. Use the version switcher on the top left of this page to select documentation for a supported version of TYPO3.
Need more time before upgrading? You can purchase Extended Long Term Support (ELTS) for TYPO3 v11 here: TYPO3 ELTS.
You might consider clearing the Backend user preferences. This can avoid problems, if something in the upgrade requires this. Go to "Clean up", scroll to "Reset user preferences" and click "Reset backend user preferences".
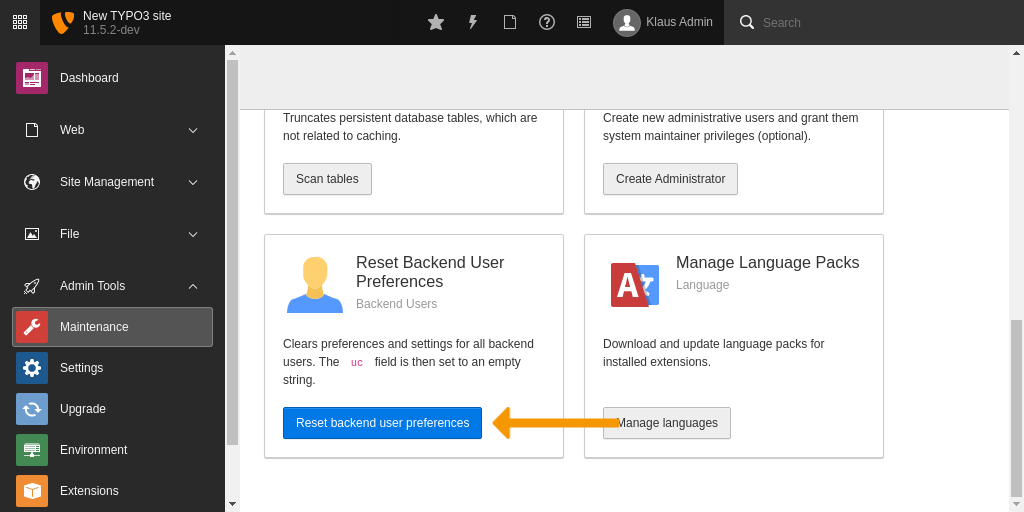
The option "Reset Backend User Preferences" in the Install Tool
Clear caches
Attention
TYPO3 v11 has reached end-of-life as of October 31st 2024 and is no longer being maintained. Use the version switcher on the top left of this page to select documentation for a supported version of TYPO3.
Need more time before upgrading? You can purchase Extended Long Term Support (ELTS) for TYPO3 v11 here: TYPO3 ELTS.
You have to clear all caches when upgrading.
Go to the Admin Tools > Maintenance backend module and click on the Flush cache button:
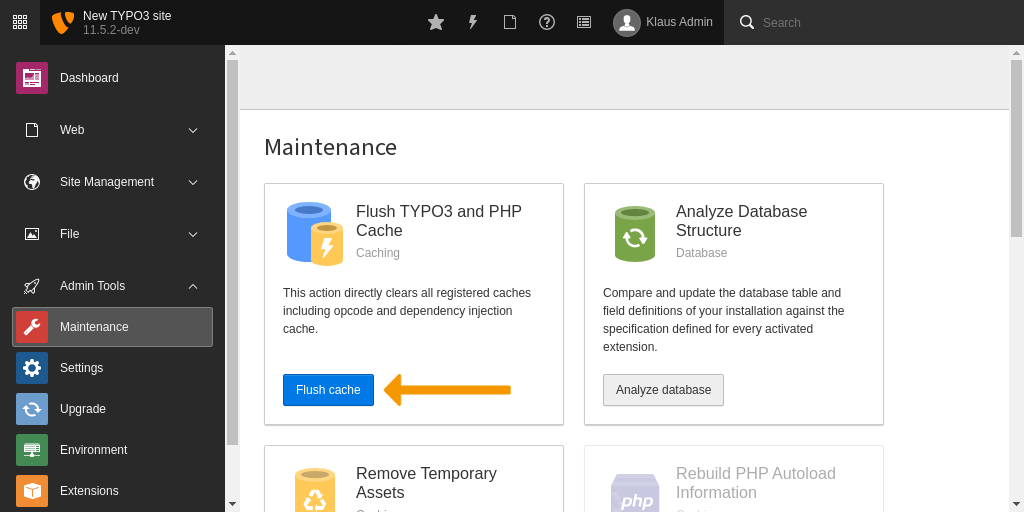
The option "Flush" in the Admin Tool.
Additionally, after an upgrade to a new major version, you should also delete
the other temporary files, which TYPO3 saves in the typo3temp/ folder.
In the Admin Tools > Maintenance module click on the
Remove Temporary Assets > Scan temporary files button and select the
appropriate folders.
Note
When you delete the _processed_/ folder of a file storage all scaled
images will be removed and the according images processed again when
visiting a webpage the next time. This may slow down the first rendering of
the webpage.
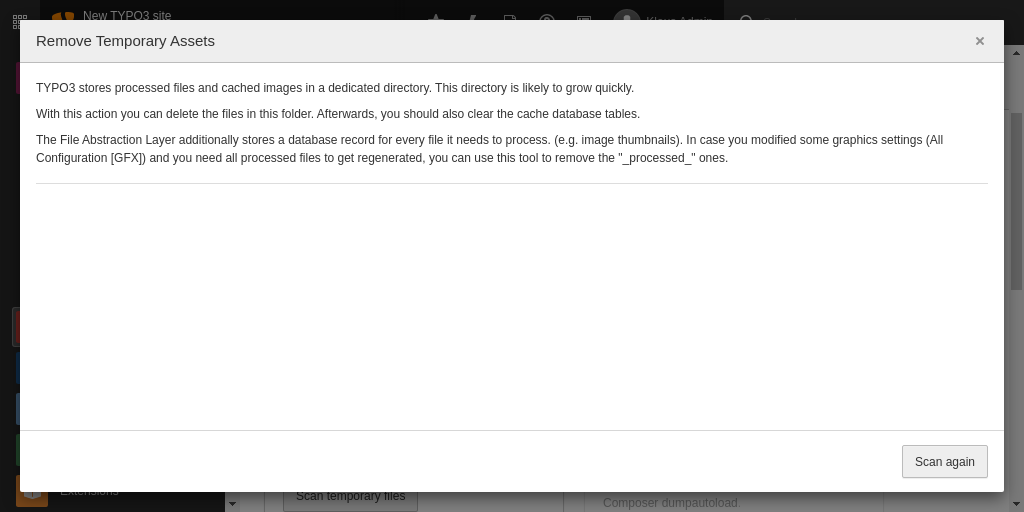
The option "Remove temporary assets" in the Install Tool.
Update backend translations
Attention
TYPO3 v11 has reached end-of-life as of October 31st 2024 and is no longer being maintained. Use the version switcher on the top left of this page to select documentation for a supported version of TYPO3.
Need more time before upgrading? You can purchase Extended Long Term Support (ELTS) for TYPO3 v11 here: TYPO3 ELTS.
In the Install tool, go to the module "Maintenance" -> "Manage languages" and update your translations. If you don't update your translations, new texts will only be displayed in English. Missing languages or translations can be added following the section Internationalization and Localization.

The option "Manage language packs" in the Install Tool