Attention
TYPO3 v8 has reached its end-of-life March 31st, 2020 and is not maintained by the community anymore. Looking for a stable version? Use the version switch on the top left.
There is no further ELTS support. It is recommended that you upgrade your project and use a supported version of TYPO3.
The Install Tool
Hit the start page of your freshly created site with your browser and you should see the "thank you for downloading"-message.
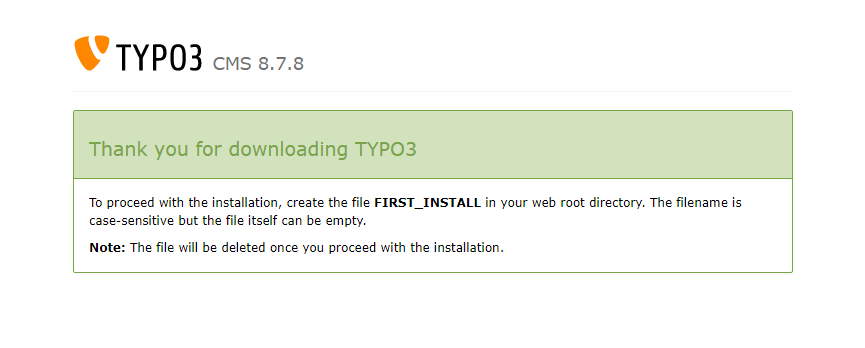
Success message after download.
Create the file FIRST_INSTALL in your web root directory and reload the page. You will be redirected to the install tool. It will guide you through the steps for installing TYPO3. The Install Tool is located in 'typo3/install' in your installation which for example would be
https://example.org/typo3/install/.This is what you should see:
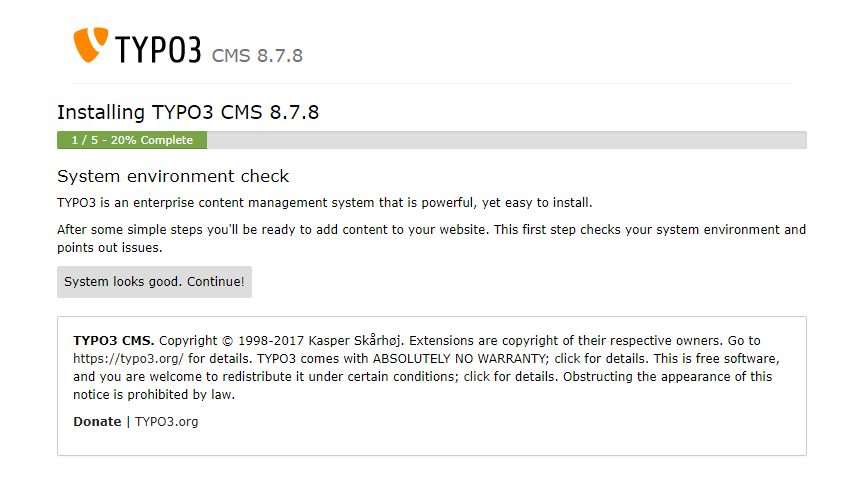
Install Tool in 1-2-3 mode, first step.
In case you have problems in your Environment, you will get warnings or hints in this screen. In this case, you should try to fix them; the "Troubleshooting" section might help you.
Enter your database credentials. Enter MySQL username and password. In most cases the database host is "localhost".
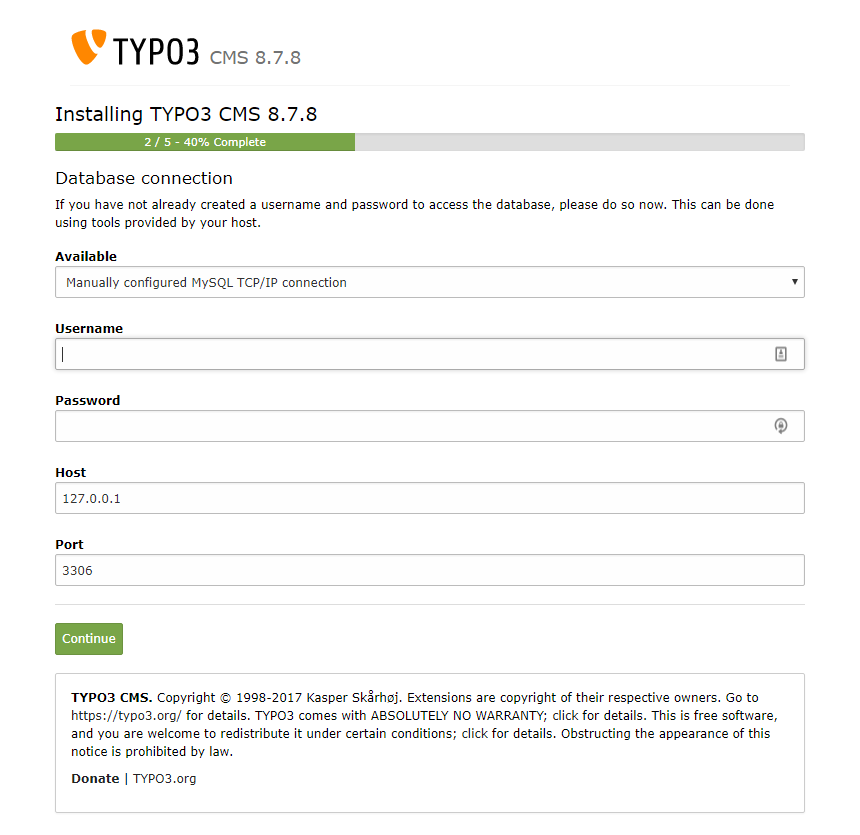
Install Tool in 1-2-3 mode, second step.
Create a new database for TYPO3 or use an existing empty database.
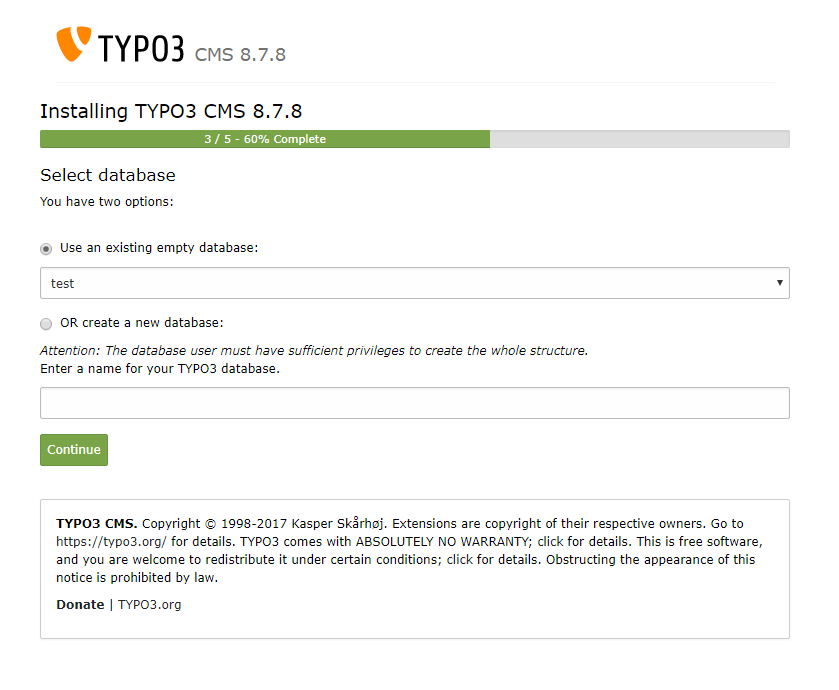
Install Tool in 1-2-3 mode, third step.
Enter a username and password for your first TYPO3 admin user. (For security reasons, it's best not to use the name admin.) This password will also be configured for the Install Tool. The "site name" will identify this installation (in the page tree and browser title).
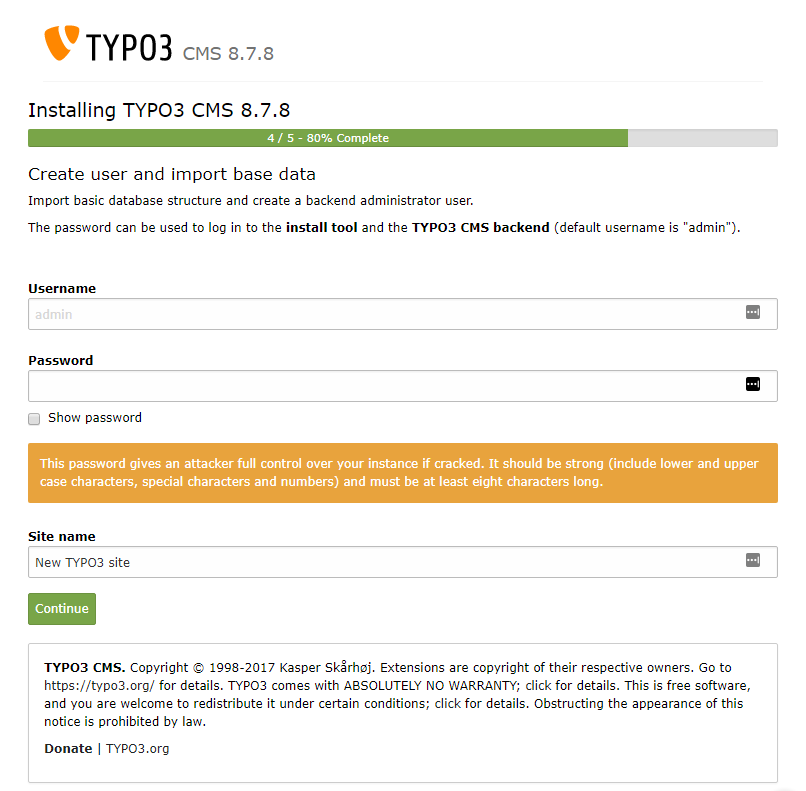
Install Tool in 1-2-3 mode, forth step.
In the last step you can choose whether you want to start with an empty TYPO3 or if you want to have a basis to start from.
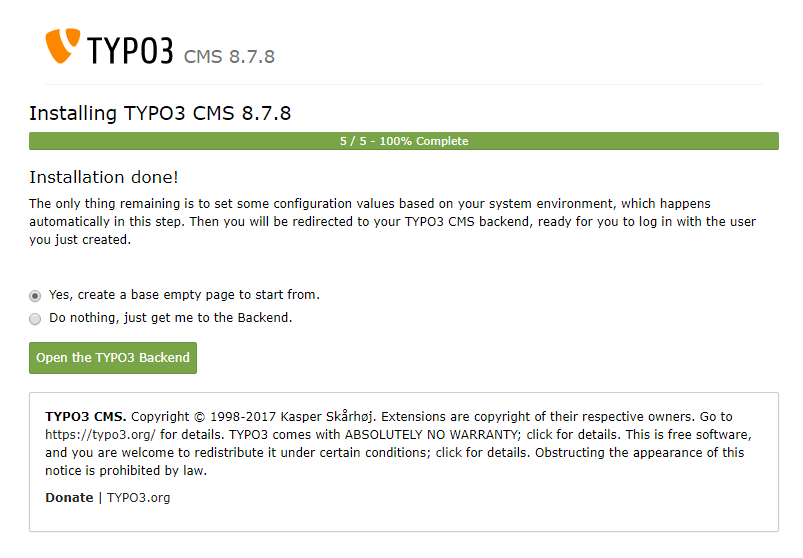
Install Tool in 1-2-3 mode, fifth step.
The basic installation is now complete!
After the basic installation procedure is complete, TYPO3 will be working and the most appropriate settings will have been made for you. You will get redirected to the Backend and can log in with your admin user account.
If you want to make changes to your installation settings at a later date, use the "Install Tool". You can find more information in the section "In-Depth Installation", subsection "The Install Tool" below.
