
First steps
A short tour for editors. It assumes an administrator has already installed the extension for your site.
1. Log in, then open your site
Frontend editing only appears for logged-in backend users. Log into the TYPO3 backend, then open a page of your website in the same browser.
Two things appear:
| What you see | What it is |
|---|---|
| A small bar in the bottom-right corner | The toolbar — actions for the whole page |
| A pencil button when you hover a content element | The Edit Menu — actions for that element |
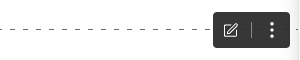
Hovering a content element reveals its edit button
Note
Visitors of your website never see any of this. Nothing is injected for users without a backend session.
2. Change a content element
Hover the element you want to change and click its pencil button. The TYPO3 edit form opens — either in the backend, or, if your site has inline editing enabled, in a panel right next to the page.
Save with Save & Close and you land back on the same spot in the frontend, with a confirmation message.

Save & Close returns you to the same spot in the frontend
Tip
The three-dot button next to the pencil holds the remaining actions: hide, delete, info, history, move, and "new content after".
3. Change the page itself
The toolbar covers everything that concerns the page rather than a single element — page properties, opening the page module, page info.
4. Switch it off when it gets in the way
The eye icon in the toolbar turns frontend editing off. Your choice is stored for your user and survives a reload, so you can check the page exactly as a visitor sees it and switch back when you are done.
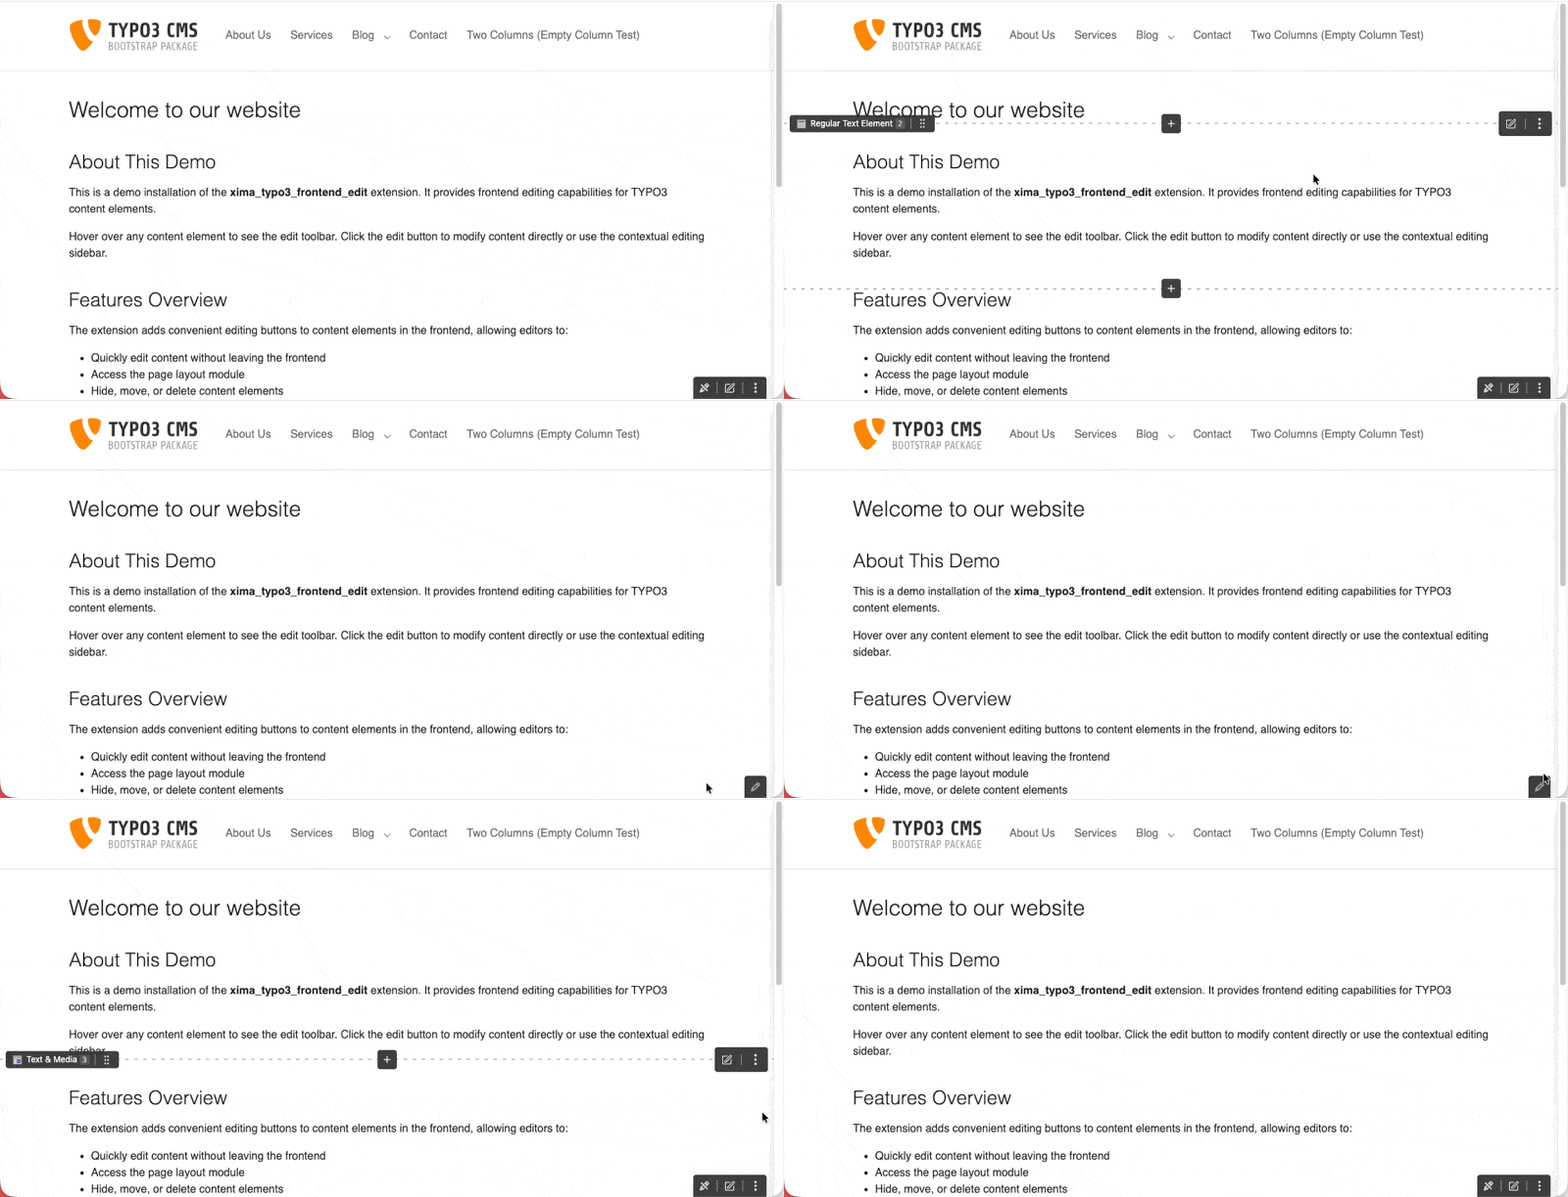
Switching frontend editing off via the toolbar toggle
See also
- Keyboard and screen reader use — operating everything without a mouse
- FAQ — what to do when nothing appears