Attention
TYPO3 v10 has reached end-of-life as of April 30th 2023 and is no longer being maintained. Use the version switcher on the top left of this page to select documentation for a supported version of TYPO3.
Need more time before upgrading? You can purchase Extended Long Term Support (ELTS) for TYPO3 v10 here: TYPO3 ELTS.
Advanced Clipboard Usage
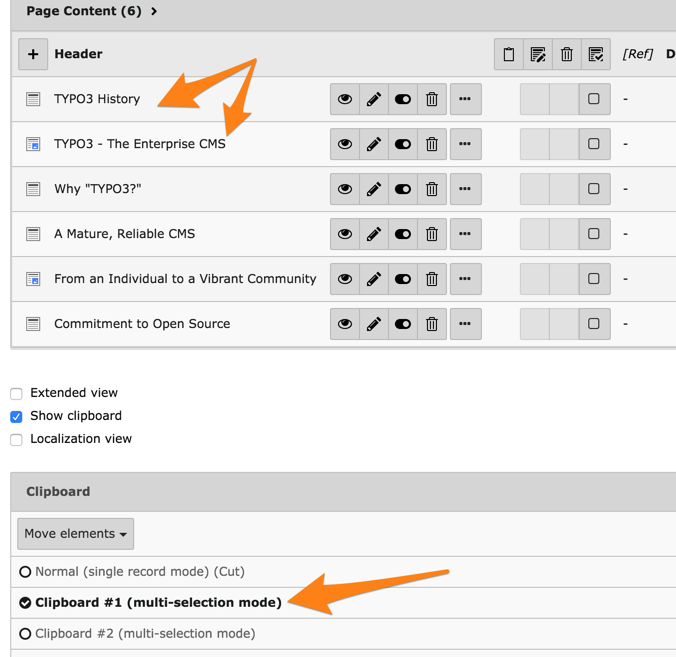
Select a page (here, we use "Customizings"), the List view and "Clipboard #1 (multi-selection mode)" on the bottom of the page.
Note how the List view was changed. Each record now has a checkbox and action icons have been moved to the list header. With them you can:
Edit all marked (selected) items at once
Delete all marked (selected) items at once
Transfer selected items to the clipboard
Mark all / Mark none items in the list
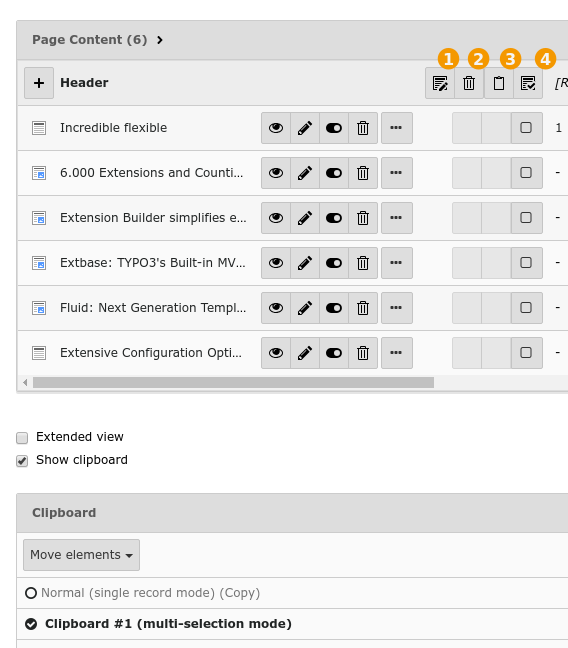
Now check several boxes and click the "Transfer" icon. Your clipboard should look like this:
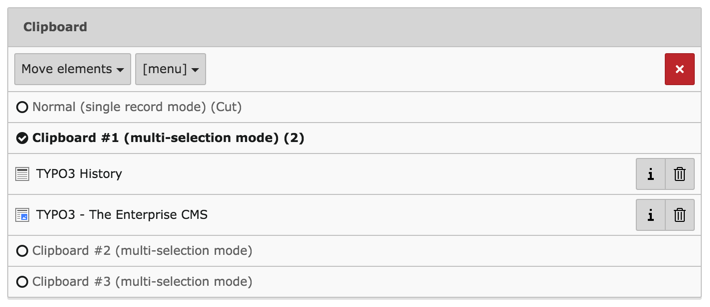
Note how the elements are registered for "Move". The dropdown menu can be used to change the behaviour to "Copy" (which you can do if you don't want to change the current page).
Move to another page and click the "Paste into" icon:
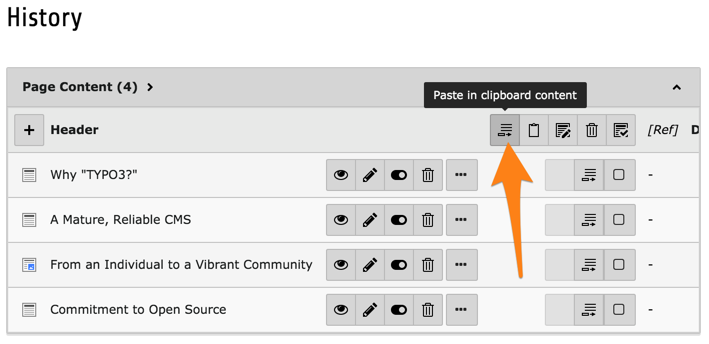
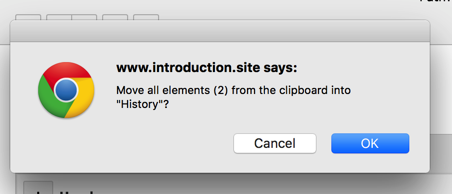
A warning appears to confirm the operation:
After confirmation, you can see that the two elements have been moved to the top of the list and that the clipboard pane is empty: