
Restore
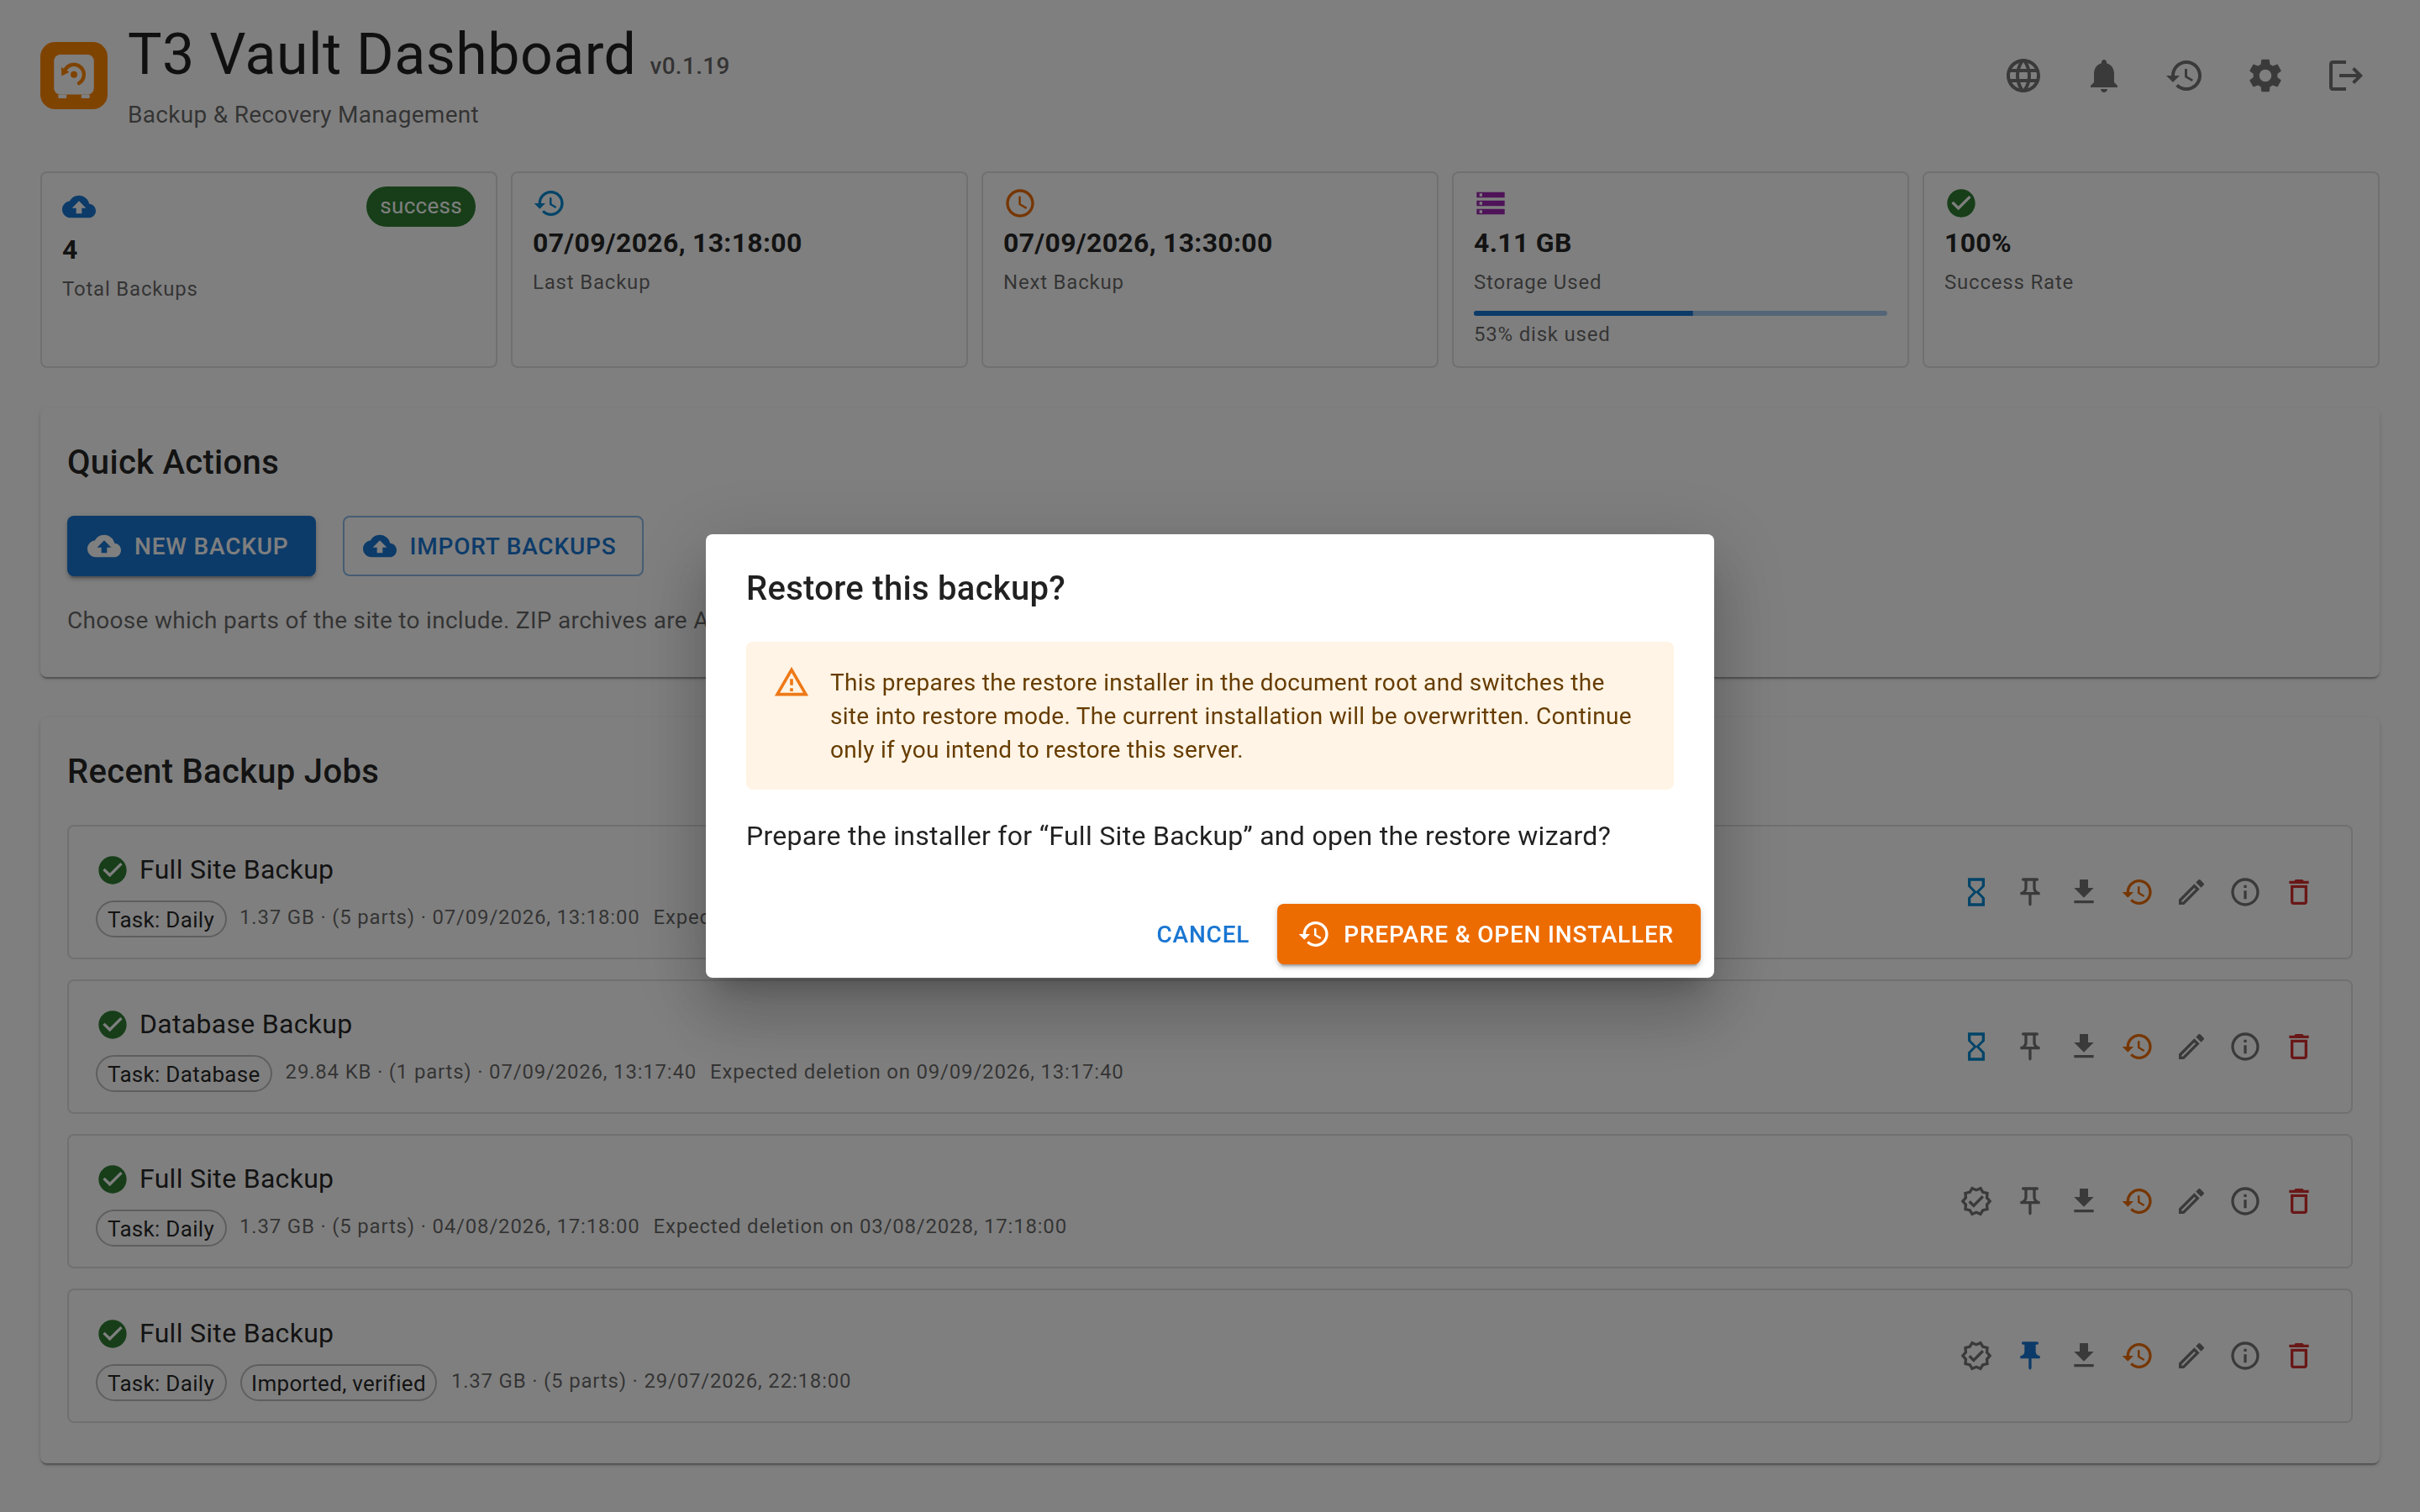
Restoring from the UI prepares the installer in the document root and switches the site into restore mode.
Target server (installer)
- Copy the downloaded
.t3vault.(and installer files if provided) to the target machine.tar - Run the installer / follow the UI import flow in a fresh T3Vault standalone app on the target.
- Enter the same backup encryption password used when the backup was created.
-
Choose the target layout if it differs from the backup source (
MANIFEST.records Composer vs. classic):json - Restore a Composer backup as classic/legacy (document root) when the target host has no Composer-based deploy.
- Restore a classic backup as Composer when you want
config/+public/(or a DDEV project).
- Complete Composer install / TYPO3 setup as required by the chosen target layout.
Transport security
The installer refuses to run over plain HTTP, because the restore transfers the
backup password and the database credentials. Accepted as secure: real HTTPS,
HTTPS terminated by a proxy listed in T3VAULT_TRUSTED_PROXIES, or a client on
the loopback interface — for example through an SSH tunnel:
ssh -L 8443:localhost:80 user@target
# then open http://127.0.0.1:8443/installer.phpOnly if the network is demonstrably trusted, the requirement can be waived by
creating the file .t3vault- next to the installer (or by
setting T3VAULT_ALLOW_INSECURE=1). The environment check then shows a
warning for the connection instead of a green check.
The step Write configuration additionally accepts an optional
encryptionKey. Leave it empty to have a fresh key generated; supply the key
of the original installation if hashes stored in the database (e.g. install tool
secrets) have to stay valid.
Site base URL
If you enter a Site base URL, the installer updates a single primary site
under config/ (or classic typo3conf/) as follows:
- the primary site is the one with
rootPageId: 1, otherwise the lowestrootPageId; - only that site’s top-level
baseis set to the new URL; - existing
baseVariants(production, staging, old DDEV hosts, …) stay as they are; - for
*.ddev.sitehosts, at most oneDevelopment/DDEVvariant is added or refreshed; - absolute language bases such as
https://en.example.com/become a path on the new host (https://recover.ddev.site/en/).
Leave the field empty to skip site-config changes entirely.
If the target host is already defined in any site’s top-level base or
baseVariants, the installer leaves all site URLs unchanged (restore onto a
known domain).
Multi-site: other sites keep their original bases and are not reachable on
the recover host until you add hostnames (for example DDEV
additional_hostnames) or map them manually.
DDEV (local)
Use Download → DDEV project or the scripts inside the TAR
(t3vault-, t3vault-, DDEV.).
Typical flow:
- Run the script; it loads the archive (or uses a local
.t3vault.).tar - Enter the backup password.
- The script unpacks AES ZIPs, converts the layout toward Composer if the
source was classic, writes
.ddev/from environment metadata, starts DDEV, imports the database, and runsconfig. yaml composer install. (The web installer also supports the opposite direction: Composer → classic/legacy.)
Verify before restore
Before trusting an archive from untrusted storage, verify that it was not modified after sealing (see How to verify a backup (recommended)):
php t3vault-verify.phar /path/to/backup_dirOptionally confirm the OpenTimestamps seal with Manual verification with the OpenTimestamps client.