Create MAIL page
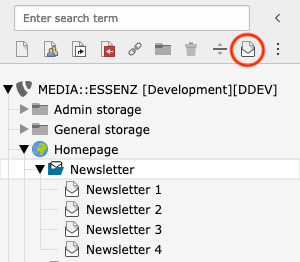
MAIL brings an own page type (#24, can be changed inside extension settings), which appear as a new icon (letter within an envelope) above the page tree, beside the other page type icons.
To create a new mail, just drag and drop the MAIL page icon inside the new mail sys-folder created in the corresponding configuration step.
Now you can add content to the MAIL page using the normal page module.
As you may notice, only a few content elements are available, and some of them do not work yet.
Currently only headline, text, text with image, text with media, image and html are working.
Additionally (untested) it should be possible to add a news plugin.
The included content elements are inspired by EXT:luxletter. Thanks to in2code for making it public.
Create MAIL content
Let's add a headline element first and enter this content inside the headline field:
###USER_salutation###
This is a marker or placeholder which will later be replaced by the individual recipient data.
There are a lot of other placeholders available:
###USER_uid###
###USER_salutation###
###USER_name###
###USER_title###
###USER_email###
###USER_phone###
###USER_www###
###USER_address###
###USER_company###
###USER_city###
###USER_zip###
###USER_country###
###USER_fax###
###USER_firstname###
###USER_first_name###
###USER_last_name###
Additional ALL as uppercase version:
###USER_SALUTATION###
###USER_NAME###
...
This will result in the uppercase salutation, name, ... of the recipient later.
Inspired by EXT:direct_mail, there are also some special placeholders available:
###MAIL_RECIPIENT_SOURCE###
###MAIL_ID###
###MAIL_AUTHCODE###
To keep things simple for now, only add another content element to the MAIL page, e.g. a "text with image".
After adding some dummy text choosing an image, specify its position, save and close it.