Installation & Configuration
Step 1 - Installing the Extension
You can install the extension either with composer or manually by uploading the zip file to the Extension Manager.
composer require aix/tonic
Once it is correctly installed and fits the version dependency, it should appear in your extension list as seen in the following screenshot.

Step 2 - Include Static Template to your Site Template
In order to add all fields and configuration of TypoTonic, it is necessary to include
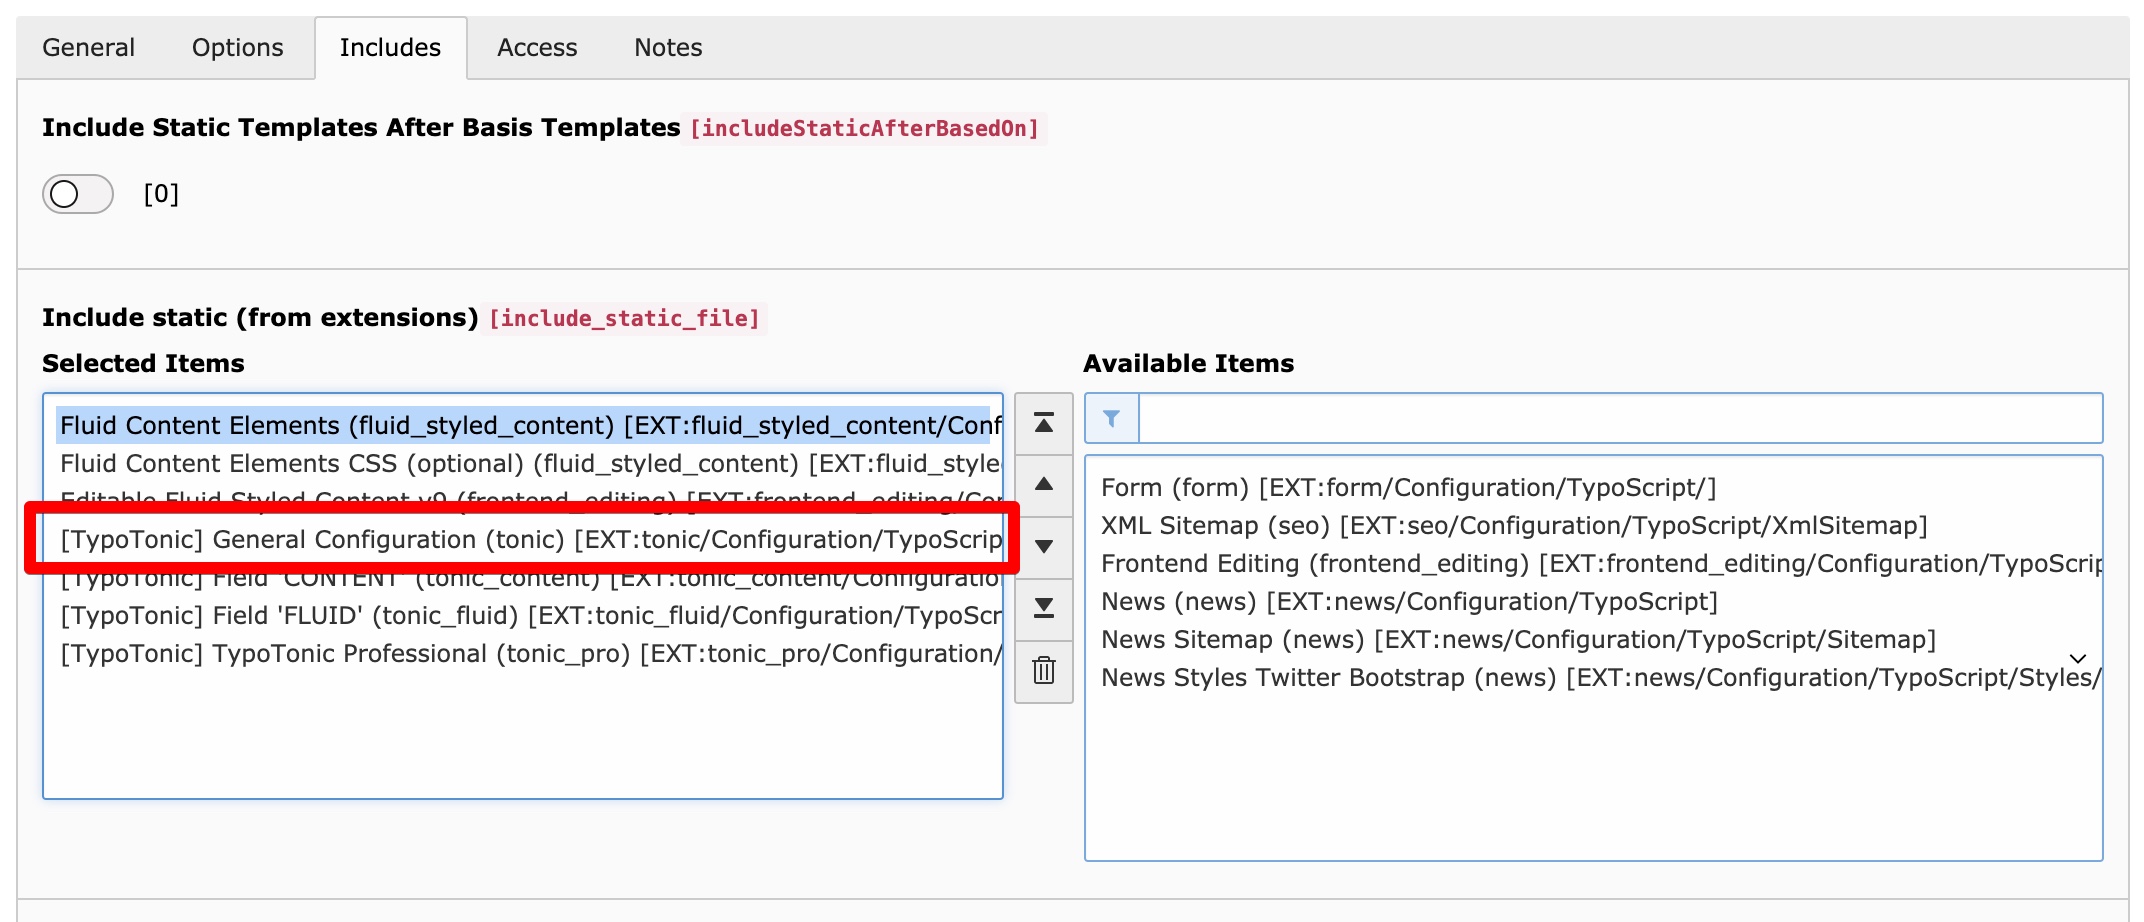
the static template [TypoTonic] General Configuration (tonic) to your site template.
Please refer to the following screenshot for more information.

Step 3 - Clear all caches
Please manually clear all the caches to reload your TypoScript Configuration.
Additional Configuration
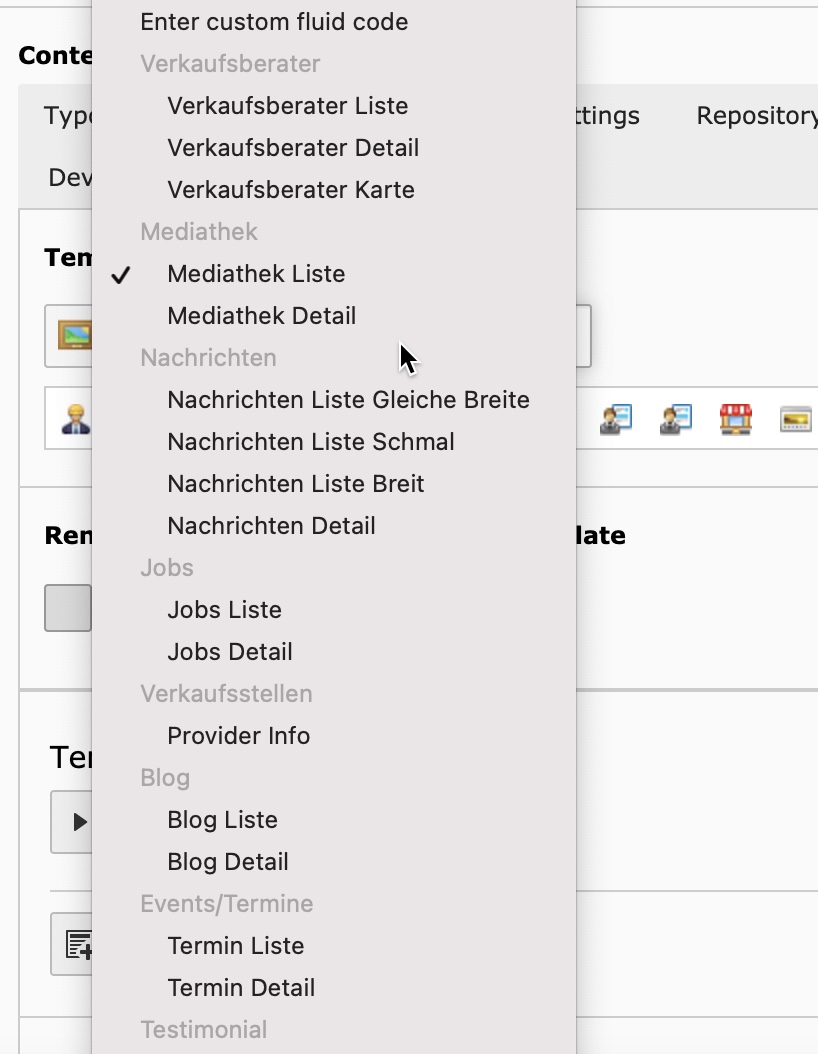
Pre-Defining Templates for the Template Selector in TypoScript

You manually can add predefined templates to the template selector for easy usage. You have to edit the TypoScript of your Page-Template and add the following information. (example) This gives you the possibility to create extensions that deliver Templates for TypoTonic.
You can use the predefined templates as parts later within fluid by using the template identifier.
Please use the following information to define a template:
| Template Identifier | This identifier can be used with the dv:render.template ViewHelper |
| group | The group name to group multiple templates |
| icon | Path to the icon file, you can use icons of TypoTonic |
| name | The name of the template |
| file | Path to the template file |
See the following example:
plugin.tx_tonic.templates {
    myTemplateIdentifier {
      group = General
      icon = EXT:tonic/Resources/Public/Icons/Datatype/brick.png
      name = My Test Template
      file = EXT:tonic_templates/Resources/Private/Templates/tonic_test1.html
    }
}
Rendering pre-defined templates within fluid
Predefined templates aswell as html files can be rendered within fluid by using the Template.RenderViewHelper.
See the following example on how to use the ViewHelper
<t:template.render template="myTemplateIdentfier" arguments="{record:record}" />
Toolbar Item (Pro-Feature)

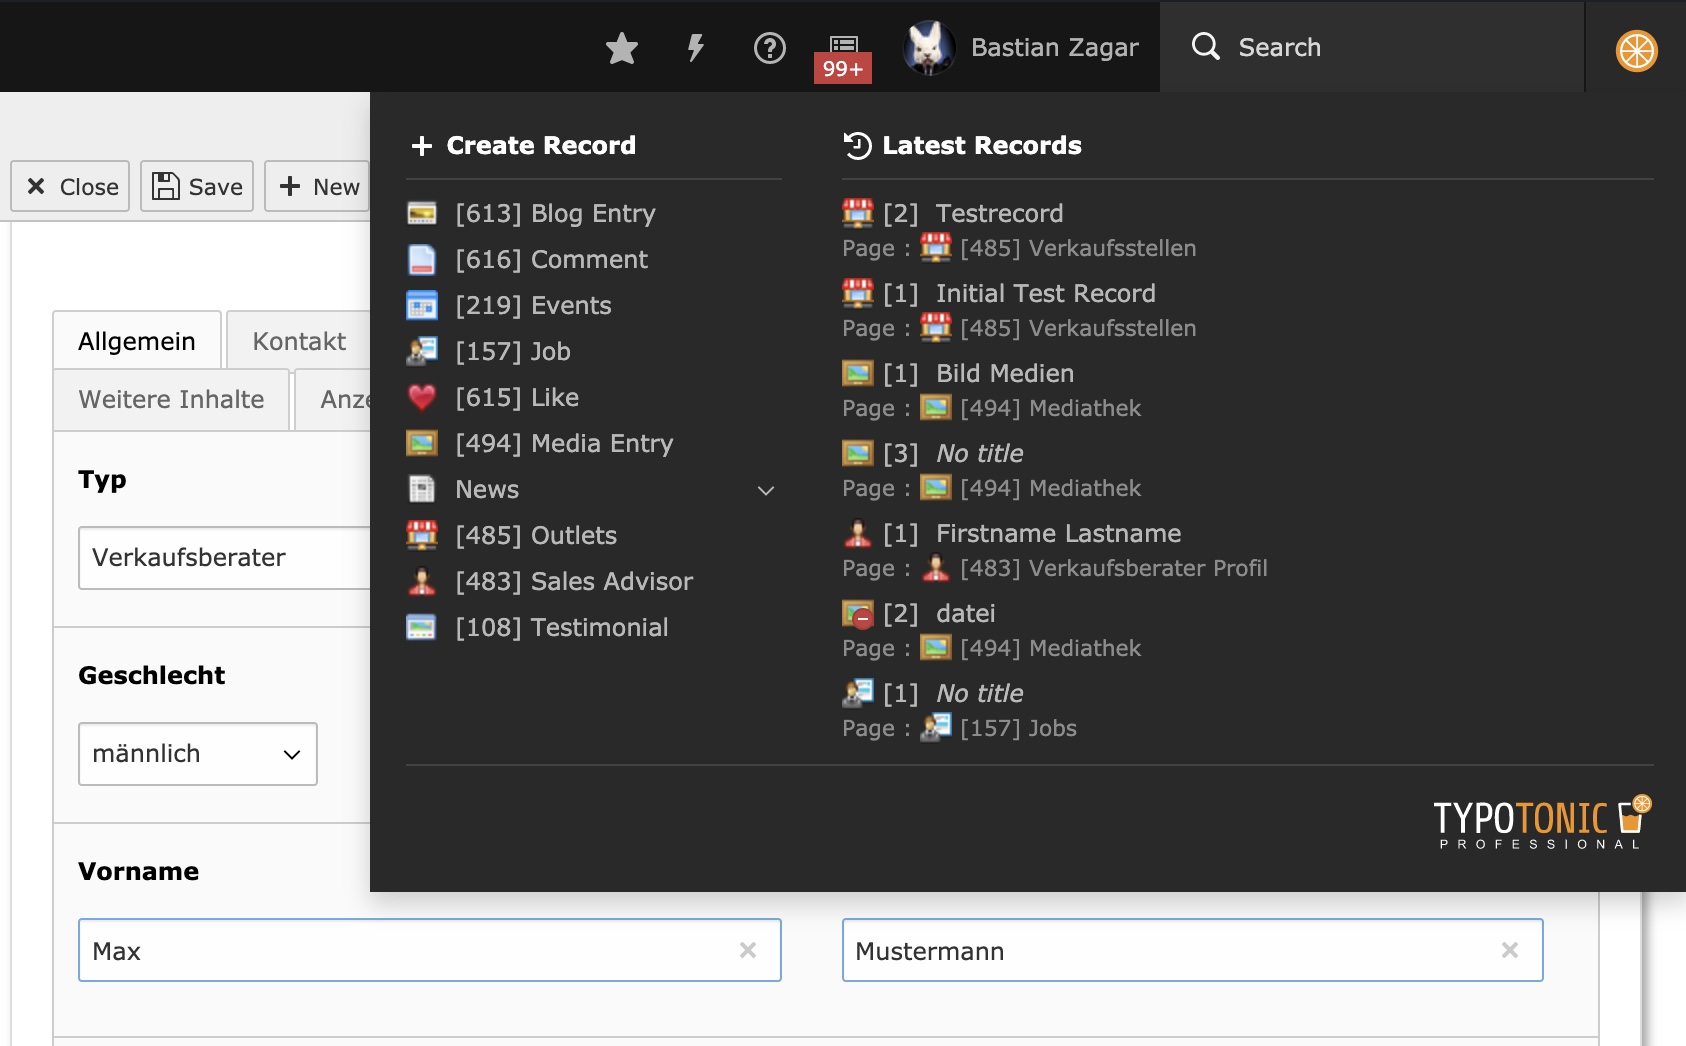
TypoTonic Professional adds an icon to the toolbar in the backend. With this toolbar item, you can easyly manage or create records of your existing datatypes.
To deactivate the toolbar item, you need to disable it in the User TSconfig with the following code
options {
    tonic {
       disableTonicToolbarItem = 1
    }
}
Editing Records in Frontend (Pro-Feature)

You can enable an edit button for according records that will be shown on a dynamic detail page in the top right corner of the browser window.
options {
    tonic {
       enableRecordEditButton = 1
    }
}
Add Record Creation-Buttons to DocHeader

It is possible to manually add the record-add buttons to the docheader in the list module by using the datatype uid within the following code. This code has to be placed in the Page TSconfig.
The button also will automatically be added when configuring the “Behaviour” in the page settings!
tx_tonic {
   docHeaderDatatypes = 1,2,3
}
