Attention
TYPO3 v11 has reached end-of-life as of October 31st 2024 and is no longer being maintained. Use the version switcher on the top left of this page to select documentation for a supported version of TYPO3.
Need more time before upgrading? You can purchase Extended Long Term Support (ELTS) for TYPO3 v11 here: TYPO3 ELTS.
Setting up a User
To explore the last details of setting up a backend user - and as an exercise - this chapter will guide you through the process of creating a new user. To make it more interesting, we will also create a new user group.
Step 1: Create a New Group
Let's create a new user group using the Access module.
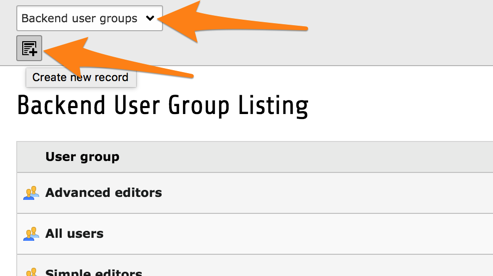
Start by entering the name ("Resource editors"), optionally a description and choose "All users" as sub-group.
Let's keep things simple for the further permissions. Try to do the following:
- for Modules, just choose "Web > Page" and "Web > View"
- for Tables (listing) and Tables (modify), choose "Page" and "Page content"
- for Page types, select "Standard"
and save.
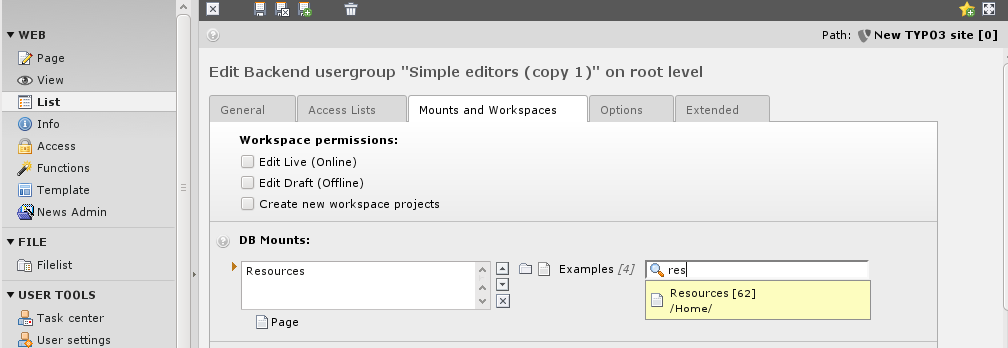
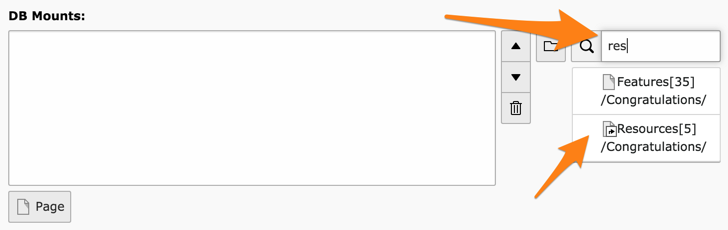
Move to the "Mounts and workspaces" tab and select the "Resources" page as DB mount. To achieve that easily start typing "Res" in the wizard at the right-hand side of the field. It will display suggestions, from which you can select the "Resources" page.
Let's ignore all the rest. Use the "Save and close" action to get back to the group list.
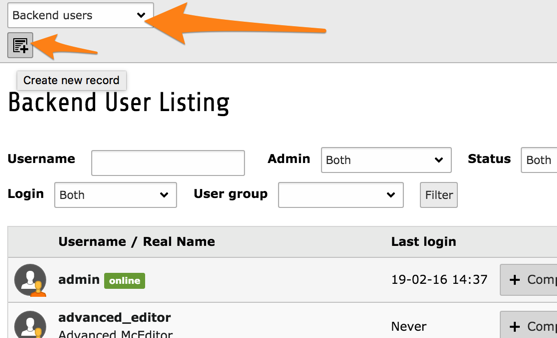
Step 2: Create the User
Similarly to what we have done before, let's create a new user using the Access module.
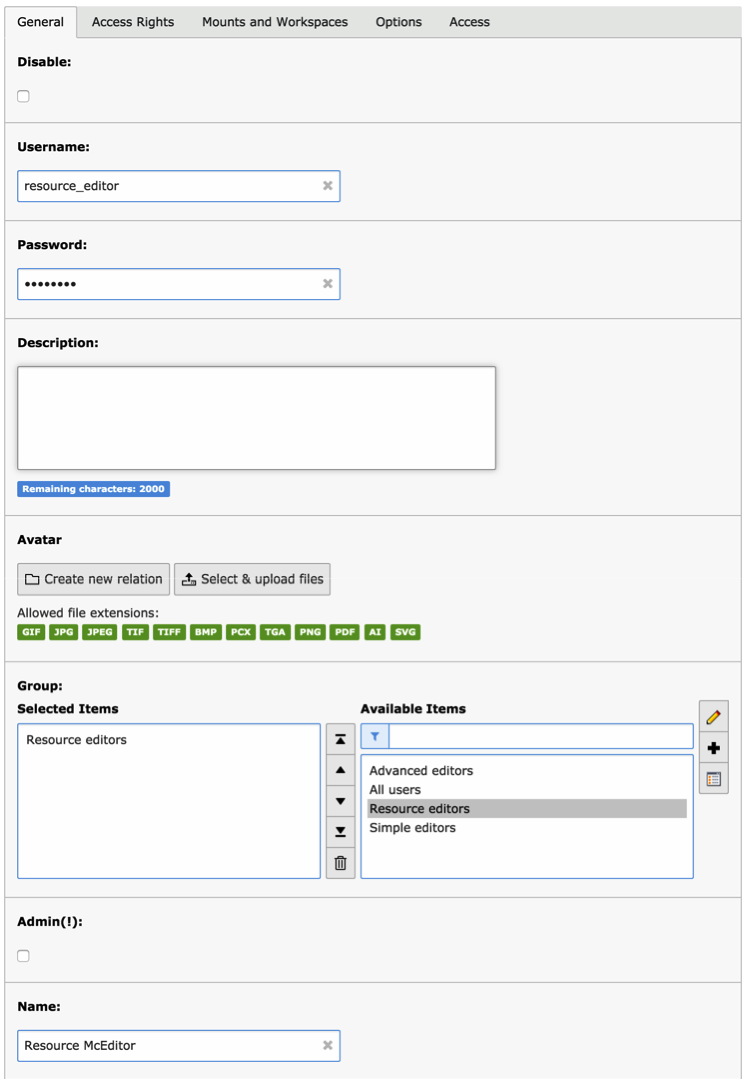
Enter the username, password, group membership:
Note
If we were creating a new administrator, we would just need to check the "Admin (!)" box. Admin users don't need to belong to any group, although this can still be useful to share special settings among administrators.
Now switch to the "Mounts and workspaces" tab to ensure that the "Mount from Groups" settings are set:
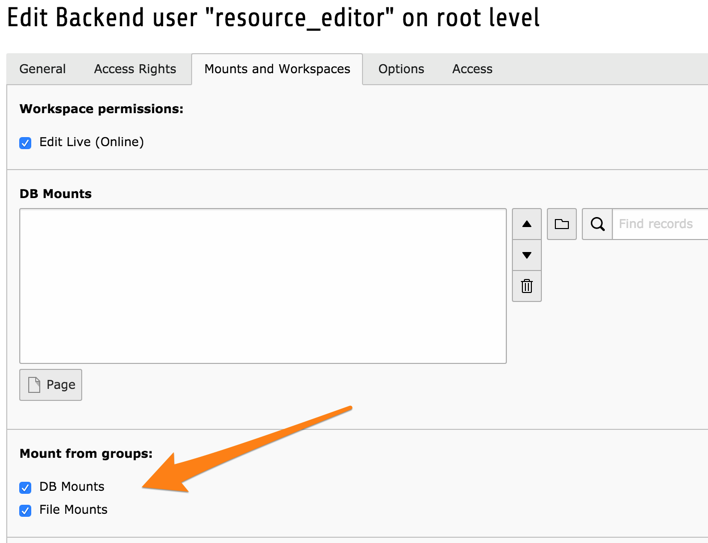
This makes it so that the DB and File mounts are taken from the group(s) the user belongs to and are not defined at user-level.
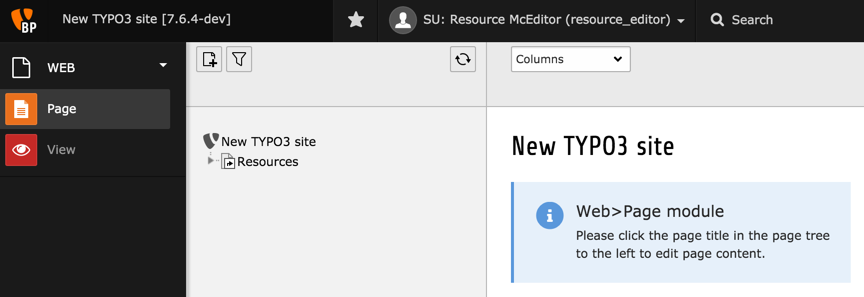
Save and close the record. We will check the result of our work by using the simulate user feature we saw earlier.
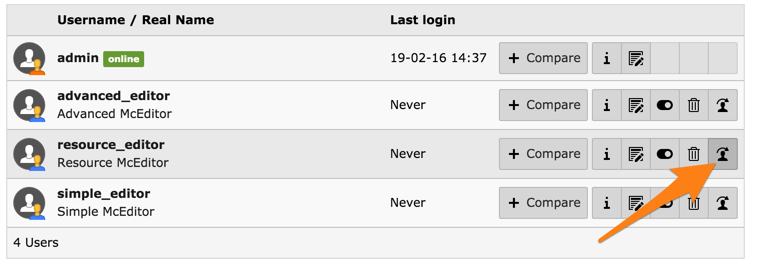
You should see the following: