Create a basic contact form
In this tutorial, you will learn how to create a basic contact form.
Let's define what we need:
- contact information from our visitors: first name, last name, email address
- the message from our visitor: a text area where they can enter their message
- an email to us with their message
- a confirmation message to the visitor after the form has been submitted
All fields will be required fields.
Let's get started:
-
Create a new form
Go to the Web > Forms module and create a new form by clicking on "Create new form".

The form module without any forms - click the button to create one.
-
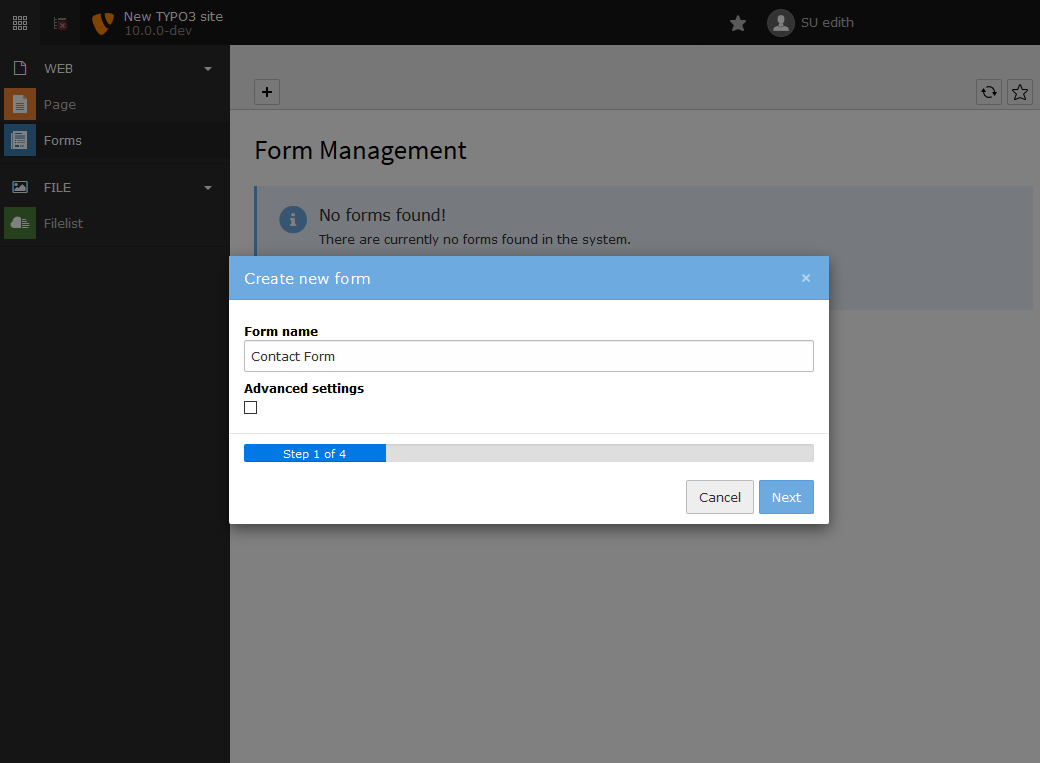
Choose a name
Choose a name for your form - something you will recognize later on - and click "Next"
-
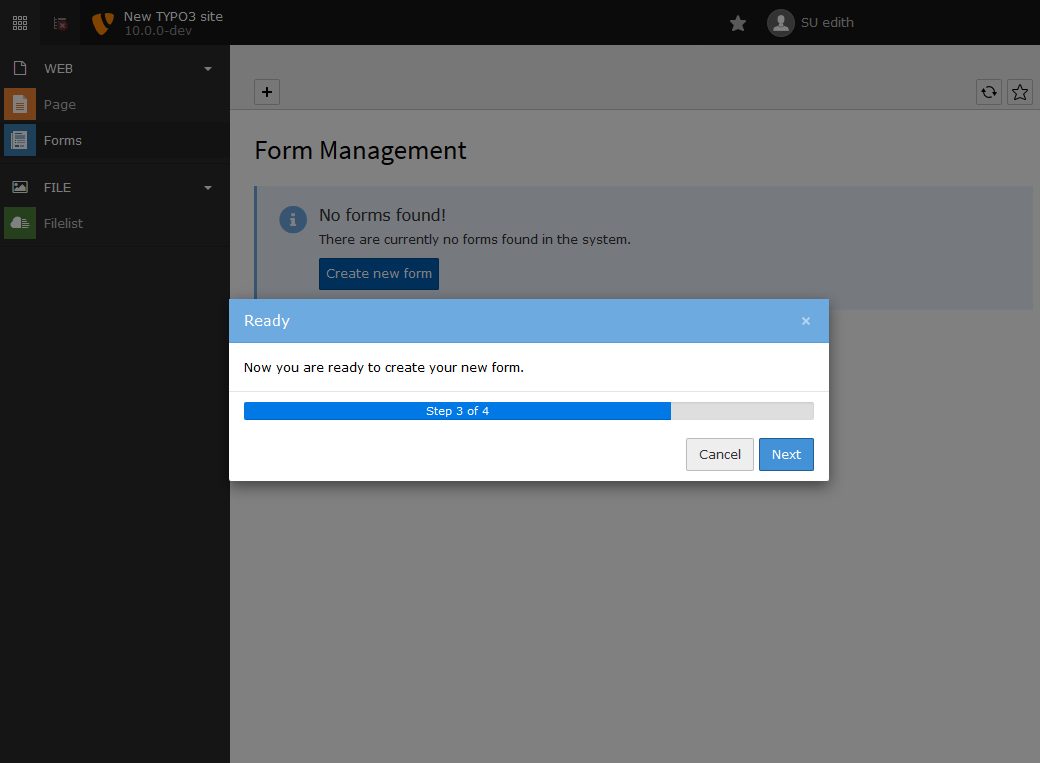
Click "Next"
As we are creating a basic form, step 2 is done automatically and we go to step 3. Click "Next" again.
-
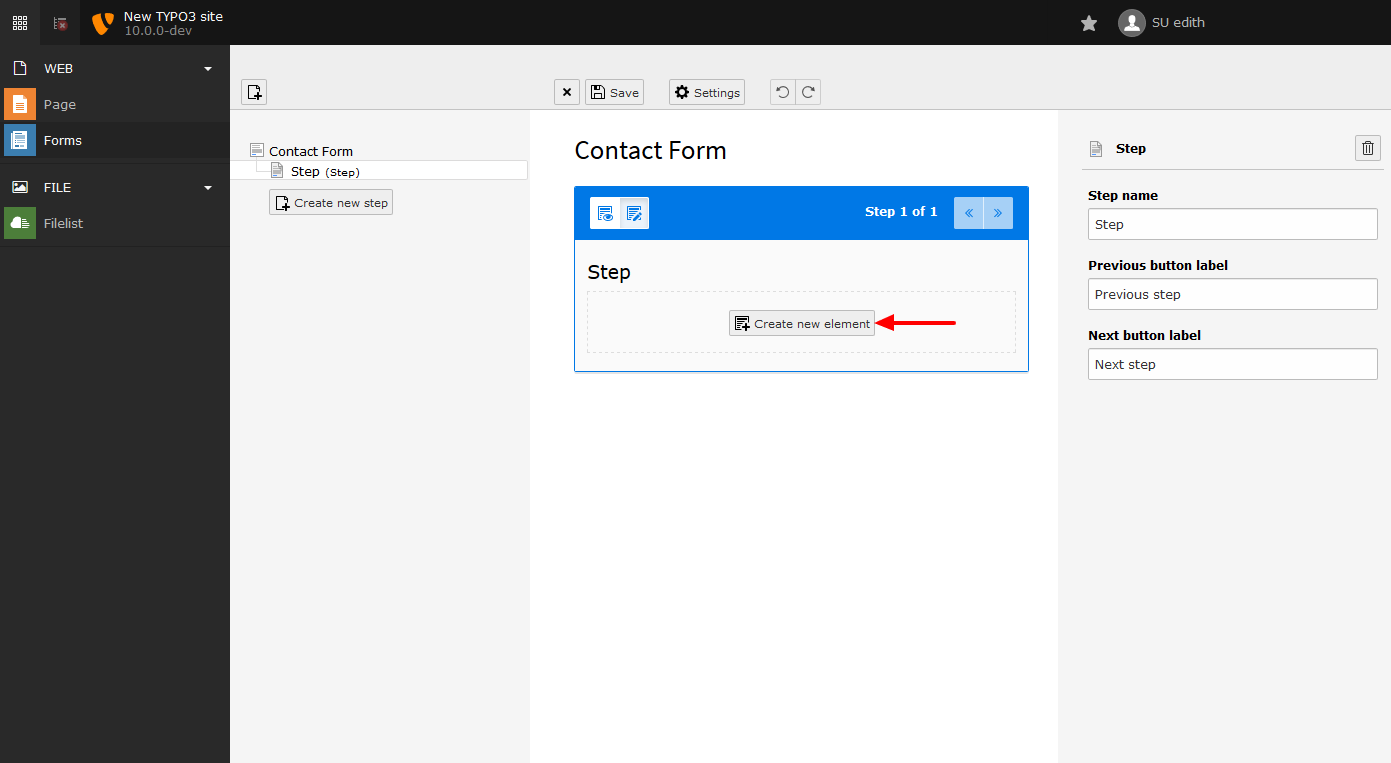
Create new element
The form editor view will now display your new form as below. Click on "Create new element" to add a field to your form.
-
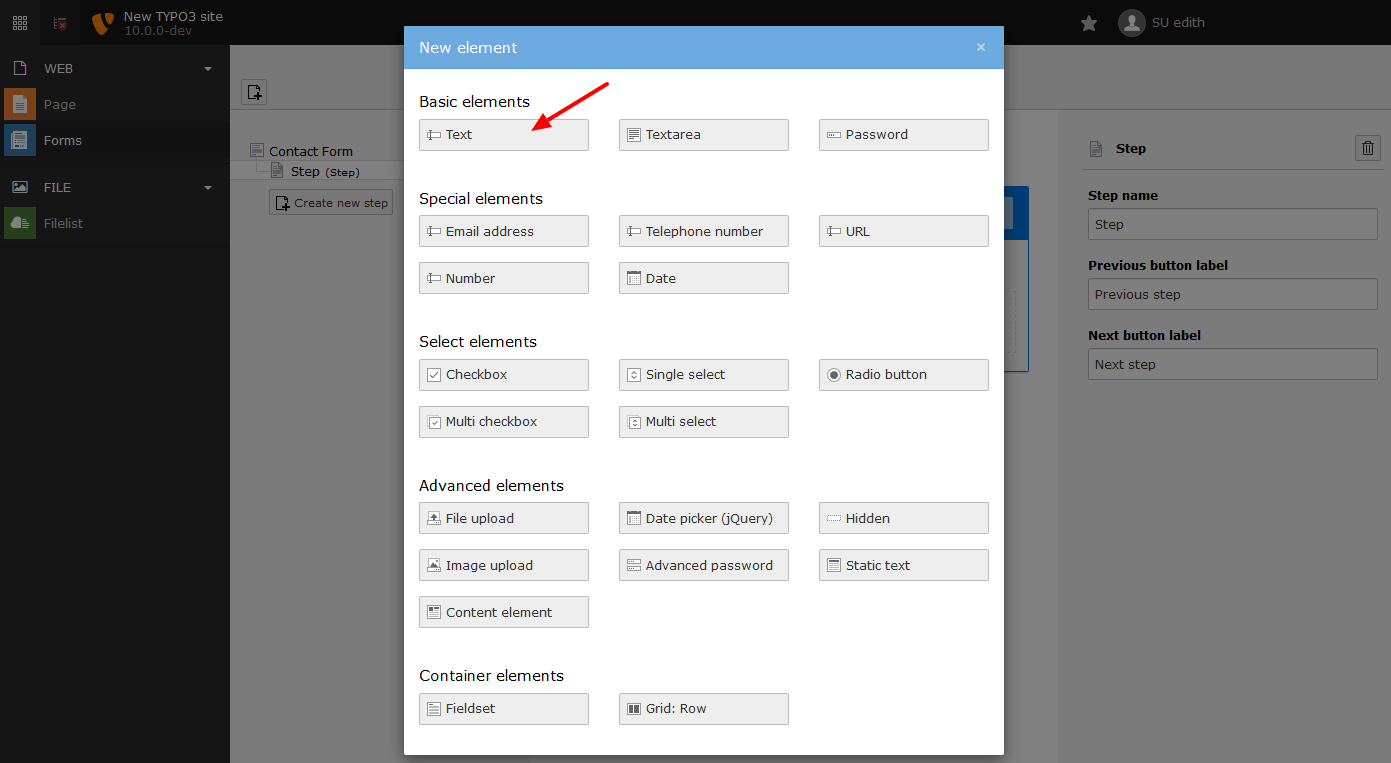
Add "First Name"
Create a simple text field for the first name by clicking on "Text" in "Basic Elements".
-
Set options for "First Name"
Options for your new text field will be displayed in the inspector panel on the right:
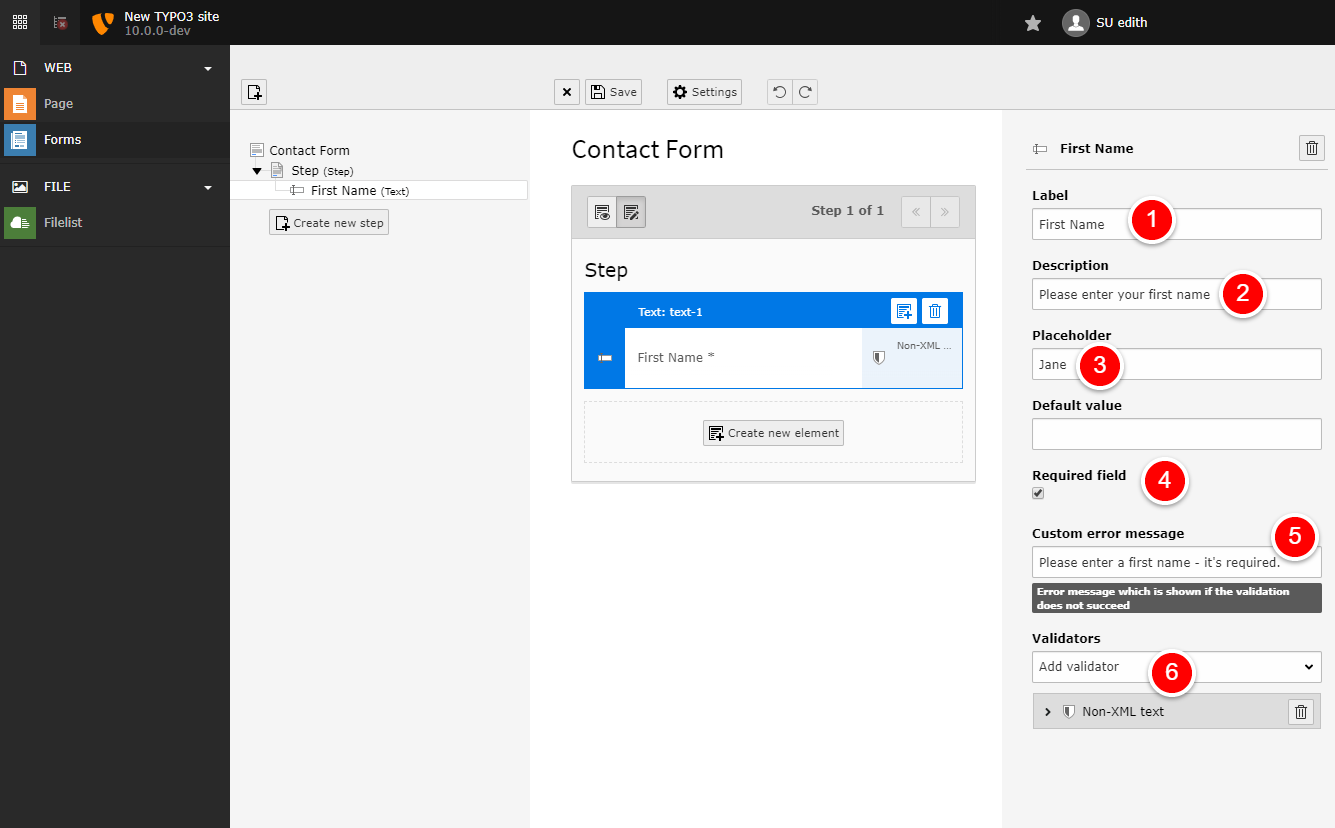
Fields for a simple text field.
- Label: Enter a label for your field - in this case "First Name".
- Description: Enter a description - something that helps your users to know what they should enter.
- Placeholder: Enter an example value for the field - this will be used as placeholder in the frontend.
- Required Field: Click the checkbox to make your field required.
- Enter an error message for users who forget to fill out the field.
- Add a "Non-XML text" validator to only allow simple text input.
-
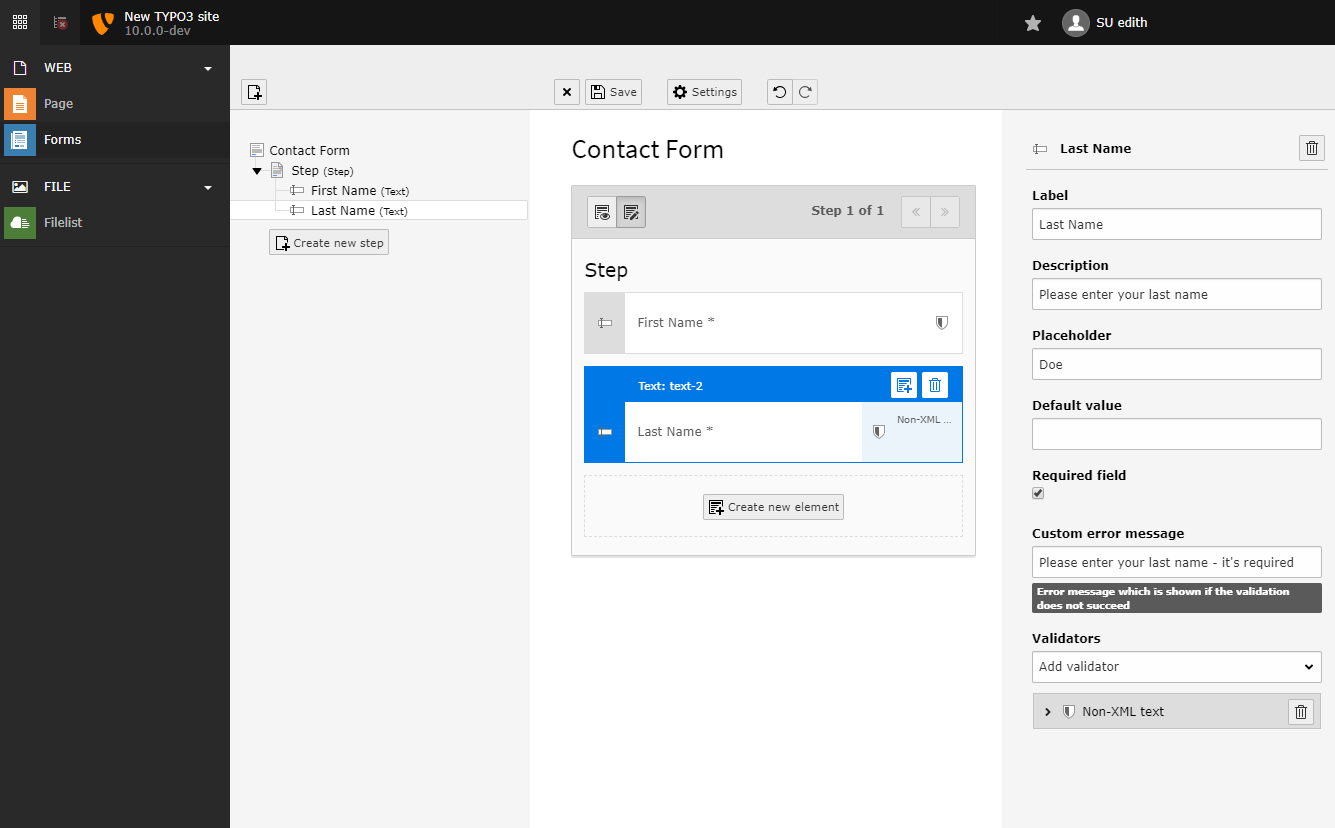
Repeat
Repeat the steps in 6 for the "Last Name" field.
-
Add Email address
Now add an email field. Choose type
email. Set an error message for if the validation fails.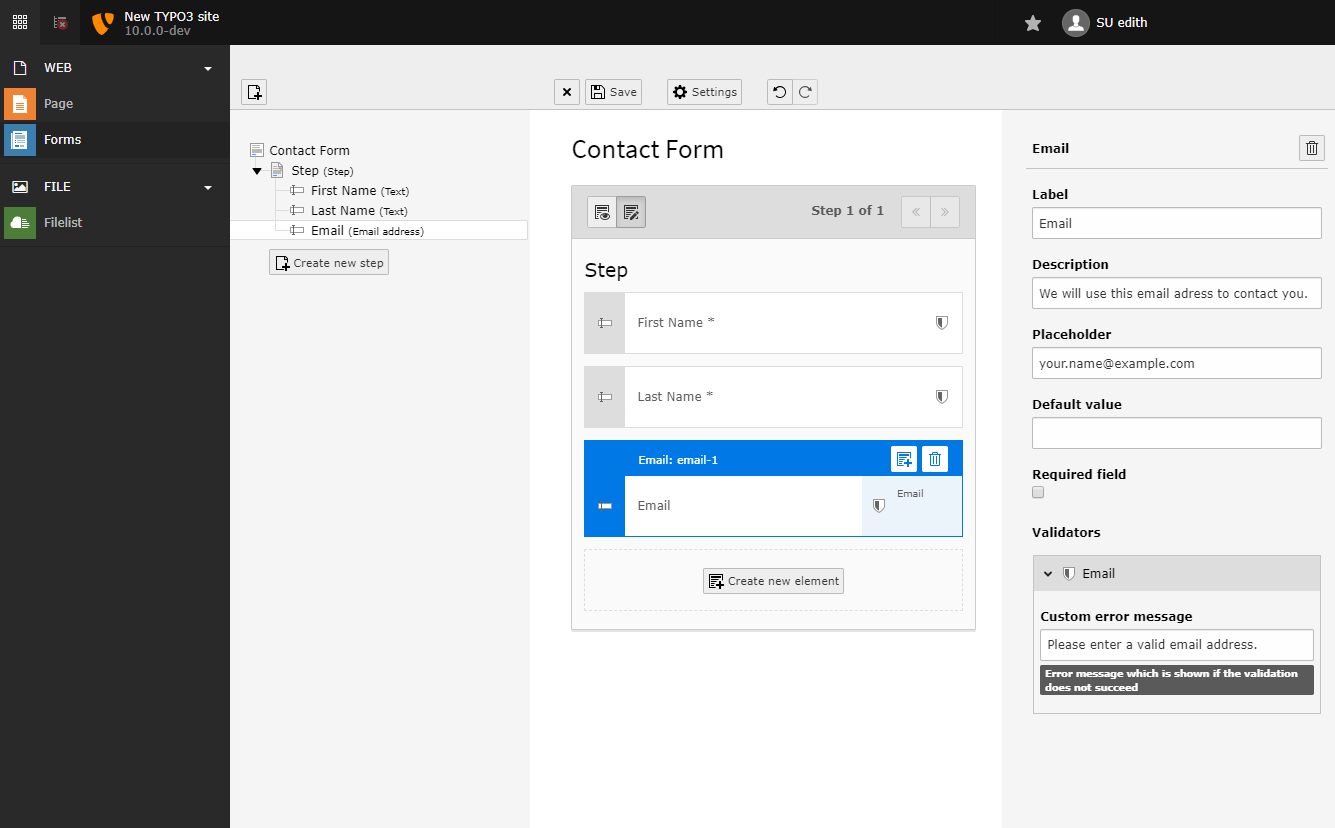
-
Add textarea for message
Add a
Textareafield where the user can enter a message.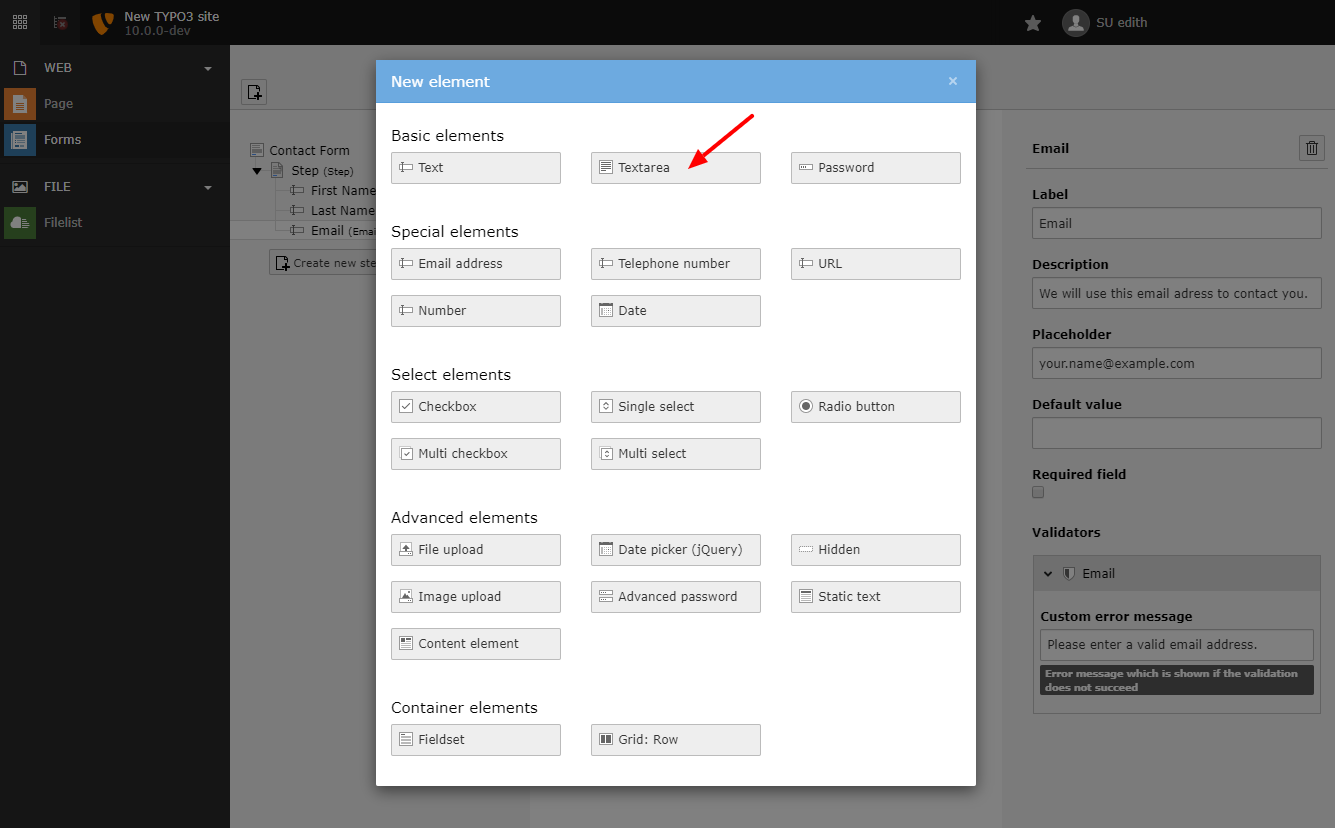
The "Textarea" type in the overview.
-
Add options for the message field
Set label, description and error messages.

Configure the message field.
-
Send an email on form submit
When a user submits a form, we want to be sent an email by TYPO3. In a form, this is what is called "a finisher" as it happens when the form is "finished".
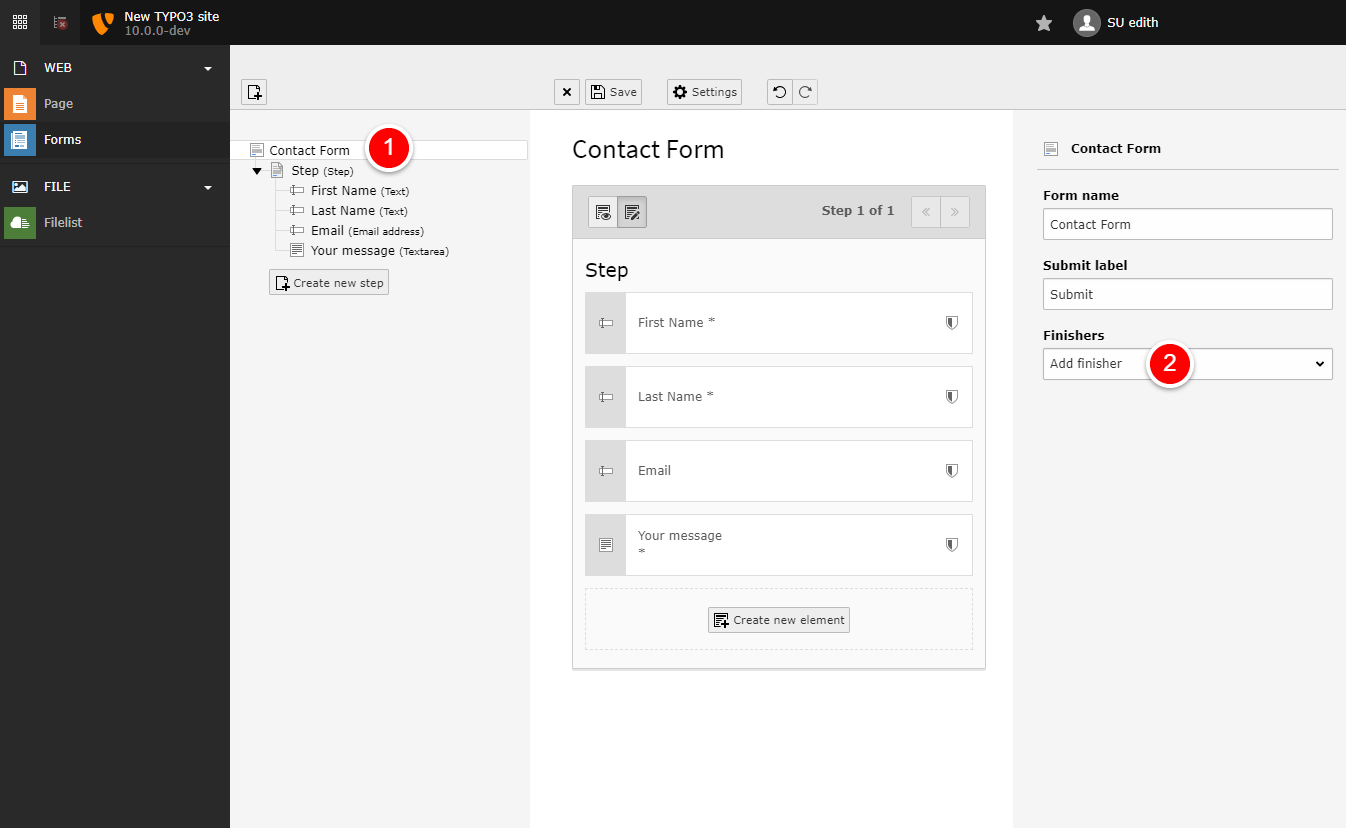
Adding a finisher
- Click on the form name on the top left - here you can edit general form settings.
- Choose a finisher on the right. To send an email to yourself, choose "Email to receiver (you)".
-
Configure the email finisher
Choose a subject, the recipient, name and CC.
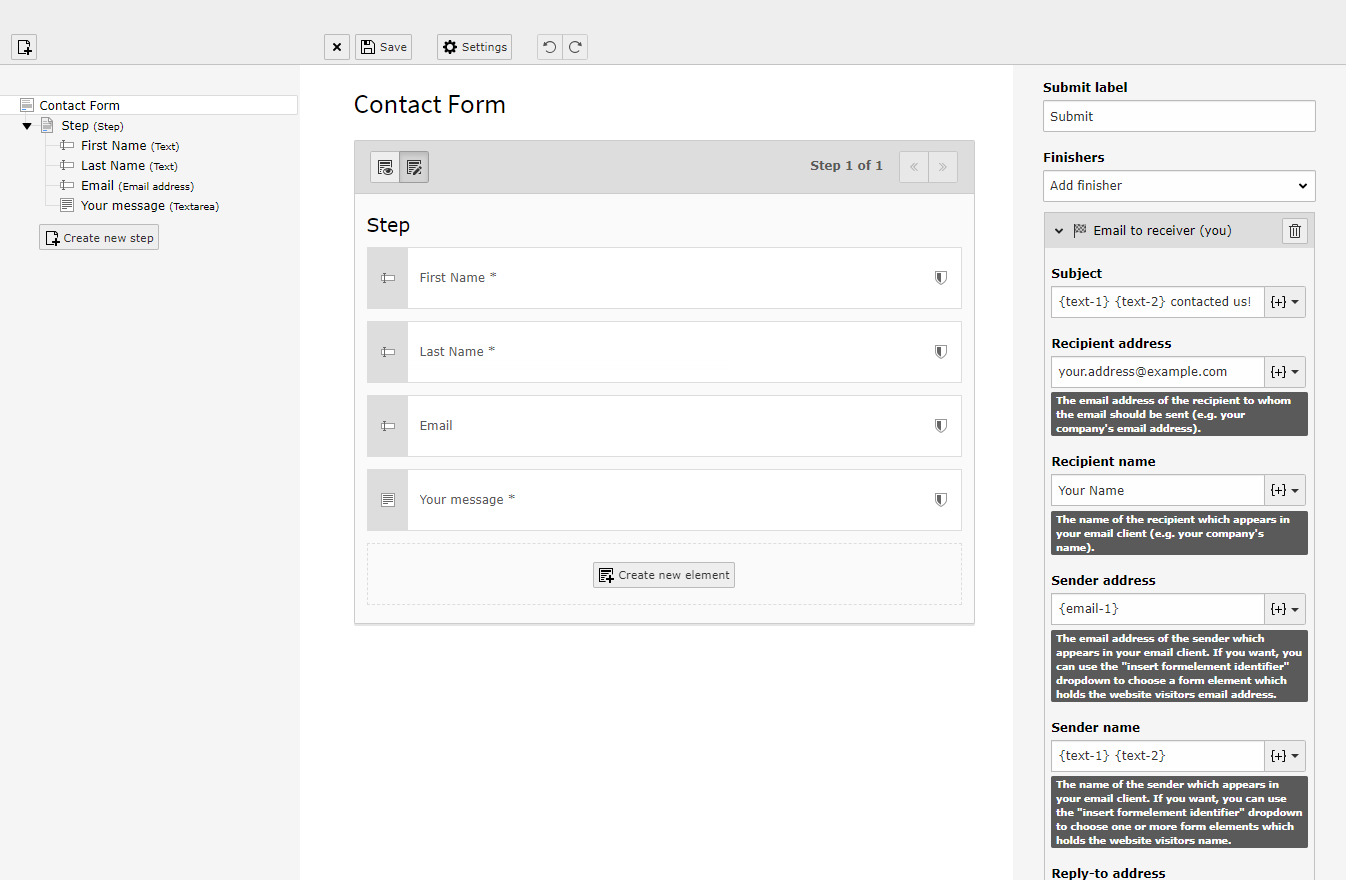
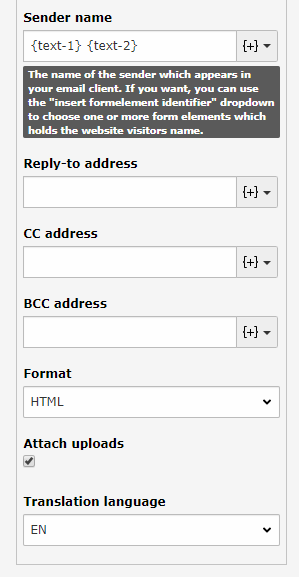
You can use fields from the form to pre-fill values using the
{+}button. Here we configure the sender's name from the first and last names in the form. -
Save the form
Click on "Save" to save the current state of the form. Even if your form isn't complete, it's a good idea to save your state frequently to minimize the risk of losing data.

-
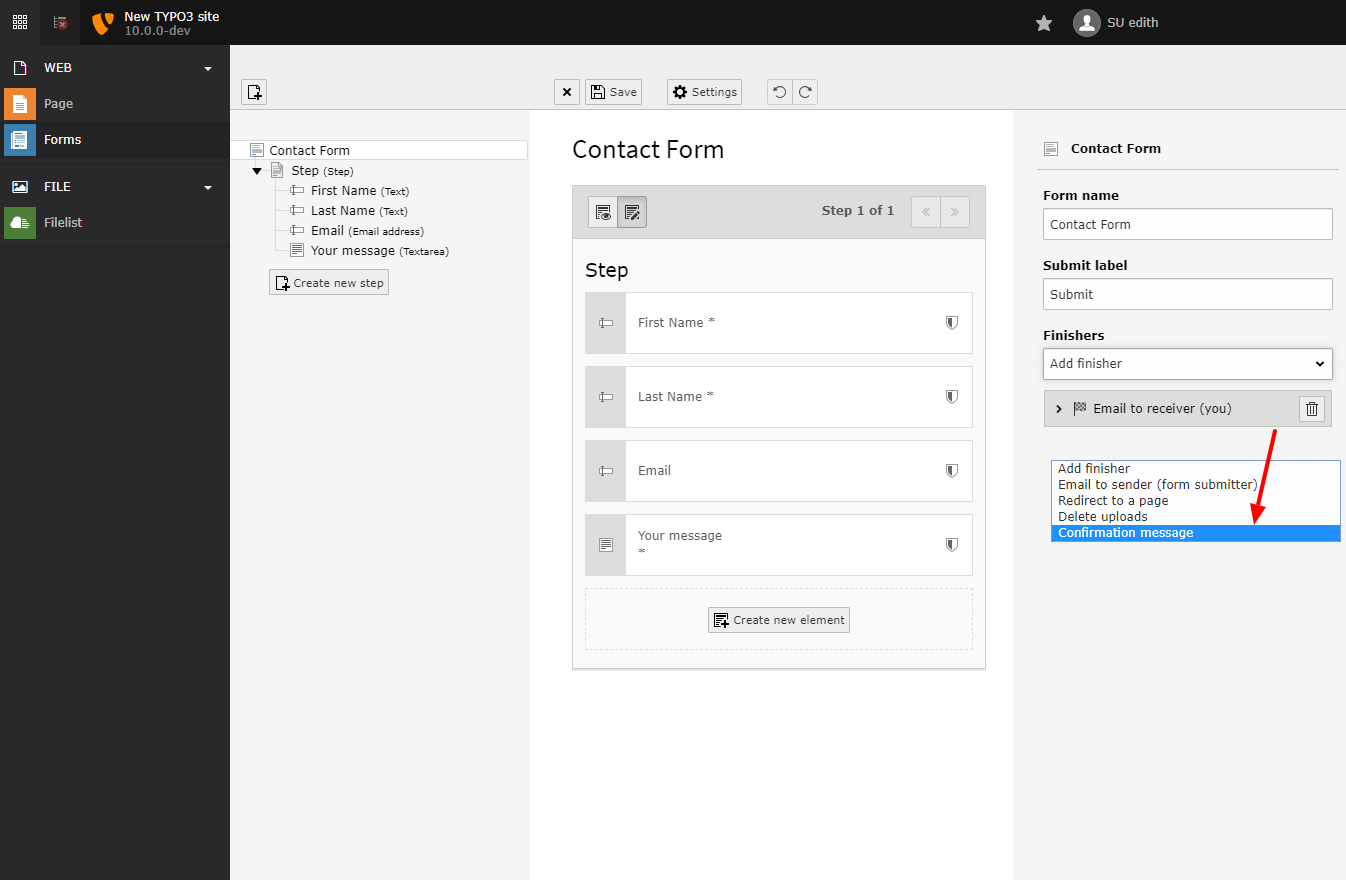
Add confirmation finisher
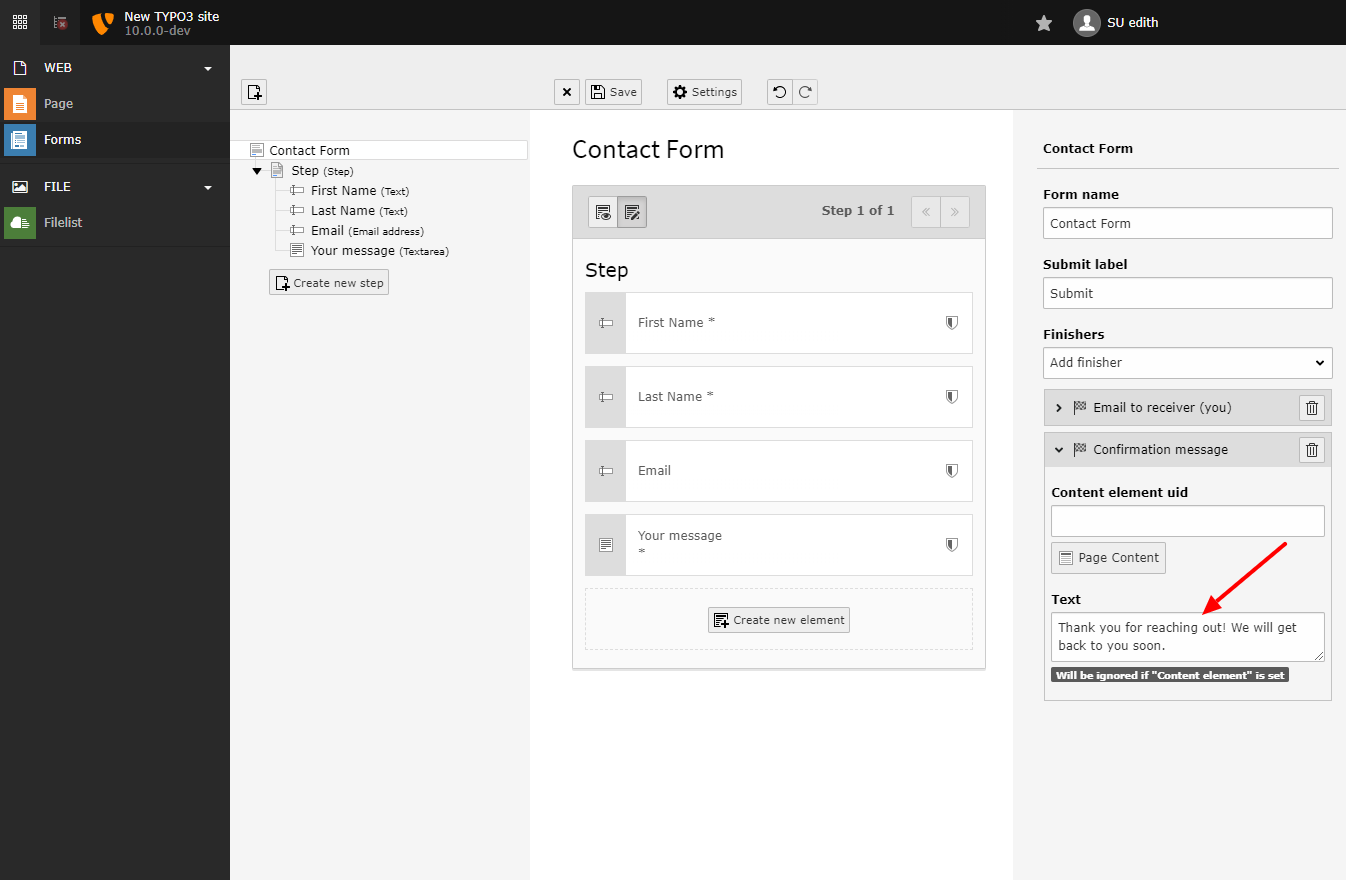
Add a "Confirmation message" finisher to display a confirmation/ thank you message to the user after they have submitted the form.
-
Add confirmation message
Set a "Thank You" message in the "Confirmation Finisher" options.
-
Preview the form
Your form is now fully configured and ready to be added to website pages. Save it again and let's preview it.
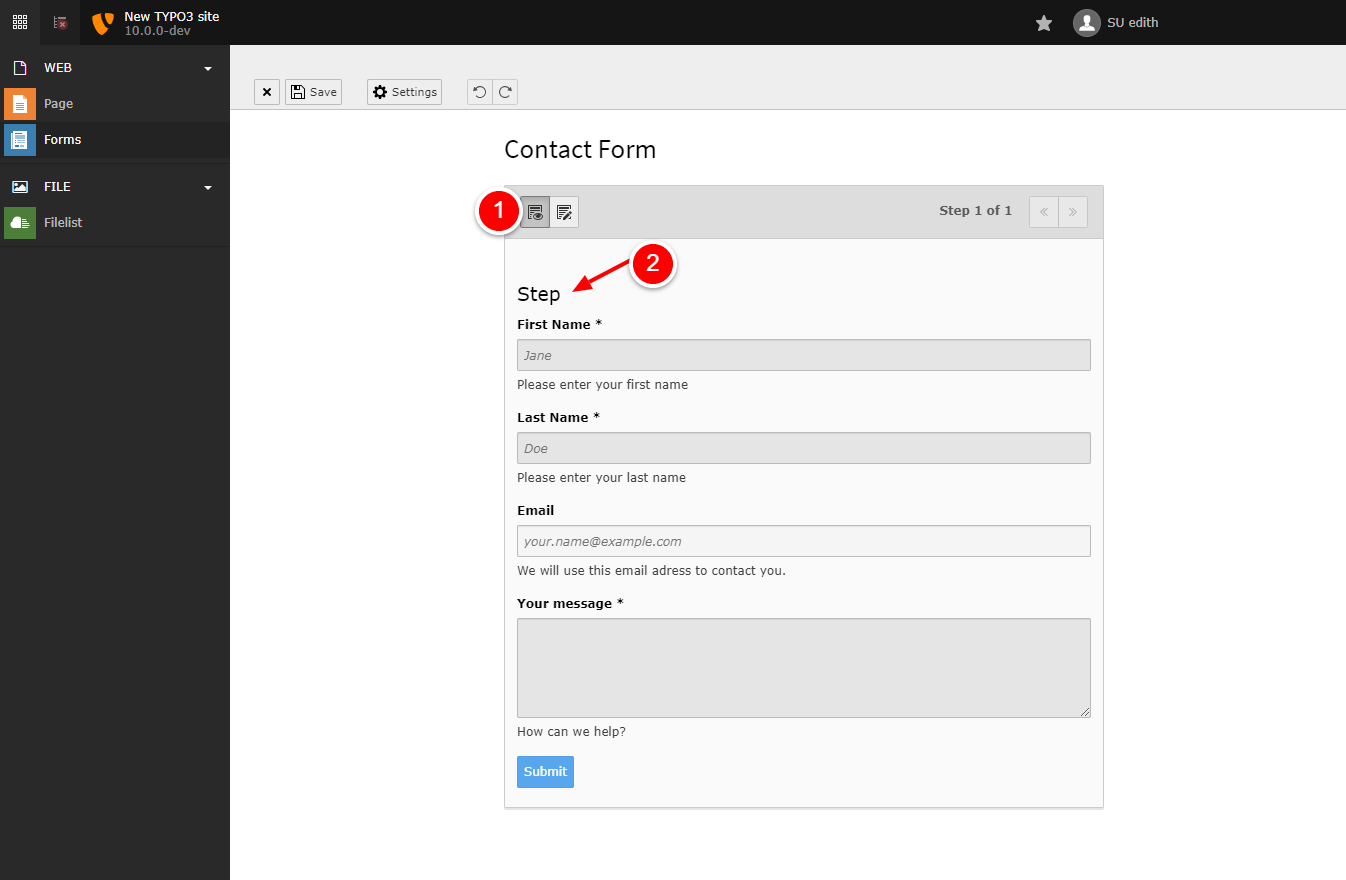
- Click on the preview icon and see a rudimentary preview of your form. Notice the "Step" headline.
-
Remove the "Step" headline
The "Step" headline above does not make much sense, as there is only a single step in our form before a user submits it and the headline should be taken from the page where we will insert the form. To remove it, leave the preview and click on "Step" in the tree view on the left side. Delete the word "Step".
-
Save the form
Save the form and check everything is ok - now it looks fine. Let's go and insert it on a page.
-
Choose a page for your form
Your form can now be added to a web page. Go to the page module and choose a web page.
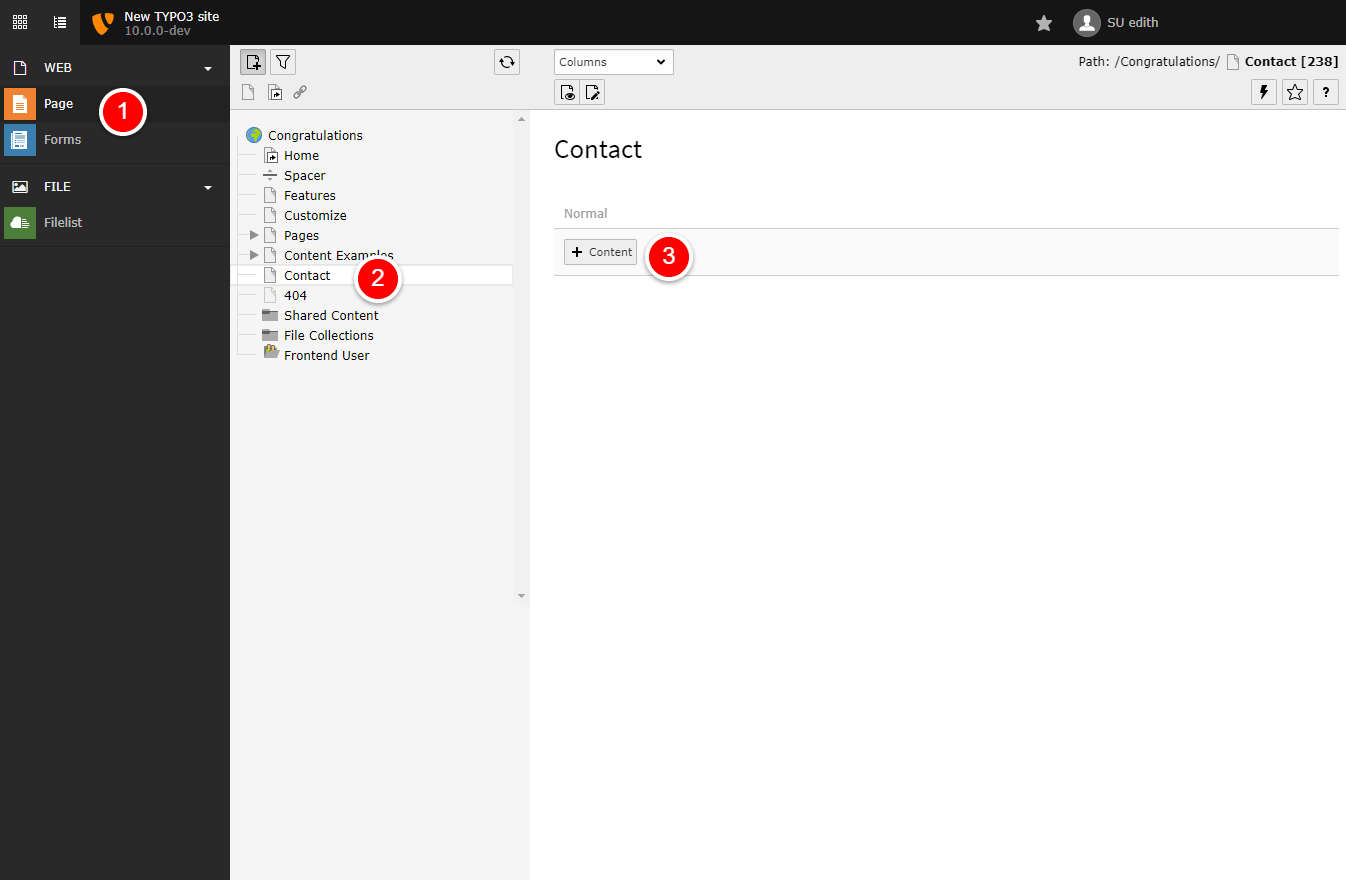
- Go to the page module.
- Choose a page in the page tree (for example: "Contact" for the Contact form :)).
- Click on
+ Contentto create a new content element for your form.
-
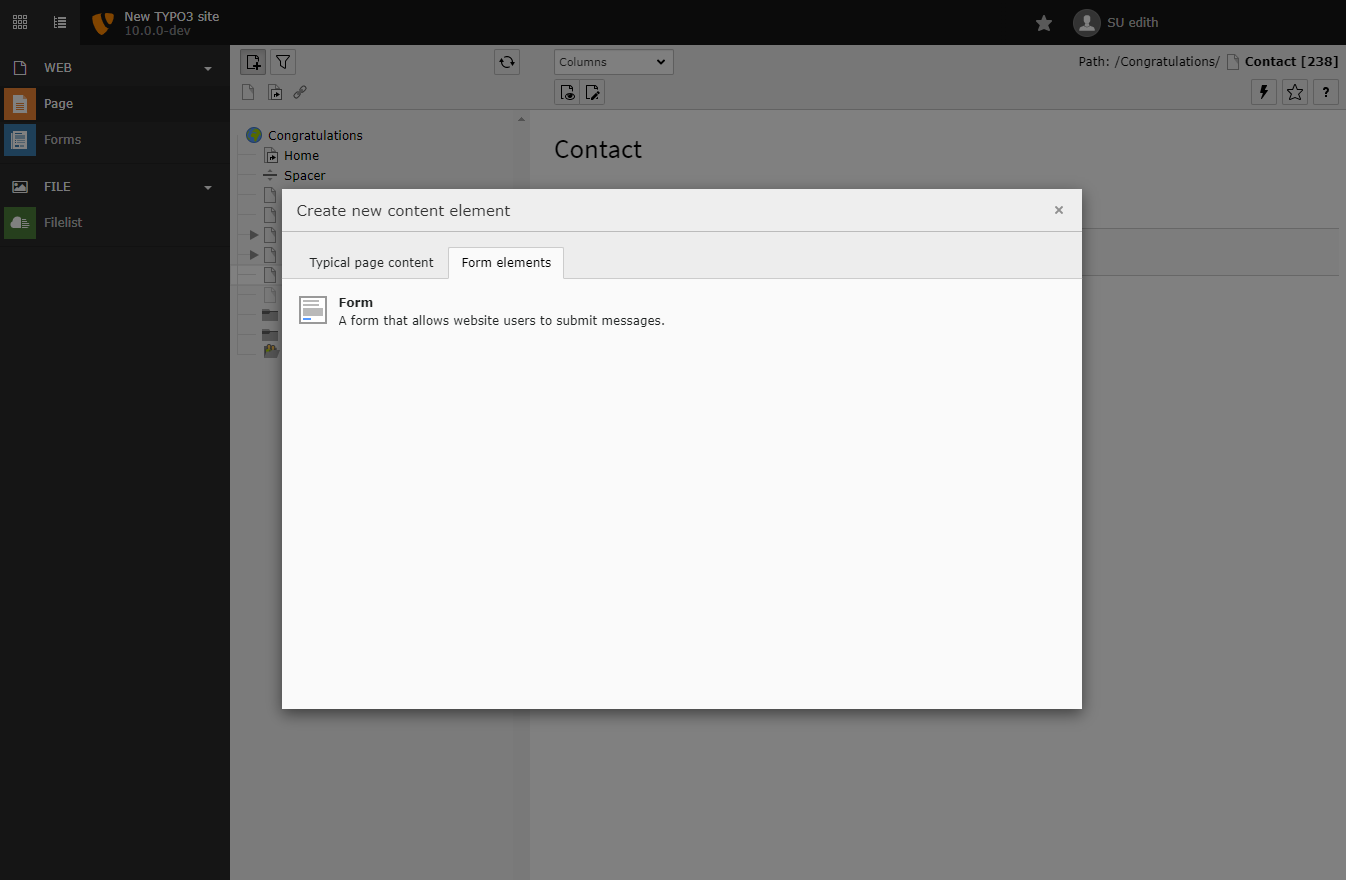
Insert Plugin
In the content element wizard, choose "Form" (in "Form elements" tab).
-
Choose your form definition
In the plugin tab, choose the form definition you just created.
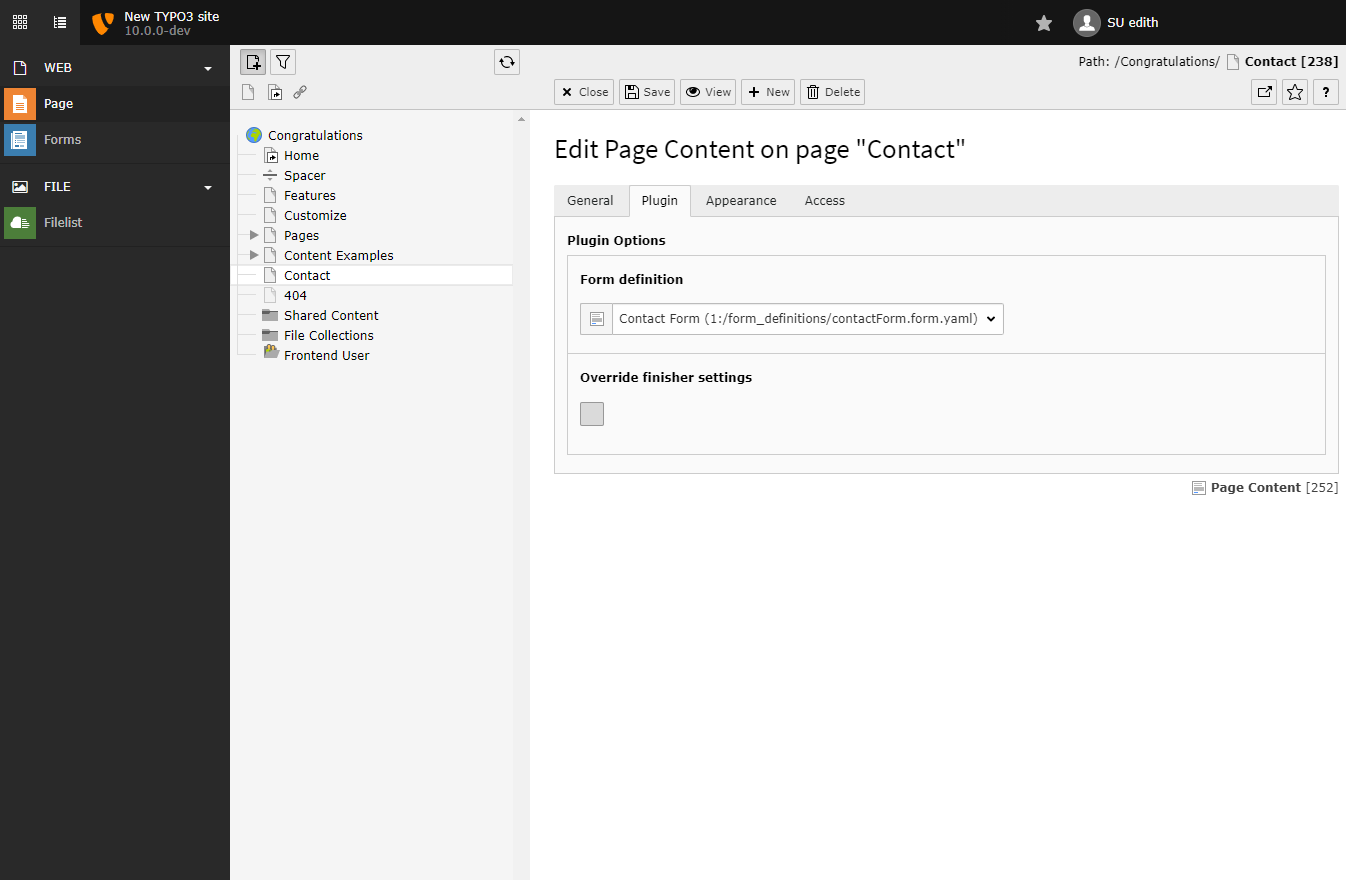
Having a separate form definition allows you to insert the form on many web pages. You can then customize fields, for example, the headline, by using the "normal" TYPO3 header field to render a headline for your form.
-
Save the content element and enjoy!
Save the content element and view your web page. You can now see your completed form.
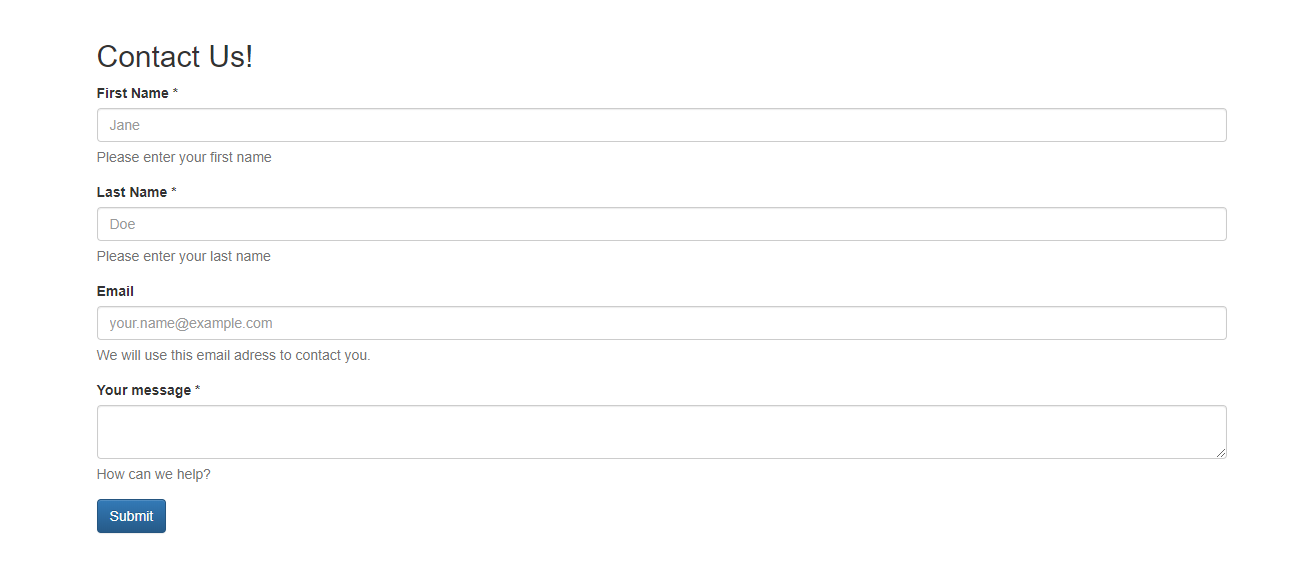
Depending on your frontend, your form might look different.
Congratulations! You have created a fully functional contact form.