Attention
TYPO3 v11 has reached end-of-life as of October 31st 2024 and is no longer being maintained. Use the version switcher on the top left of this page to select documentation for a supported version of TYPO3.
Need more time before upgrading? You can purchase Extended Long Term Support (ELTS) for TYPO3 v11 here: TYPO3 ELTS.
Working with images
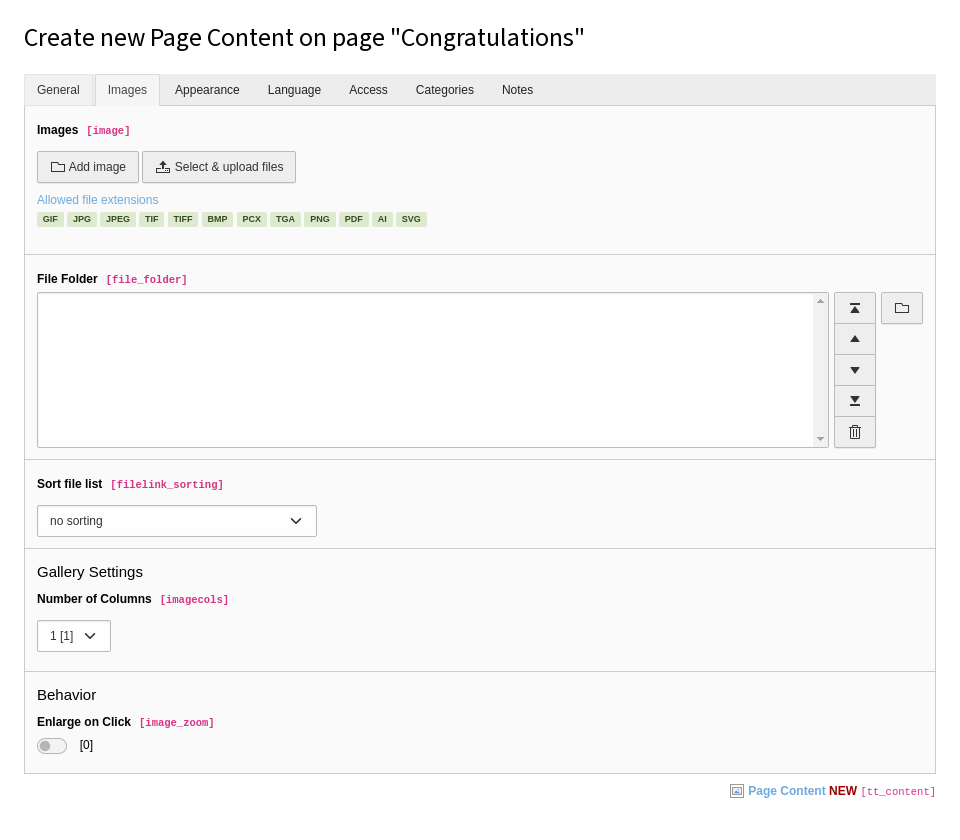
For content elements that support images (for example Text & Images, Text & Media, Images Only), you will see an Images tab when you create or edit the content element.

The Images tab for a content element
It's best practice to add new images using the File > Filelist module, which is covered in the chapter about the file module. This method means files are stored centrally and any information or metadata you add to the image is used wherever that image is used on the site.
When you use the Select & upload files button, the image file is attached to the page and gets uploaded to the user_uploads folder in the Filelist.
Tip
By only using Select & upload files, your files pile up in the user_uploads folder pretty quickly. Therefore you should rather upload and organize the files via the Add Image button or upload it with the File > Filelist module directly, as described above.
Add an image to a page
-
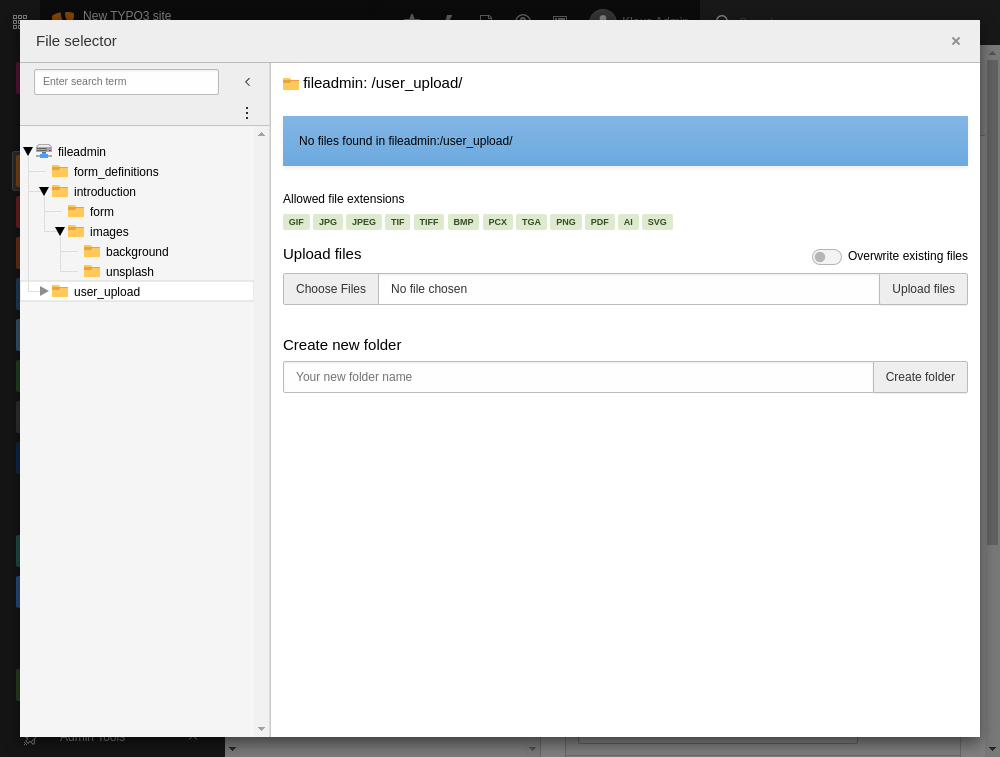
On the Images tab, click the Add image button. The File selector window displays to let you browse for an image.

- Browse the file tree, then select a folder.
- Tick the Display thumbnails box to show a preview of each image in the folder.
- Click the name of an image to select it. Alternatively, click the + icon to select multiple images before closing the window.
Configure the image
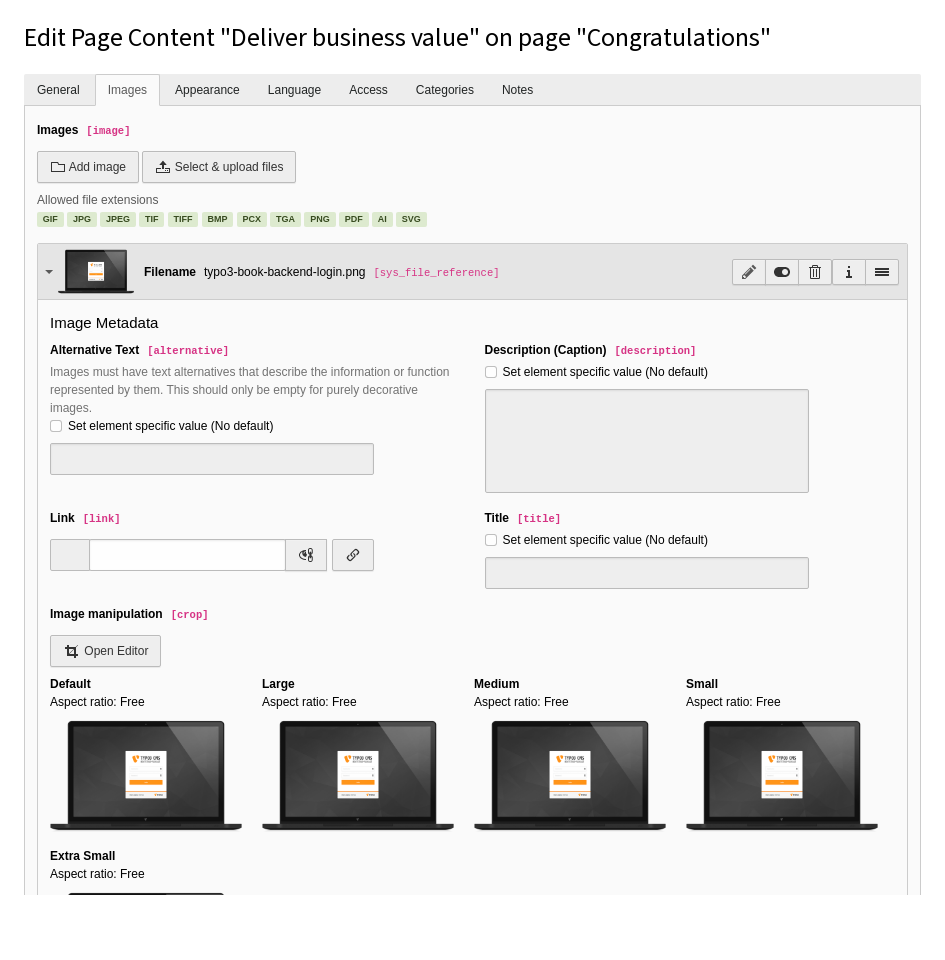
The Images tab lets you perform a number of actions to configure an image.

Working with an image attached to the content element
Image metadata
Use the small arrow next to the thumbnail to collapse and expand this section.
Here you can set general metadata including description and alt text, and insert a link to the image.
If the file was added using the File > Filelist module (which is best practice), the information displayed here is drawn from the Filelist. If required, you can override this metadata to set specific values for the image for the current content element.
You can experiment with the image manipulation editor to crop or resize the image. Making changes here won't impact the original image file in Filelist.
Media adjustments
Manually specify the width and height of the image in pixels, and apply a border.
Gallery settings
Choose where to position the image in relation to the text.
Images are automatically arranged in columns, two by two. You can change this behaviour with the Number of Columns field.
Behavior
Use the Enlarge on Click setting to enable a lightbox display for the image.
