Manage Backend Preview
In the extension configuration you will find the setting Folder for Backend Preview Templates. If you want to change the look of the content elements in the TYPO3 backend page module, create a HTML file with the same name as for the frontend template. For example MyElement.html. It's a good idea to copy the frontend template and modify it for your needs.
Example code:
Name: {data.tx_mask_name}<br />
E-Mail: {data.tx_mask_email}<br />
Tel.: {data.tx_mask_telephone}<br />
Fax: {data.tx_mask_fax}<br />
Position: {data.tx_mask_position}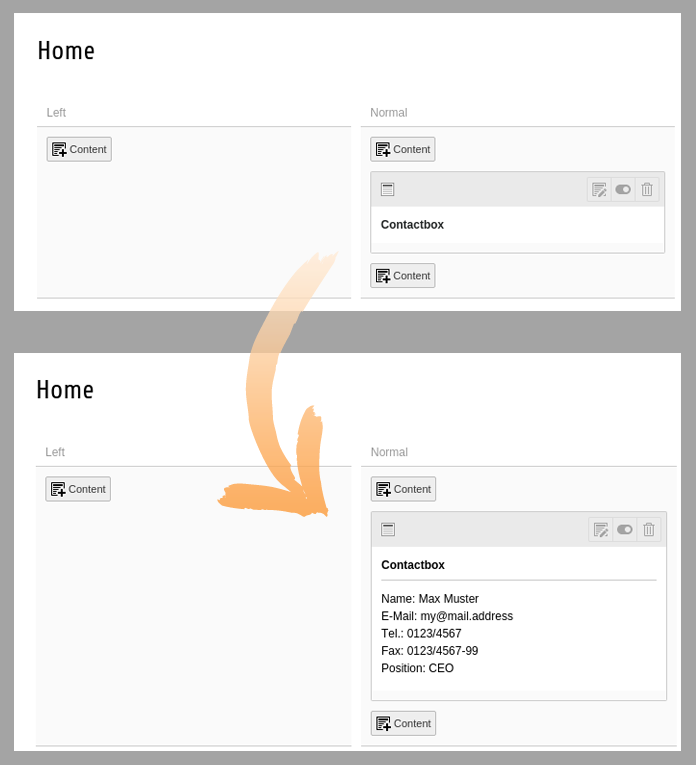
The backend preview reveals the content of the element
Preview for content field types
You can use a core ViewHelper to show an edit icon for every child element:
<html xmlns:be="http://typo3.org/ns/TYPO3/CMS/Backend/ViewHelpers">

<f:for each="{data.tx_mask_mycontent}" as="data_item">
    <be:link.editRecord uid="{data_item.uid}" table="tt_content">
        <core:icon identifier="actions-open" size="small" /> Edit record
    </be:link.editRecord><br>
</f:for>Preview image for a content element
Besides setting a FontAwesome Icon for you content element, you can also provide a custom preview image. This can be
done by placing a 32x32 pixel png image or svg graphic into the specified
folder for preview images. The name of the image has to be the key of your element. For example my_ or
my_. Ideally this should be a screenshot of your element or a nice icon. It will be shown in the new
contentelement wizard and as the preview icon in the backend.
When the new icon is not showing up in the "new content element" wizard, clear your browser's local storage.