Installation
Note
Before you start using mask, you should have set up your sitepackage.
Preparations
It is important to add Mask as a dependency in your ext_ of your
sitepackage. This ensures, Mask is loaded before your Theme extension. Only
then, you can override the generated TCA from Mask in your Overrides folder.
$EM_CONF[$_EXTKEY] = [
    'constraints' => [
        'depends' => [
            'mask' => '8.1' // Add the minimum version here or leave blank for any version.
        ]
    ]
];For composer installations also add the requirement to your extension's
composer. file. In TYPO3 v11 the ext_ file is not even needed
anymore, when in composer mode.
{
   "require": {
      "mask/mask": "^8.1"
   }
}Note
If you add the dependency after Mask is already installed and activated, you need to rebuild the loading order by reinstalling your extension.
Install and configure
- Download Mask with composer by running the command
composer require mask/or install via extension manager.mask - Activate Mask in the extension manager (not needed in TYPO3 Composer mode)
- Include the Mask site set (TYPO3 v13 and above) or Include the required TypoScript directly (TYPO3 v12 and bellow).
- Navigate to the Mask module and enter your site package extension key for auto-configuration (your extension must be loaded!).
- Start creating your own content elements!
Include the Mask site set (TYPO3 v13 and above)
If you have a custom site package extension, add the Mask site set as dependency to your site packages Site set definition:
It is also possible to include mask as site dependency directly in the backend:
Got to module Site Management > Sites and edit your site configuration.
In section Sets for this Site chose site set Mask.
Note
The site set of Mask depends on the set Fluid Styled Content. You do not have to include this set separately as was done with manual TypoScript inclusion.
Include the required TypoScript directly (TYPO3 v12 and bellow)
-
Mask requires
fluid_so go to your static includes in the template module and include it there.styled_ content Read here how to include static templates
You can install this core extension in composer mode with the commandcomposer require typo3/cms- fluid- styled- content - Also include the Mask static TypoScript.
Manual configuration
If you don't want to use the default folder structure created by the auto-configuration, you can adjust every path in the extension configuration of Mask.
Tip
It is great to have the Local file (where the extension configuration is stored)
in version control so others will have this already set up when checking out the project.
Screenshots

Include TypoScript Template
New in version 7.1.0
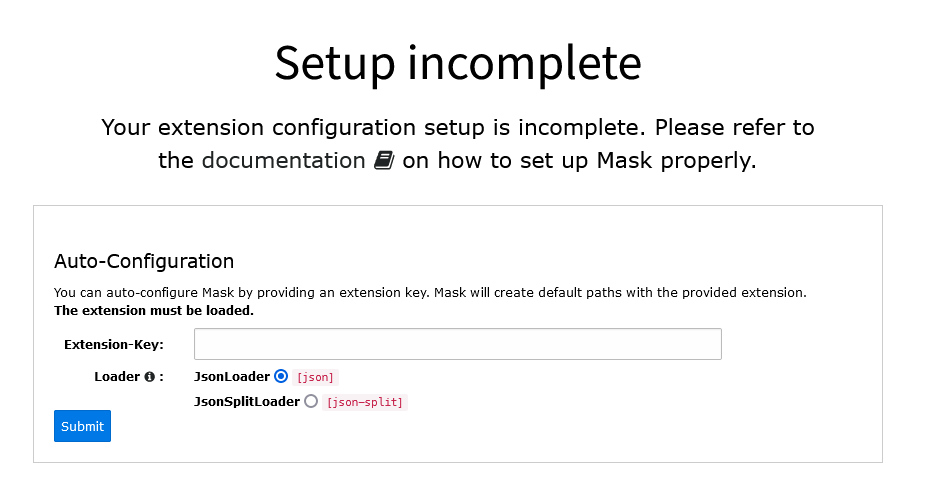
Mask warns you about missing configuration