TYPO3 setup on first installation
You can set up TYPO3 either via a console command or by using the web-based Install Tool.
Set up TYPO3 using the console
To perform an interactive guided setup, run:
# Run TYPO3 CLI setup (database credentials are pre-filled)
ddev typo3 setup --server-type=other --driver=mysqli --host=db --port=3306 --dbname=db --username=db --password=dbWhen prompted, provide the following answers to match the default DDEV configuration:
Admin username (user will be "system maintainer") ? j.doe
Admin user and installer password ?
Admin user email ? j.doe@example.org
Give your project a name [default: New TYPO3 Project] ? My Project
Create a basic site? Please enter a URL [default: no] https://my-project.ddev.site
✓ Congratulations - TYPO3 Setup is done.Set up TYPO3 using the web installer (1-2-3 install tool)
Alternatively, you can use the web-based Install Tool to set up TYPO3.
-
Create a file named
FIRST_in your webroot:INSTALL ddev exec touch public/FIRST_INSTALLCopied! -
Open the TYPO3 installer in your browser:
ddev launch /typo3/install.phpCopied! -
After completing the setup, access the TYPO3 backend:
ddev launch /typo3Copied!
Log in using the credentials you just created during the setup process.
Set the application context for local development
After completing the setup, TYPO3 will run in the "Production" application context by default.
For local development, it is recommended to switch to the "Development/DDEV" context for better error reporting, debugging features, and developer-friendly features.
Edit your .ddev/ and add:
web_environment:
- TYPO3_CONTEXT=Development/DDEVRestart DDEV to apply the changes:
ddev restartNext steps: Create a basic website
If you installed the Default theme and chose to create a basic site during installation, open the frontend and have a look at the basic website in a browser of your choice:
ddev launchYou should see a default website like the following:
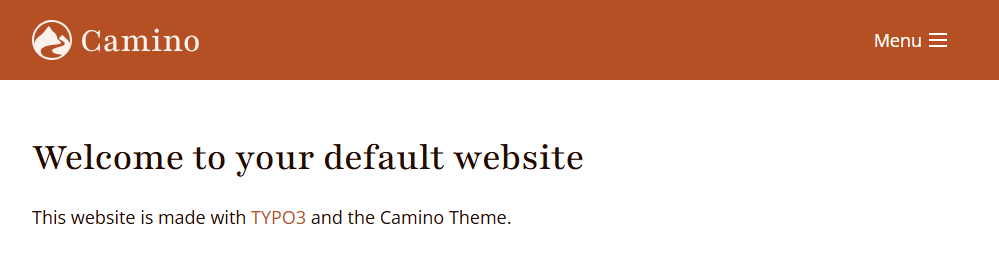
Frontend of an empty website using the default theme "Camino"
Access the TYPO3 backend:
ddev launch /typo3Log in using the credentials you just created during the setup process. Navigate to the Content > Layout module. You should see something like the following:
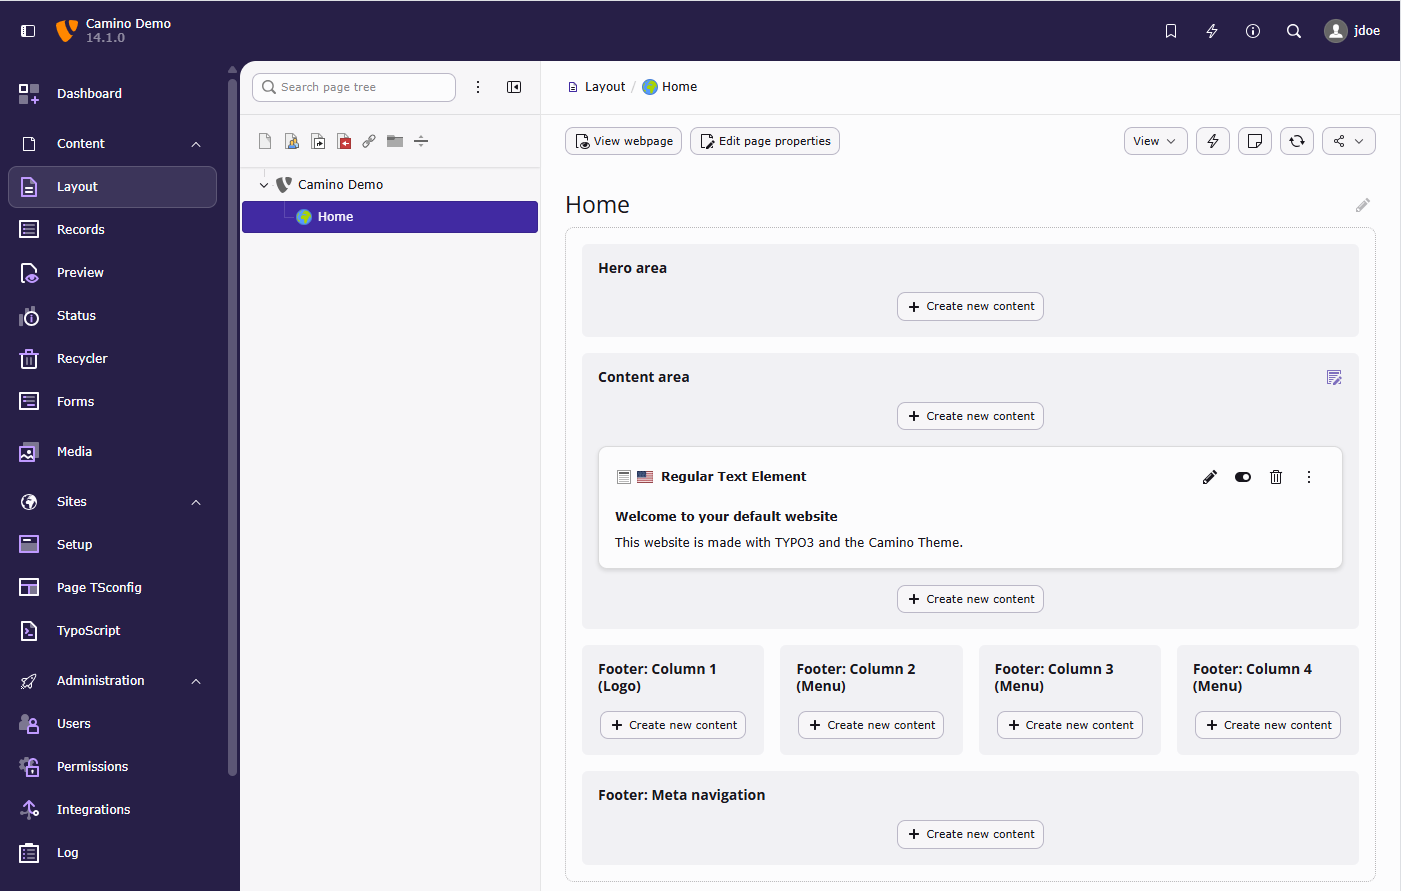
Backend of the same website, viewed in the Content > Layout module
You can customize the example theme using the Site settings or create new Sub pages and Creating content.
If there is an error message instead, try clearing the cache:
ddev typo3 cache:flush -vIf you can still see no default website, log into the backend and continue to create a root page manually if none was created automatically.