How to?
How to Display a Title in the Upper Icon Bar of the View?
A title can be associated with each view. It is defined in the Title
bar section of the views. Text, language markers or field markers can
be used.
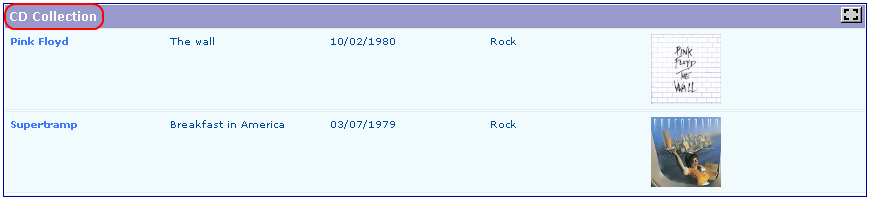
For example, if you use $$$formTitle$$$ in the Title bar field,
this language marker will be replaced by its definition in the
locallang.xlf file. In this example, formTitle is defined as CD
Collection for the default language and Liste de CD for the French
language. Therefore, the output becomes:
Now, if you use ###artist### - ###album_title### in the Title bar
section of the Single and Edit views, the markers ###artist###
and ###album_title### will be replaced by the respective values of
the field artist and album_title for the current record. If these
markers are used in the Title bar section of the List view, they
will be replaced by the label associated with the fields. Thus, the
output is the following for the Single view:

How to Display the Labels Associated With Each Field in the Title Bar?
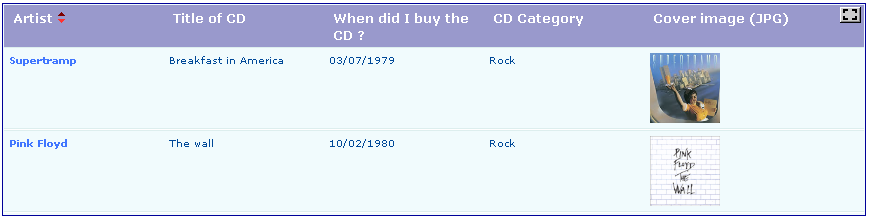
As explain above, field markers used in List view are replaced by
the label associated with the fields. Therefore, if the Title bar
section is the following:
<ul>
   <li class="artist">###artist###</li>
   <li class="title">###album_title###</li>
   <li class="date">###date_of_purchase###</li>
   <li class="category">###category###</li>
   <li class="image">###coverimage###</li>
</ul>
The title bar becomes:

How to Change the Order of the Item List by Clicking on the Label in the Title Bar?
For example, assume that we want to change the displayed order by
clicking on Artist (or Artiste if you use the french language).
- Add the following configuration parameter in the
artistfield of theListview.
orderLinkInTitle = 1;
- Add the following configuration in the
WHERE Tagssection of your query. Click on theplusicon to add an entry.

In this configuration, use filedname+ or fieldname- and associate
the order clause you want. In general + can be used for the
ascending order and - for the descending order.
By default, the displayed link will behave as a toogle between the
ascending and the descending sort. However you can control the display
using the property
orderLinkInTitleSetup
which introduces links
associated with icons. For example, using orderLinkInTitleSetup =
:value:ascdesc; or orderLinkInTitleSetup = asc:value:desc; will
respectively provide the following outputs:


Of course, you may keep the toggle link by writing
respectively orderLinkInTitleSetup = :link:ascdesc; or
orderLinkInTitleSetup = asc:link:desc;.
The icon color will change depending on the sort order as shown below. In the following caption, the descending order is displayed.
How to Reorganize the Fields with Folders?
Folders may be introduced in the Single and Edit views to provide
a better organization of the information. Click on the plus icon to
add a folder.
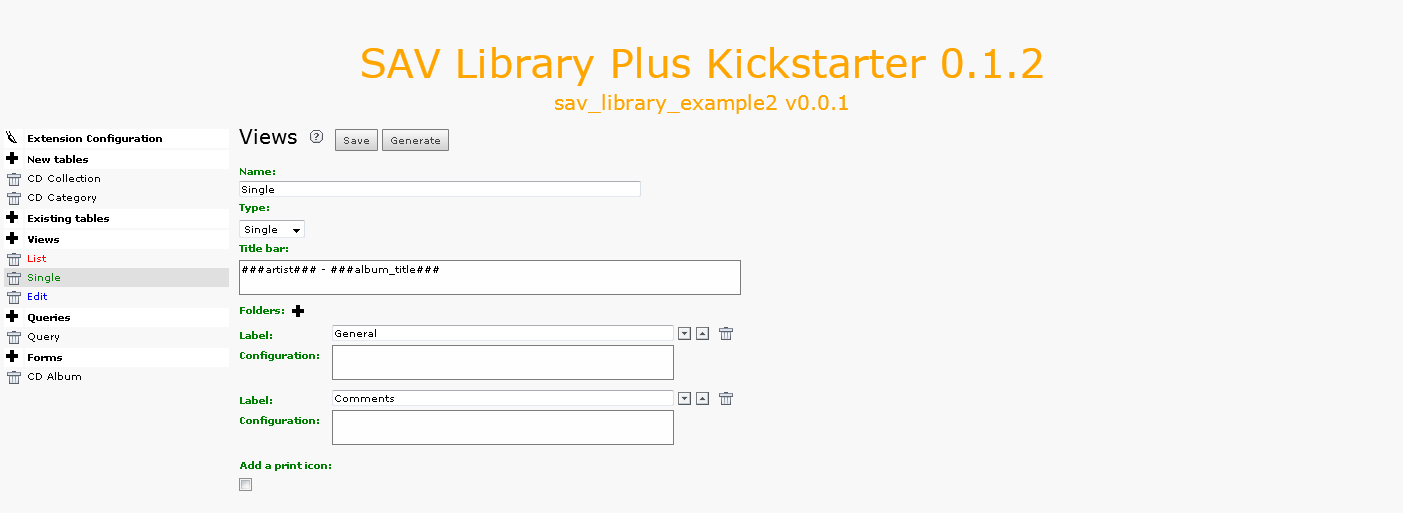
In this example, two folders are defined. If the labels General and
Comments are defined in the locallang.xlf file, they will be
replaced by their definition in the selected language, otherwise they
are used as it. Then, set a folder to each selected field of the CD
Collection table for the Single view as shown below, save and
generate the extension:
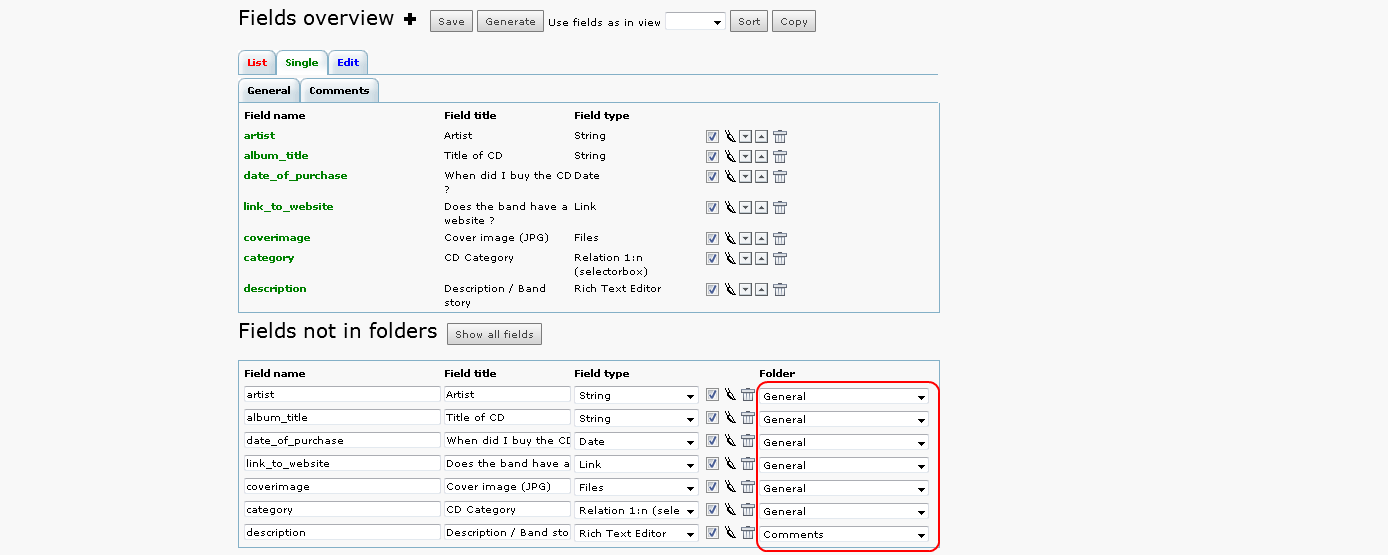
If you set all the fields to the folder General except the field
description which is set to Comments, the following views are
obtained in the frontend where the folder General and Comments
have a French translation in locallang.xlf.

