Installation and Configuration
Installation
- Download the extension sav_library_example7 from the TER and install it.
- Download the extension sav_filters from the TER and install it.
- Download the extension sr_freecap from the TER and install it.
Guest Input
- Create a page for the guest input.
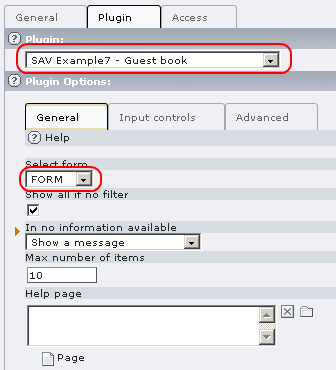
- In this page, insert a plugin content. Select
SAV Example7 – Guest
book
, selectFORMin theGeneralfolder, then in theInput Controlsfolder, uncheckAllow authenticated FE users to input data.
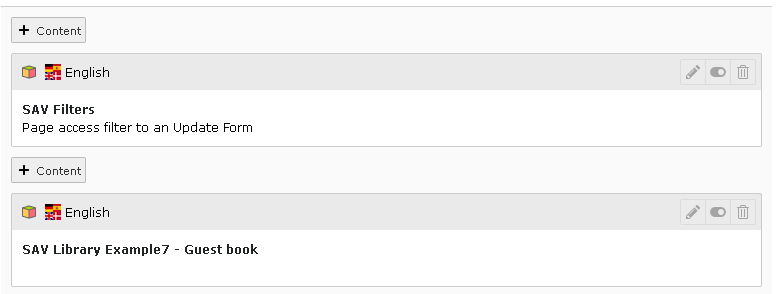
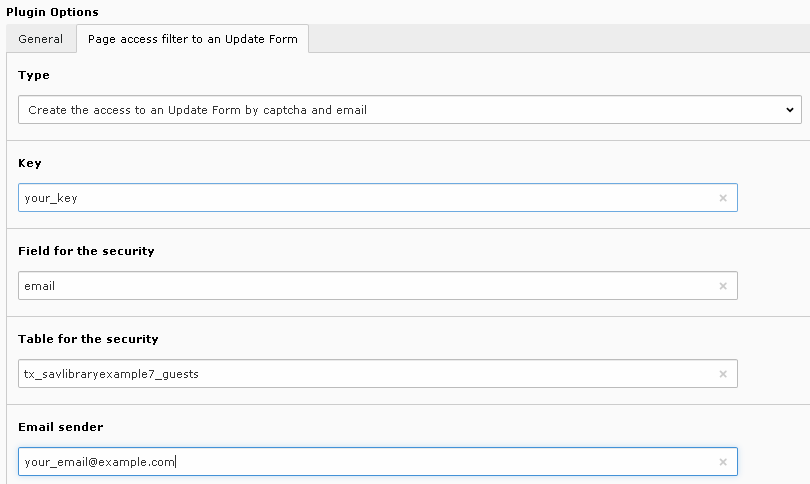
- In the same page,
before the previous plugin, add a new plugin content. SelectSAV Filters. Fill the fields as shown below. Replaceyour_email@example.comby a valid email. The value inUid for the field cruser_idwill be the default value for thecruser_idfield of each record in the tabletx_savlibrary_example7_guests. For example, put your frontend user uid. Provide a key which will be used to crypt the link. Finally provide a redirection page for errors (this field is required). When using captcha, you can set this field with the current page.
- Save and go to the page in the frontend. Answer to the captcha and submit.

- Fill the field with your email and submit.

- An information message is displayed and you should received an email with a personal link.
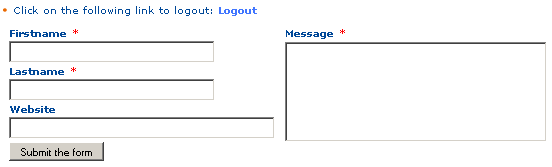
Click on the following link to access to the service
Guest input
This link is valid only for one request.
The link is Your_page_title (Guest input is the page title used
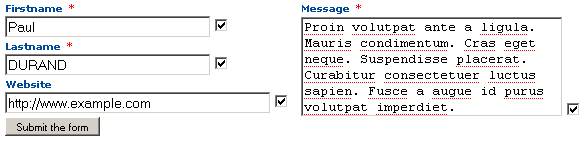
for the tutorial). Click on the link to access to the input form, fill
the form and submit it.
Guest Input Validation
- Create a frontend group, for example
savlibrary_test. It will be use to protect the page and define theAdmingroup. Apply this group to you, that is to your frontend user record. - Create a page for the guest input validation. Protect the page with the frontend group.
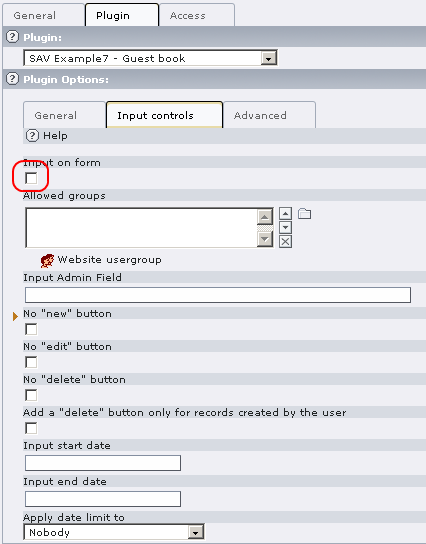
- Insert a plugin content. Select
SAV Example7 – Guest book, selectFORMin theGeneralfolder. In theInput Controlsfolder, uncheckinput on formand add the frontend Group to theAllowed groupsfield.

- Save and go to the page in the frontend and click on the email associated with your last input.

List View
- Insert a plugin content. Select
SAV Example7 – Guest book, selectLISTin theGeneralfolder. Set the fieldMax number of itemsto the number of items you want in the list (10 is the default). UncheckAllow authenticated FE users to input datain theInput Controlsfolder. Save and go to the page in the frontend.