Quick Start for Integrators
Are you an integrator, you or your admin have already installed the form extension and you want to get started quickly? Just follow these steps:
-
Include a site set
New in version 13.3
EXT:form contains a site set that can be included as described here. Legacy TypoScript includes are still possible for compability reasons but not recommended anymore.
Include the "Form Framework" site set in the site configuration or as a dependency in a custom site package.
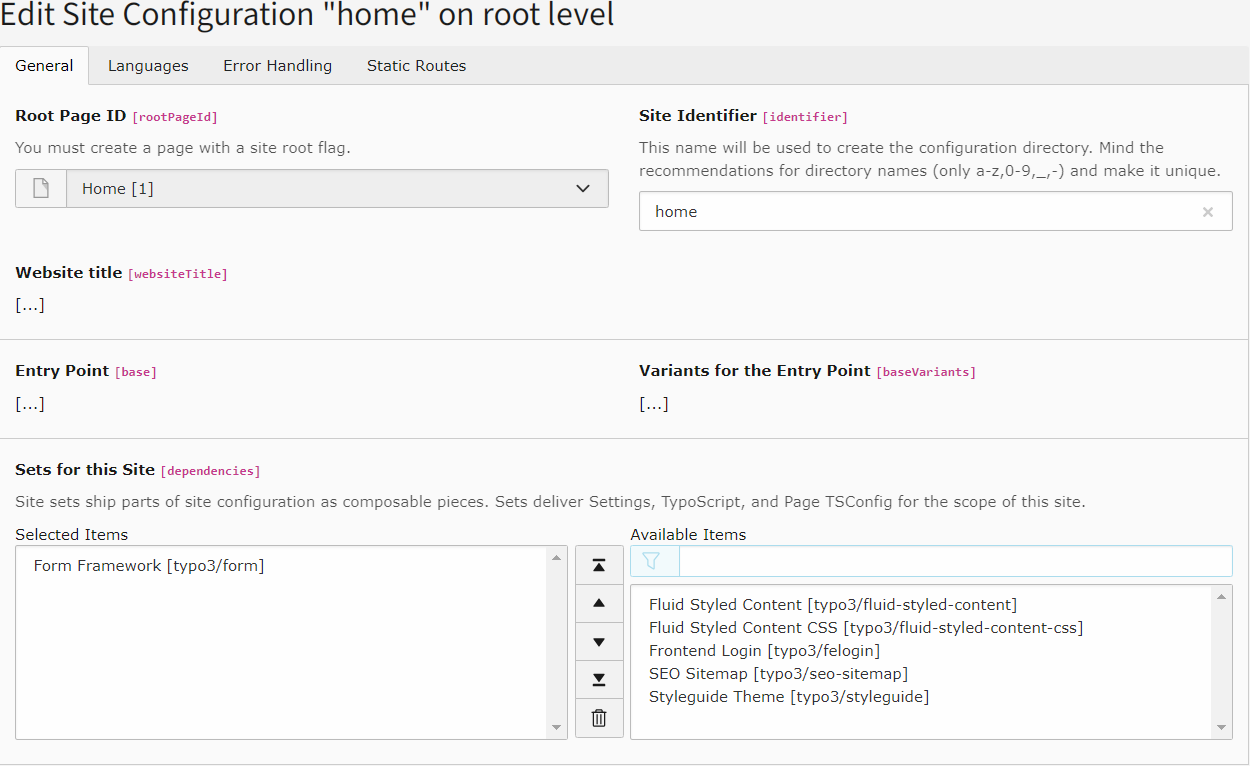
Add the site set "Form Framework"
-
Create a new form
Go to the
Formsmodule and create a new form using the form editor. With the form editor you can quickly build appealing forms. -
Move the form definition
If required, move the form definition into a dedicated extension.
-
Provide a translation
Create a translation of your form if required by registering the .xlf file in your YAML configuration.
-
Insert your form on a page
The final step is inserting the form on the desired page(s).
- Open the page module in the backend.
- Go to the desired page.
- Create a new content element of type "Form". You can find this on the "Form Elements" tab.
- Select your new form on the "Plugin" tab.
- Select "Override finisher settings" on the "Plugin" tab if necessary. Save the form content element.
- Repeat steps 2 to 5 to insert the form on further pages.
View your form in the frontend. Enjoy!
Legacy TypoScript includes
Changed in version 13.3
It is recommended to include the TypoScript via site set. The legacy way of using TypoScript includes, in the past also called "TypoScript sets" is still possible for compatibility reasons but not recommended anymore.
Open the TypoScript module in the backend and edit your root
TypoScript record. Under the tab "Includes", ensure that "Fluid Content
Elements" (fluid_) and "Form" (form) are among the selected
items. Save the record.
Then continue with the steps above.