Attention
TYPO3 v9 has reached its end-of-life September 30th, 2021 and is not maintained by the community anymore. Looking for a stable version? Use the version switch on the top left.
You can order Extended Long Term Support (ELTS) here: TYPO3 ELTS.
Extension Integration
This section describes how an extension author can get his extension setup at Crowdin.
Tip
Important to know
Your extension must be on GitHub, BitBucket or GitLab
Currently TYPO3 can only handle one branch/version for languages, more to that later.
Setup
Get in contact with the team in the TYPO3 slack channel cig-crowdin-localization with the following information:
Extension name
Information if your extension is already available on the previous translation server
Your email address for an invitation to Crowdin, so you will get the correct role for your project.
Integration
You need to handle the integration yourself as you got the permissions on GitHub.
Hint
The User Interface has changed slightly, this used to be under Settings > Integrations > Setup integration.
Go to the url of your project at Crowdin (e.g. https://crowdin.com/project/typo3-extension-ttaddress)
Switch to the tab Applications
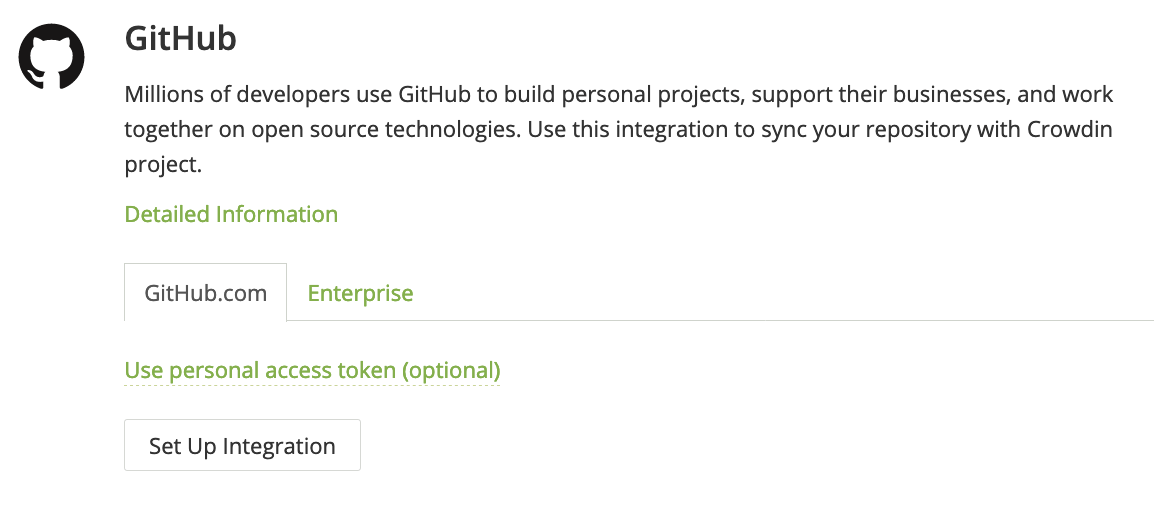
Find the card which corresponds to your extension source, e.g. GitHub / GitLab / Bitbucket
Click Set Up integration and then select "Set Up integration"
Start of Crowdin integration for an extension
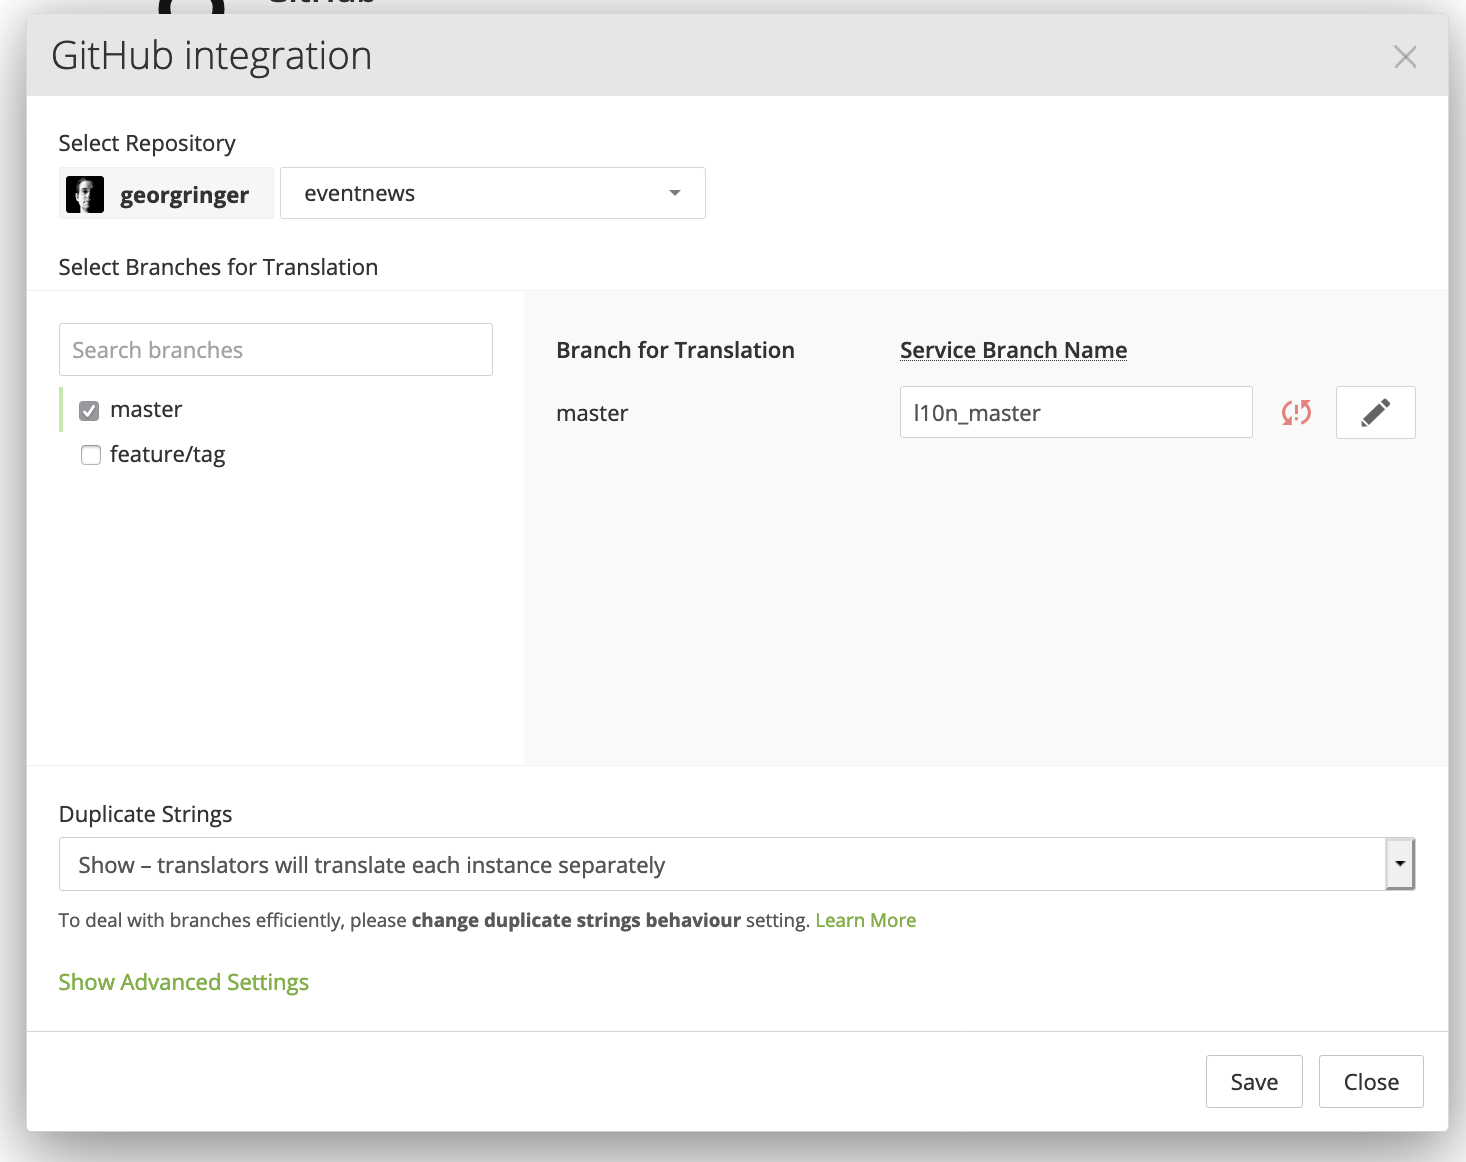
A modal will open, allowing you to select the correct repository.
Select Branches
Select the main branch you want to be translated.
Branch configuration
Important
TYPO3 can currently handle one branch for an extension! Typically you should select the master branch.
Push Translations
Click on the Show advanced settings link below to decide now how you want your translations to behave:

Setting for translation pushes
Uncheck the checkbox to avoid pushing back the translations to your project directly.
Branch Configuration
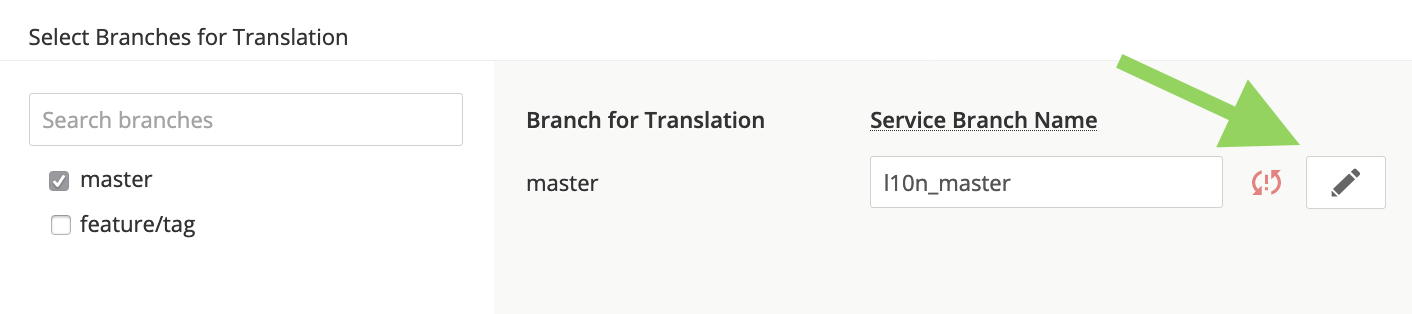
Now click on the edit button next to the branch name to setup your branch configuration.
This will open a new modal and will ask for the Configuration file name. We propose the file name .crowdin.yaml
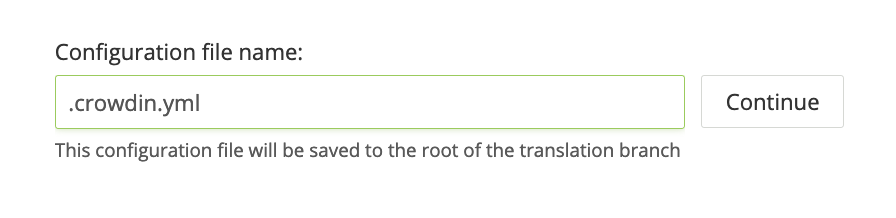
Adopt the file name and press Continue.
Now you need to define where the language files are located.
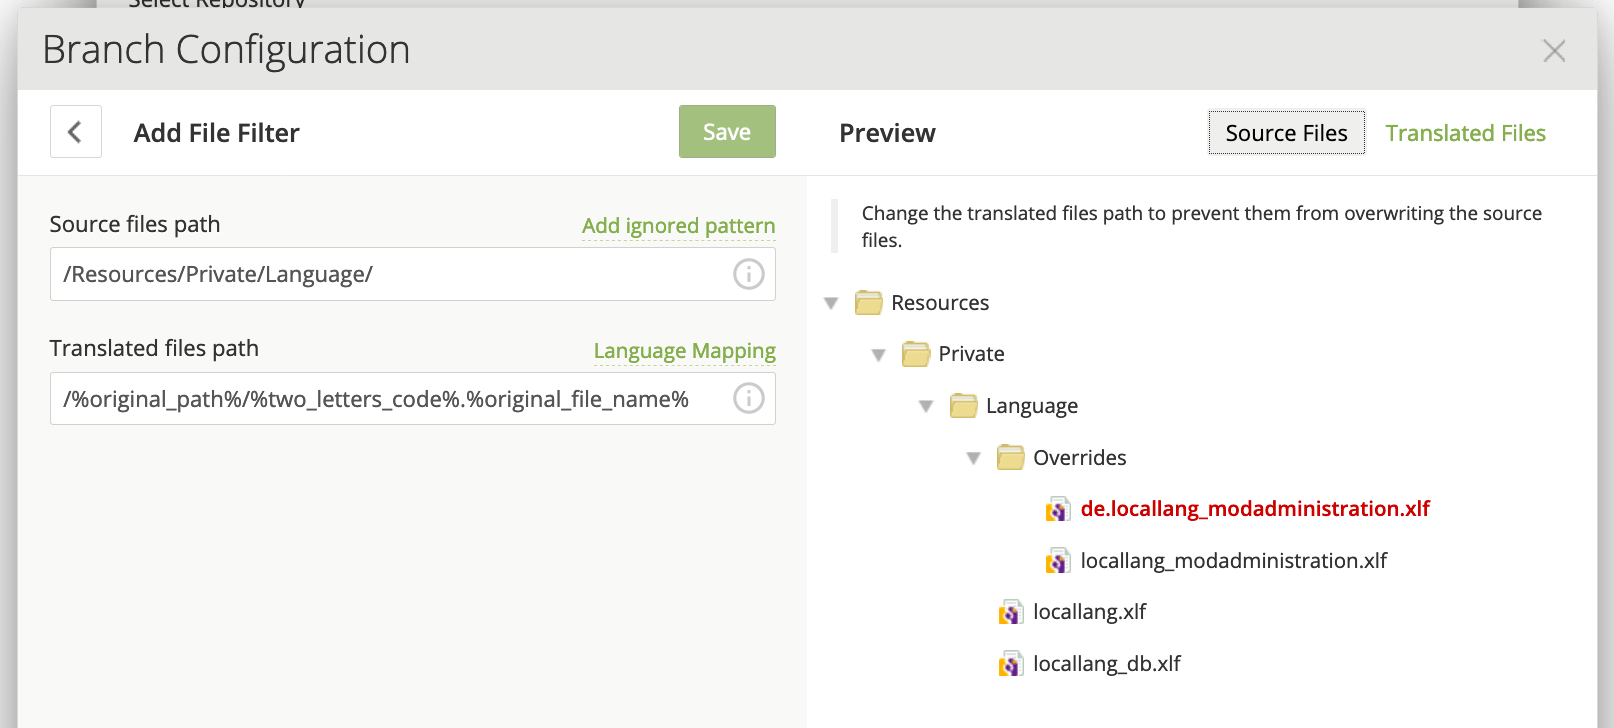
Typically the following setup will workout fine:
Source file path:
/Resources/Private/Language/Translated file path:
/%original_path%/%two_letters_code%.%original_file_name%
Please check in the right area of the model if all xlf files have been identified.
Now press the green save button in upper left corner and then the save button in lower right corner.
Now press the last save button and you are done!
After a short time you should see something like that
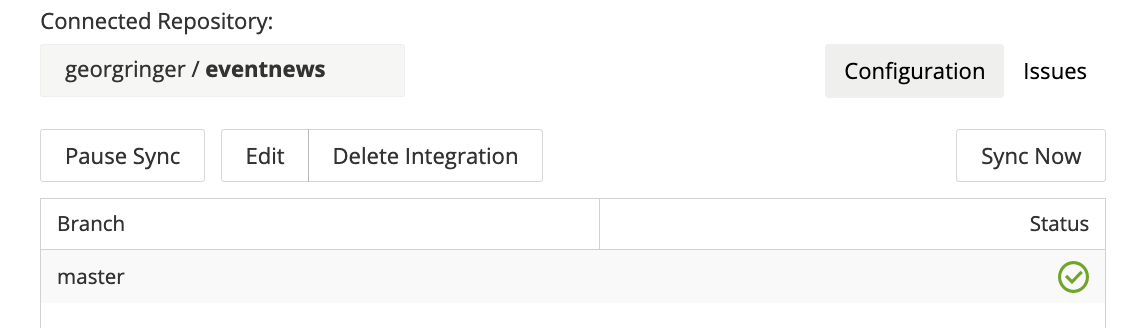
Happy translating!
Tip
Checkout the Frequently Asked Questions (FAQ) for solutions to common pitfalls.